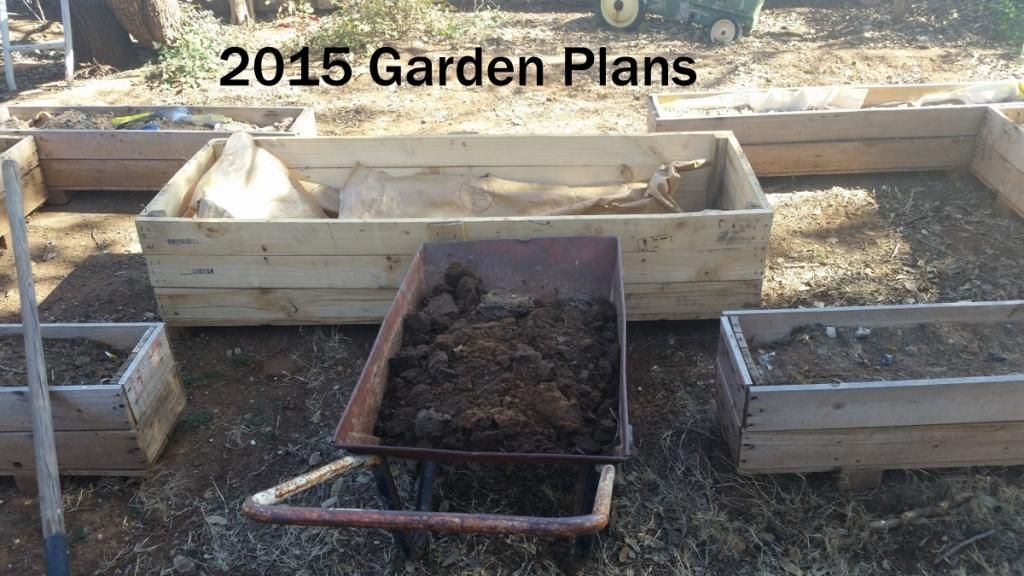
Wheel-Barrel Full of Ideas For This Year's Garden
This might turn into an extremely long post, but I've been looking forward to it for a long while now, and I don't want to leave out a single detail!
Join me for a peak into my plan's for this year's garden!
Now, keep in mind this is a rough draft of my actual plans, due to them changing every 12.03 hours, but these drawings will give you an idea as to my garden lay-out. Whether or not the plants scribbled in each bed will actual be planted there or not, has yet to be determined.
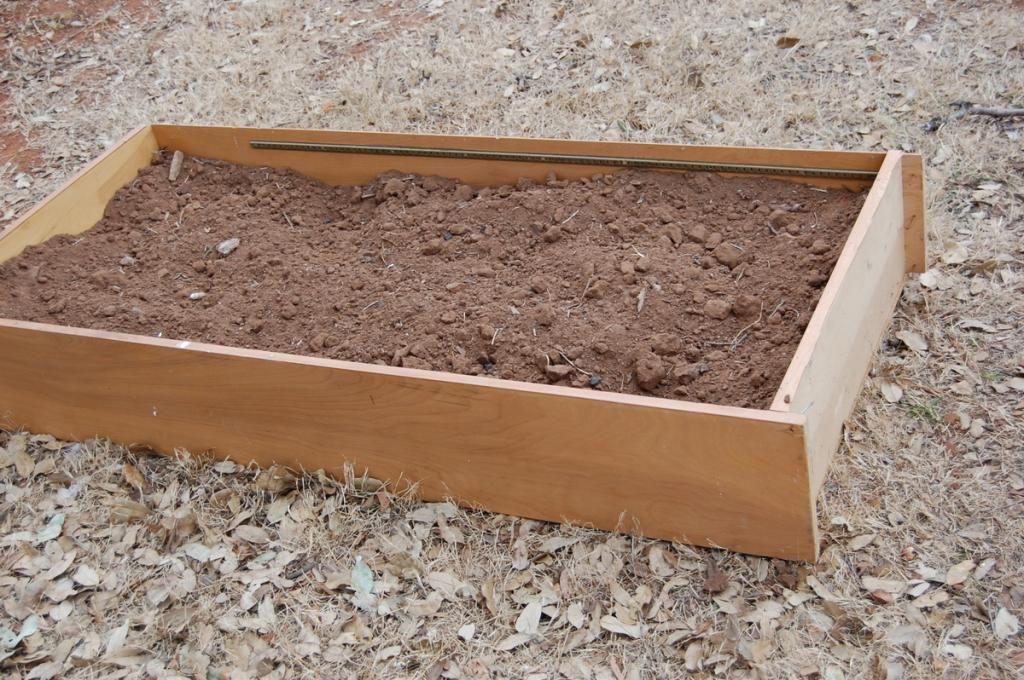
Raised beds in the backyard garden:

More raised beds in backyard:
The large blank square (which should actually be a rectangle shape) is another long raised bed.
Now, keep in mind this is a rough draft of my actual plans, due to them changing every 12.03 hours, but these drawings will give you an idea as to my garden lay-out. Whether or not the plants scribbled in each bed will actual be planted there or not, has yet to be determined.
Raised beds in the backyard garden:
More raised beds in backyard:
The large blank square (which should actually be a rectangle shape) is another long raised bed.

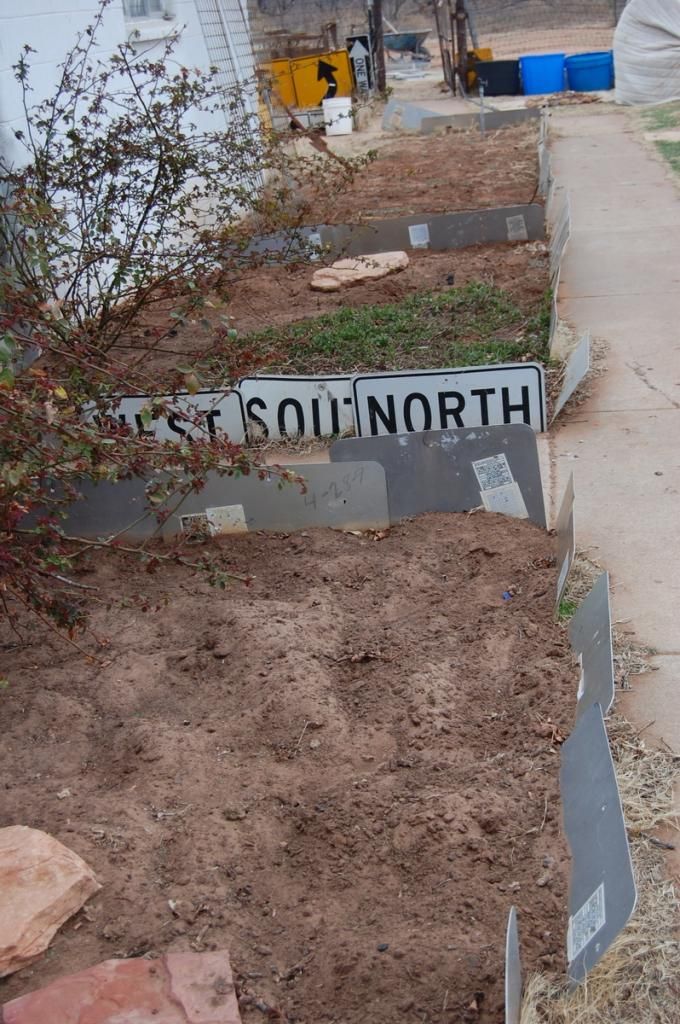
Front yard raised bed herb/salad green garden:
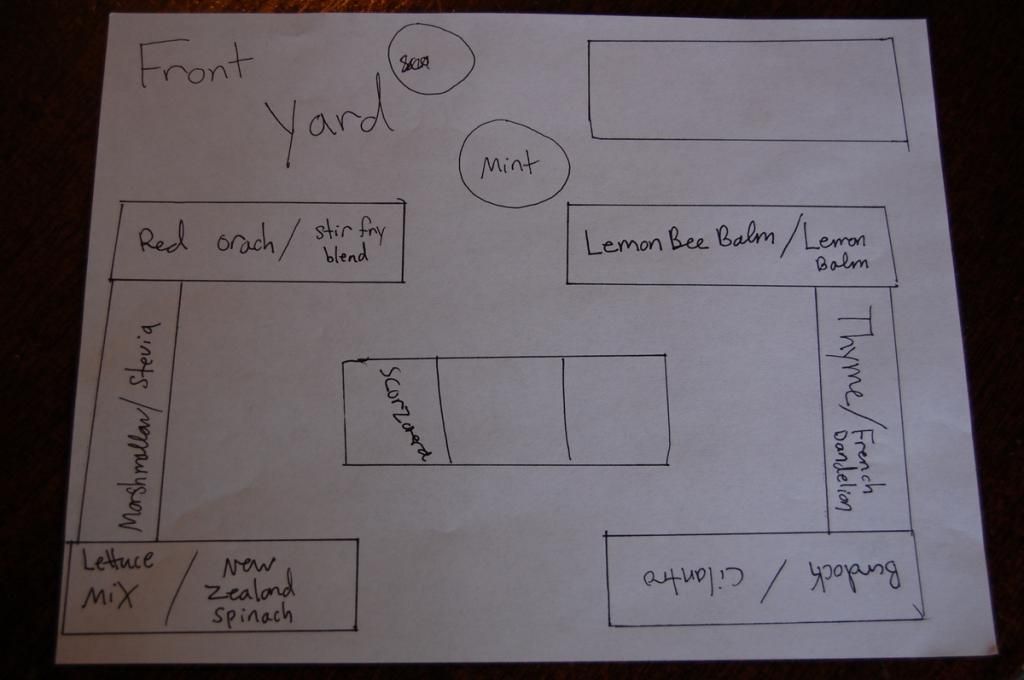
Let's start with the front yard...
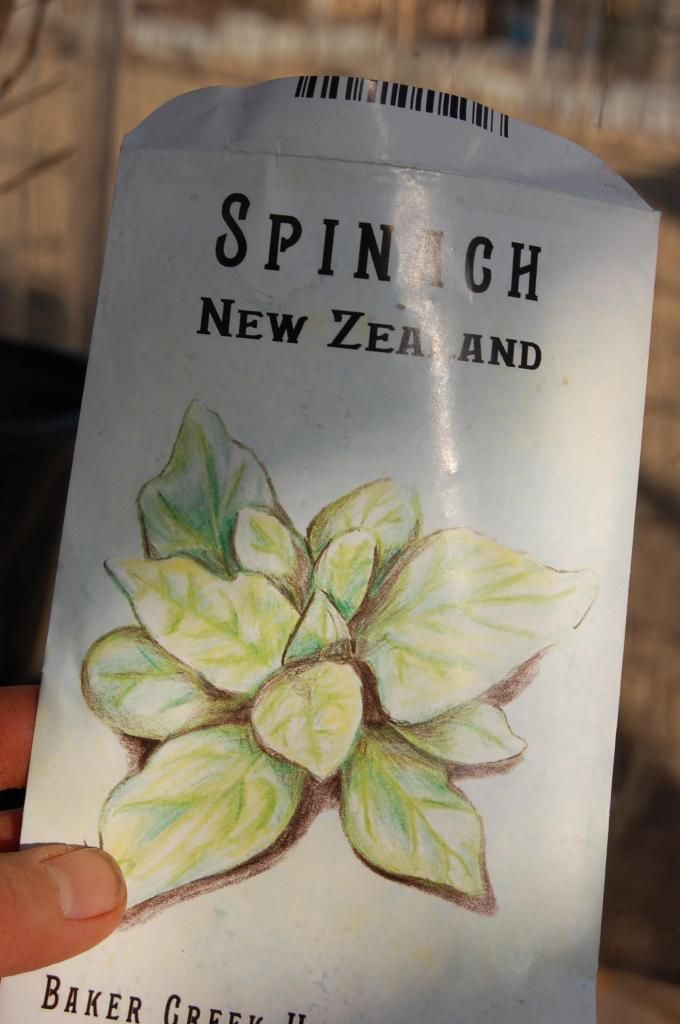
The front yard gets lots of shade, so perfect for some shade-loving herbs, and salad greens (spinach, lettuce, chard, etc). Plus they are handy to grab whenever you need them.
Our raised beds consist of up-cycled shipping crates, and two several wooden frames, who are also up-cycled! Total cost - $0.00
We should have lots of space for all our greens, and some herbs. Then along the perimeter of the yard, we hope to transplant mint, in hopes it will take over and provide some green foliage, and insect repellant.

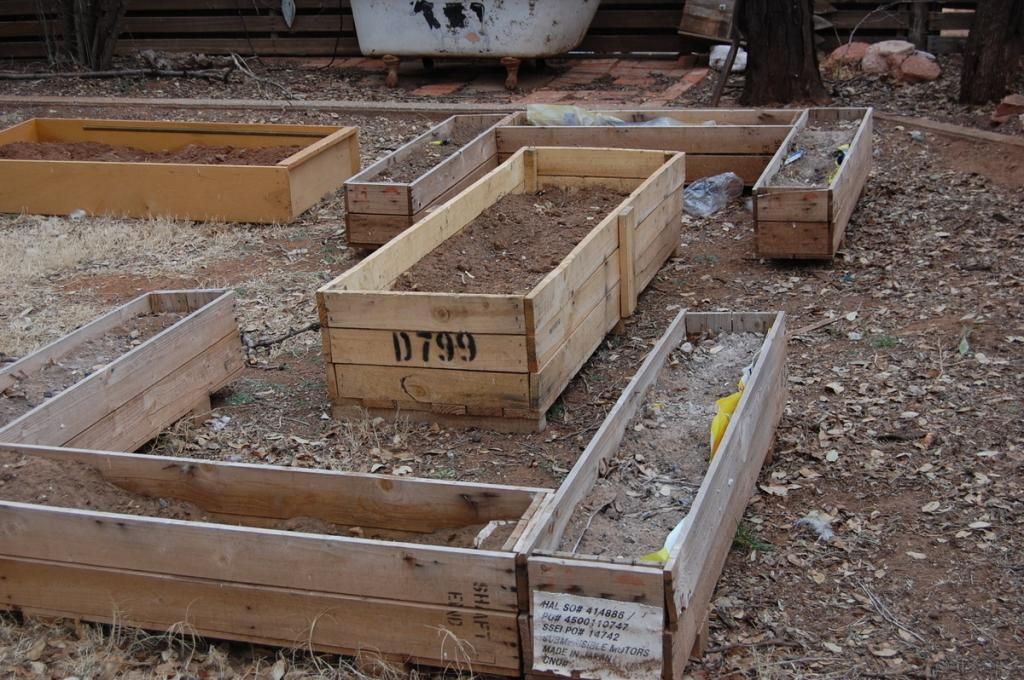
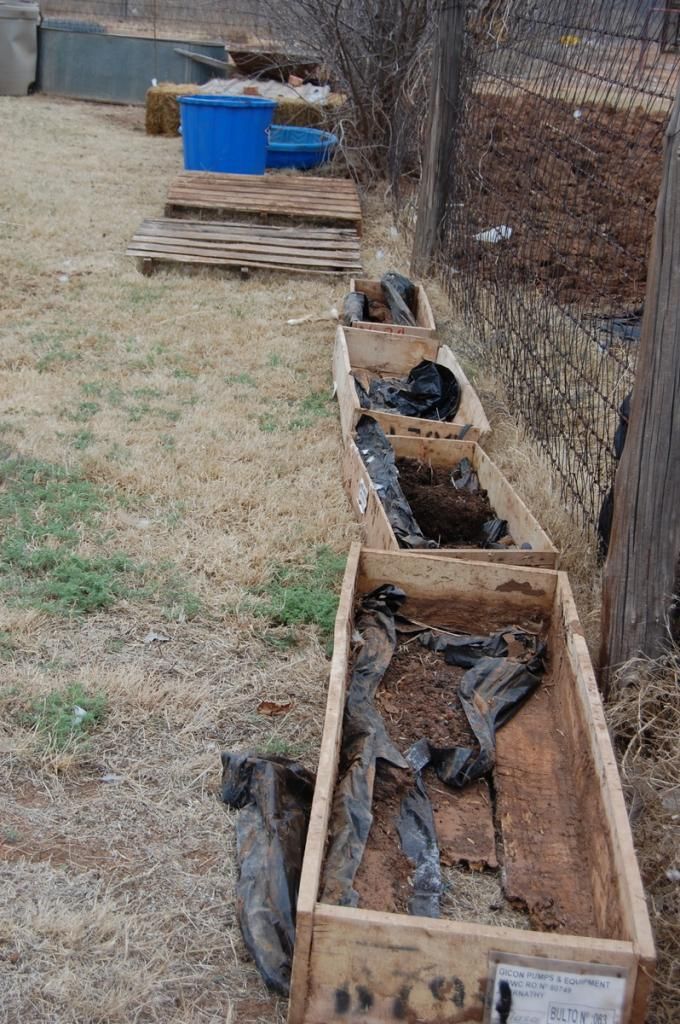
Backyard side garden -
Full view of the side garden.
We have eight beds to work with here, so beets, onions, broccoli, cauliflower, tomatillo, tomatoes, okra, and maybe some peppers will go here. Just depending on what doesn't get planted elsewhere.

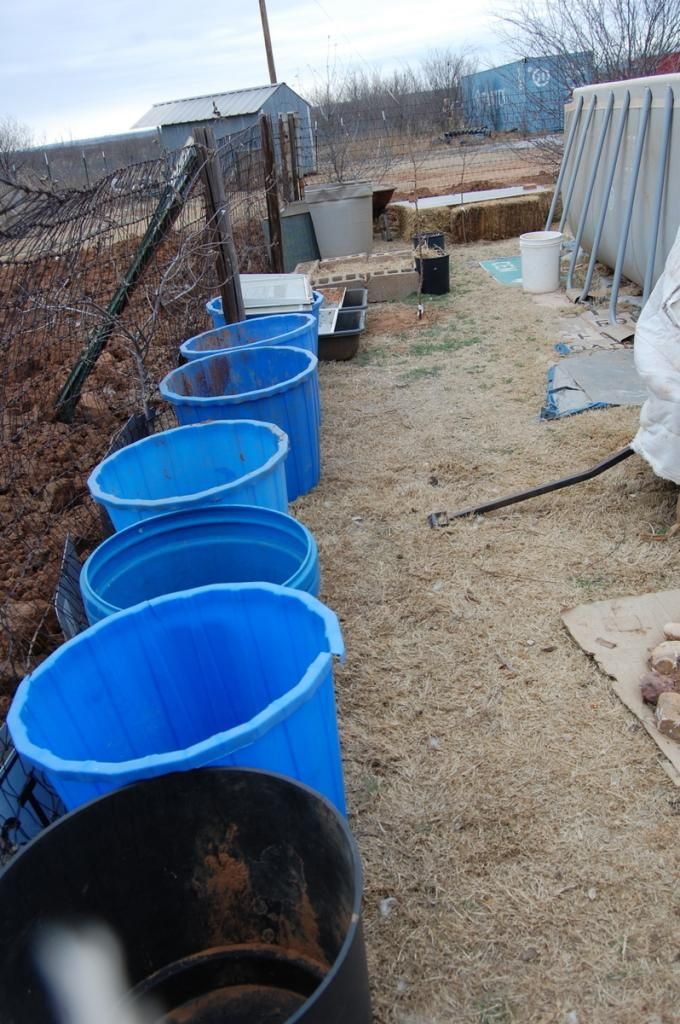
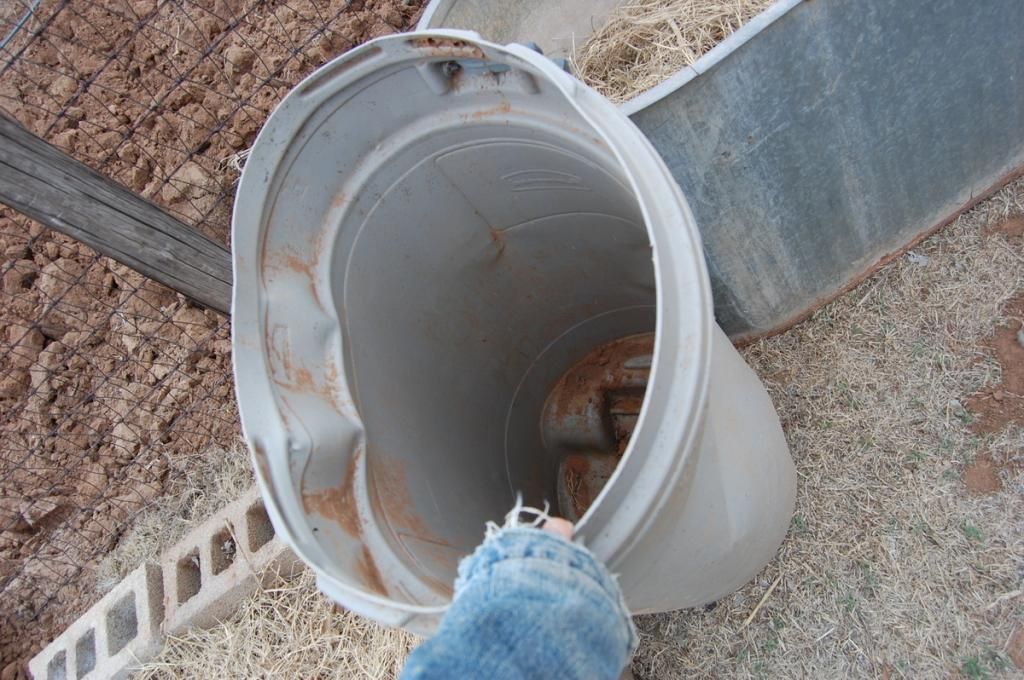
I've gathered up a whole passel of buckets (used to hold minerals for the cattle), so I might try growing some of my beans/peas in them, and allow the plants to crawl up the backyard fence. They would also be good for potatoes.
Radishes or carrots might go here.

My future compost worm container:
I am SO excited about growing worms this year! They will help in breaking down compost material, eating many of the scraps that the chickens won't touch (coffee grounds, egg shells, tea bags, etc), and they will provide the chickens with an occasional high-protein treat. Their uses are endless!
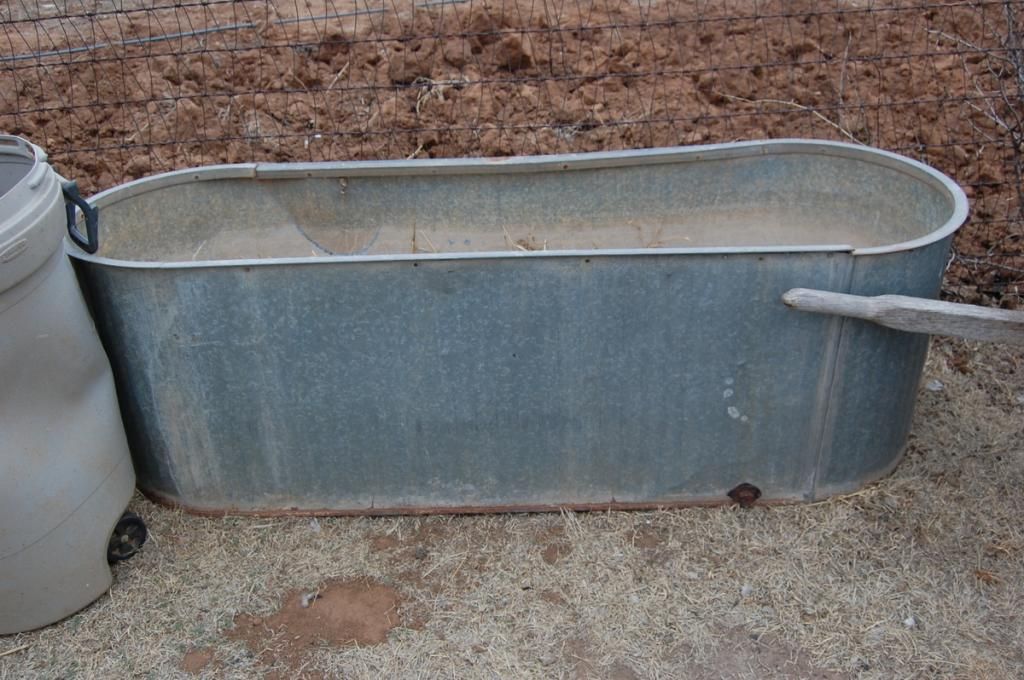
Potato bin:
Potatoes are one of the root vegetables that I would like to store a whole bunch of, so I have a feeling I'll have potato plants stashed everywhere! ;)
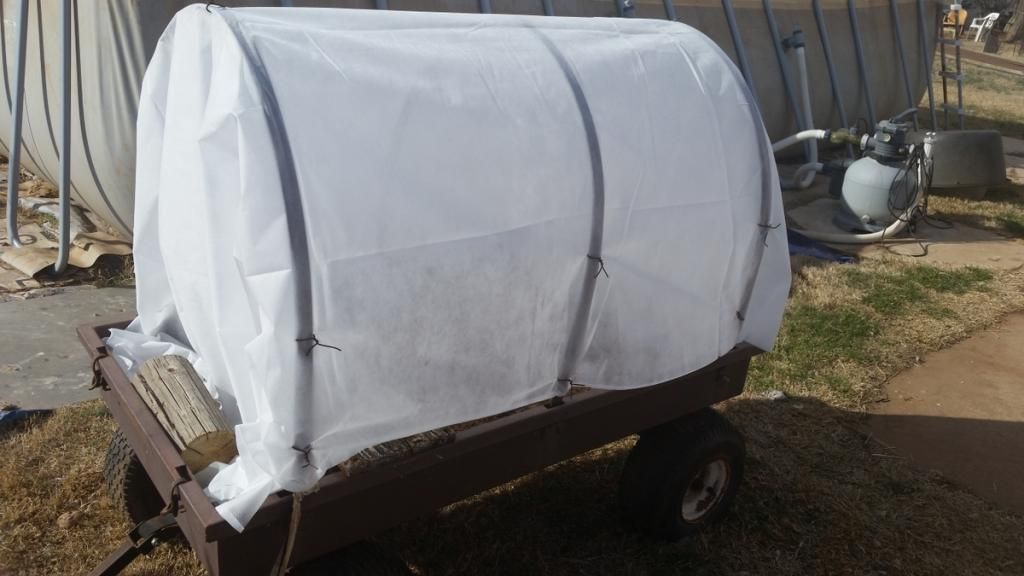
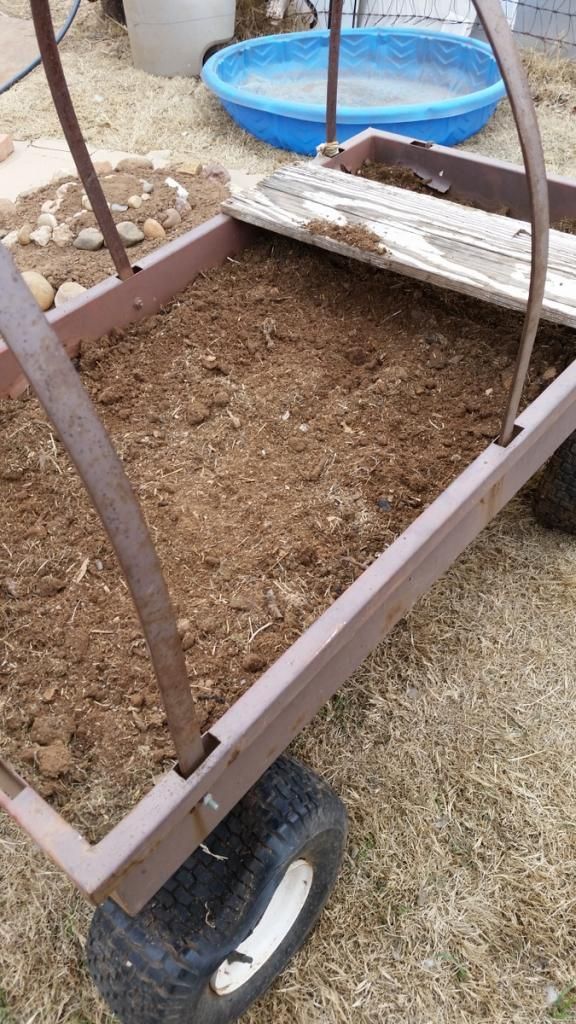
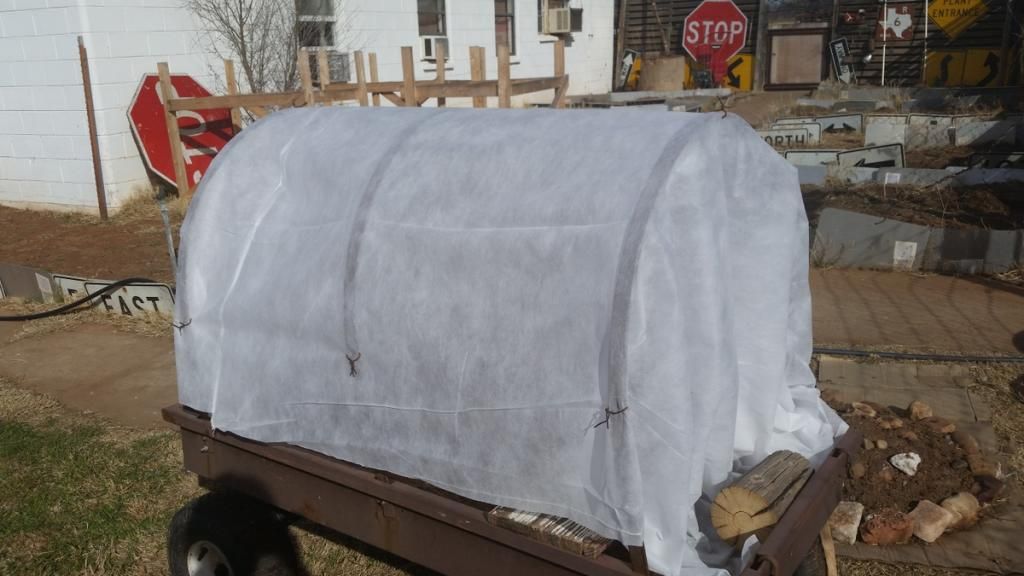
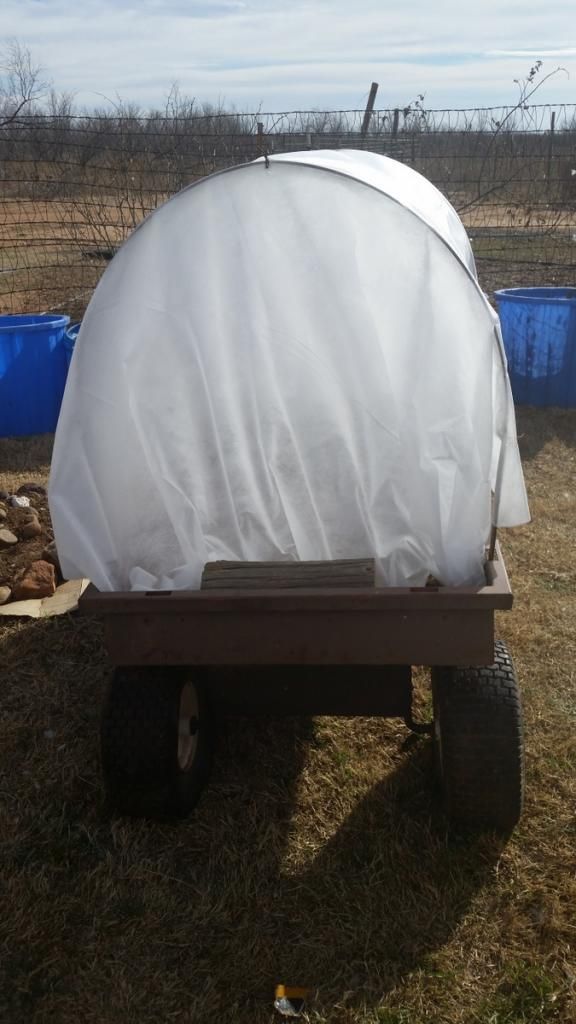
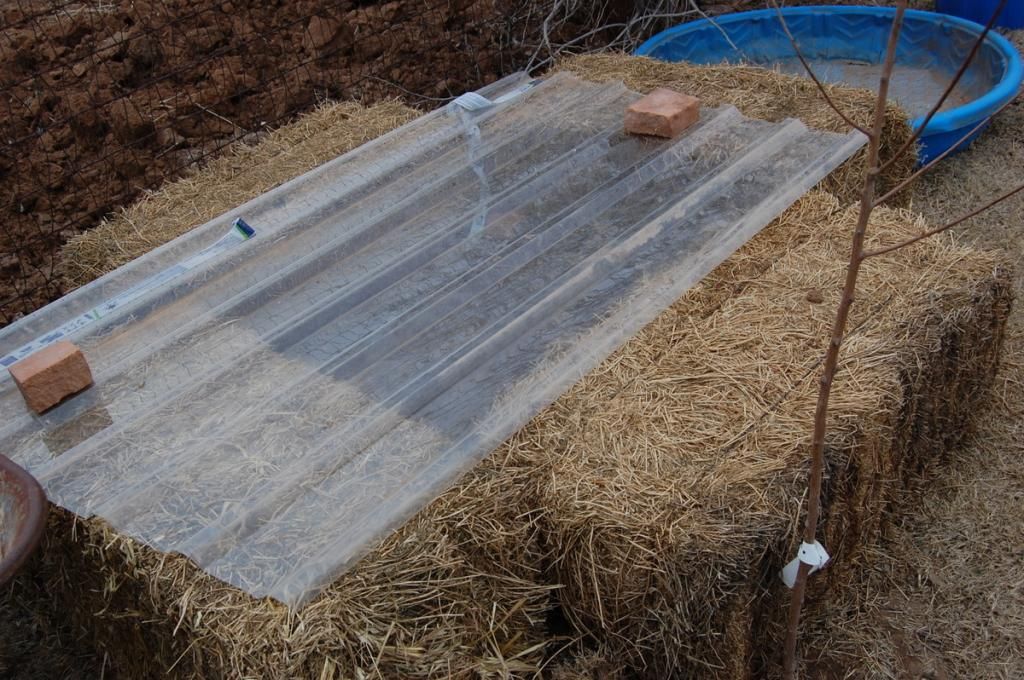
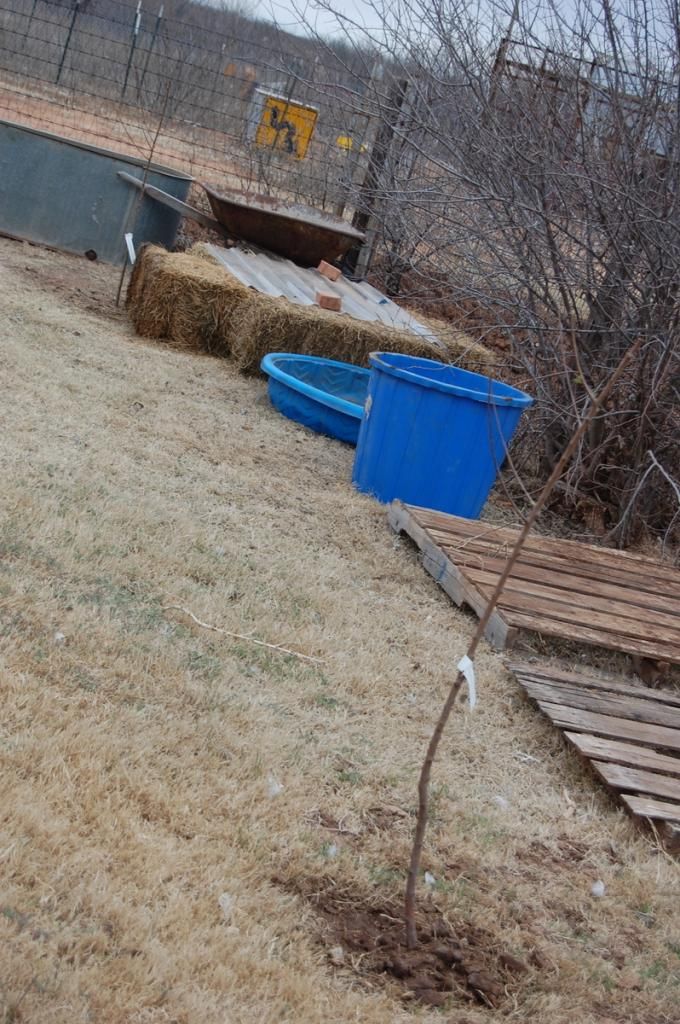
A cold frame I threw together one afternoon. I've attempted to grow some spinach, but the cold weather keeps interfering with their growth.
Once spring arrives, I can take the plastic covering off and use it as another raised bed. I've also heard you can plant seeds in the hay-bales themselves. We might give that a try...
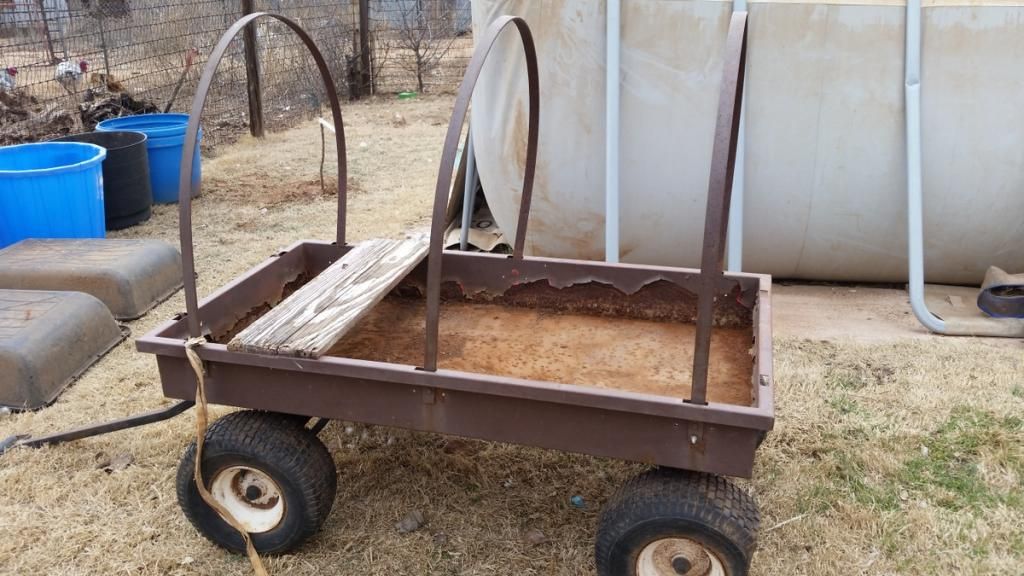
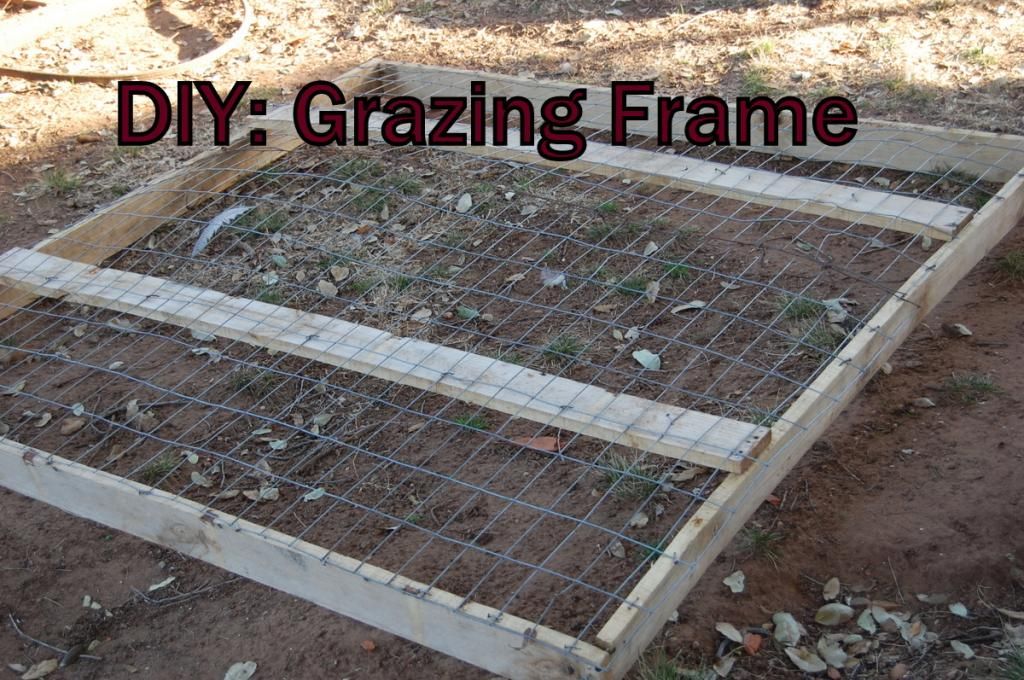
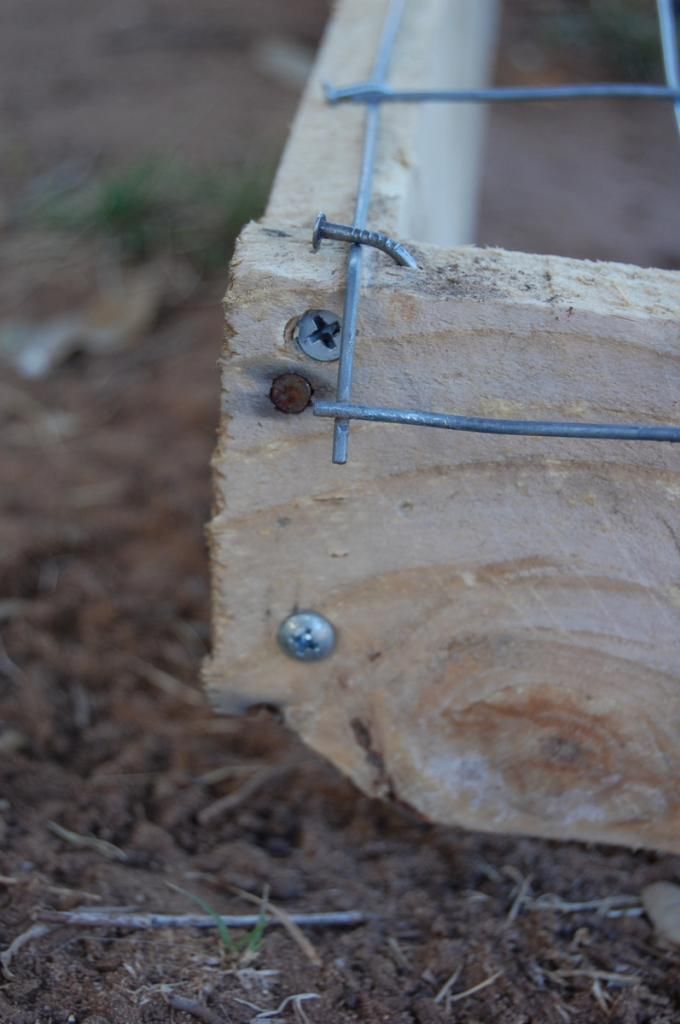
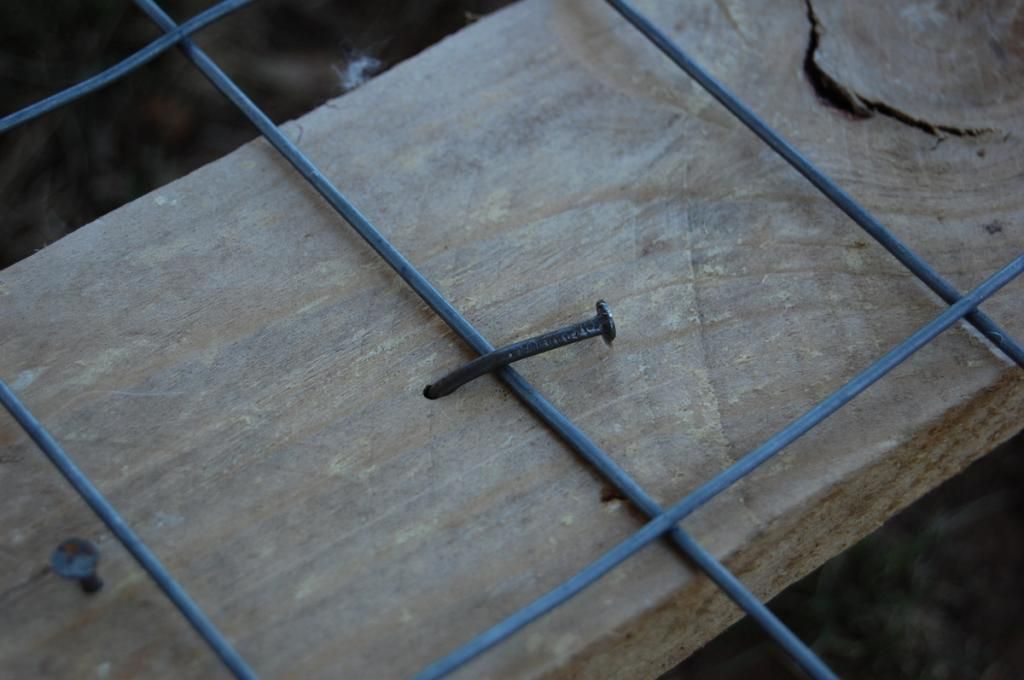
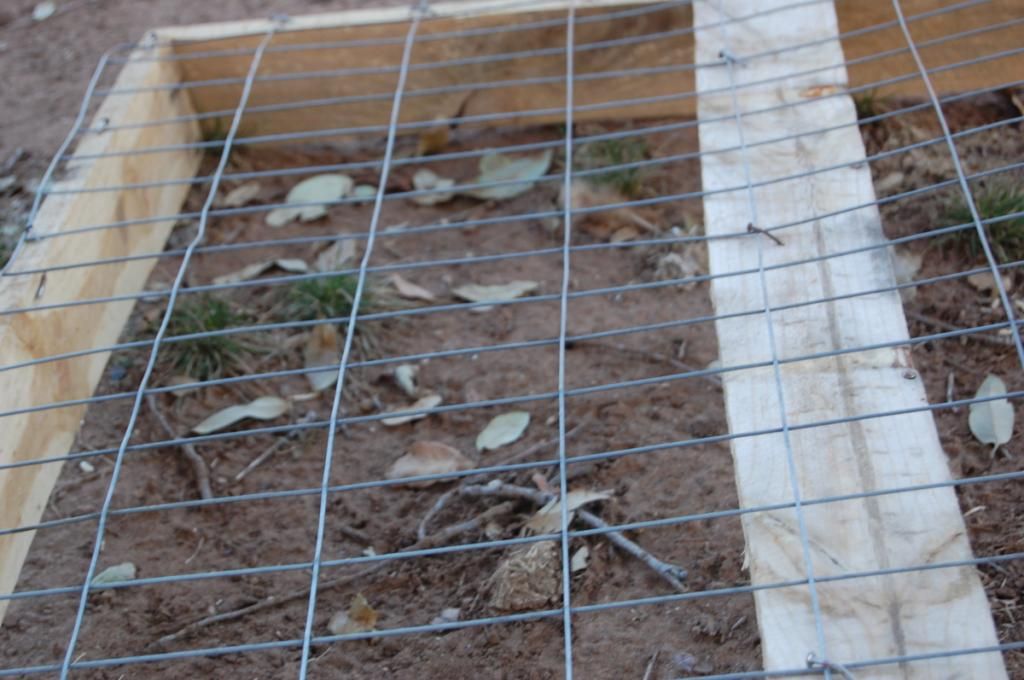
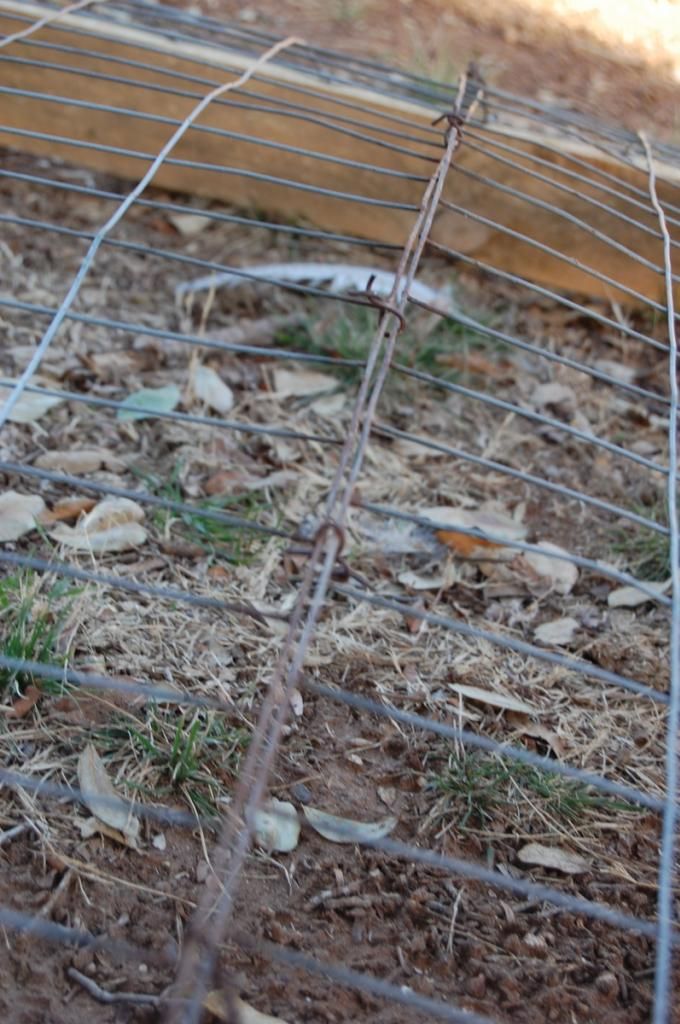
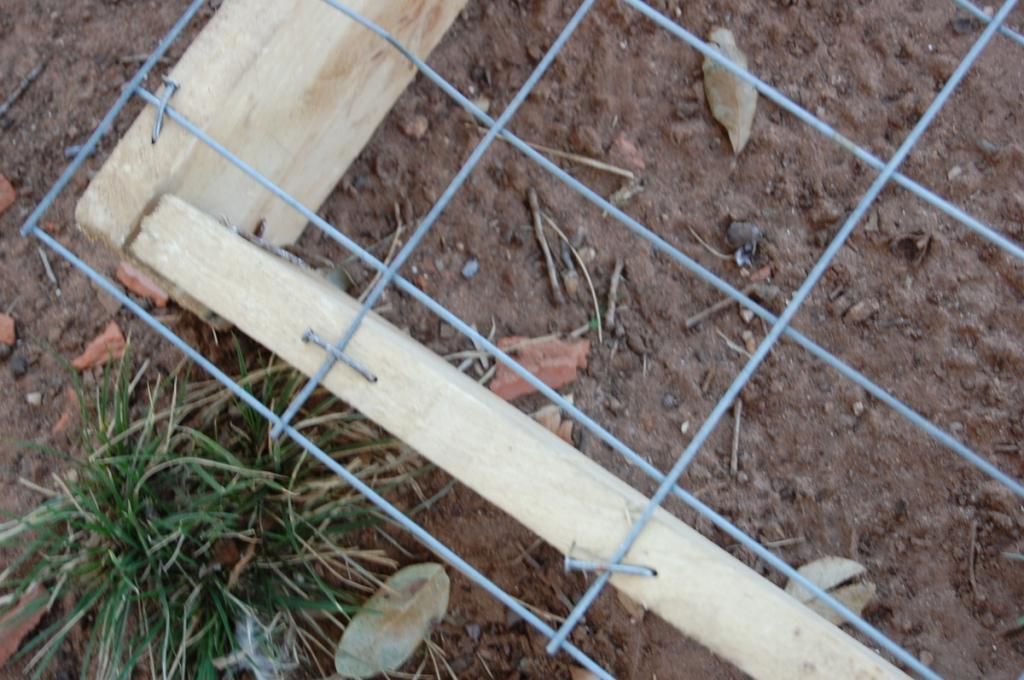
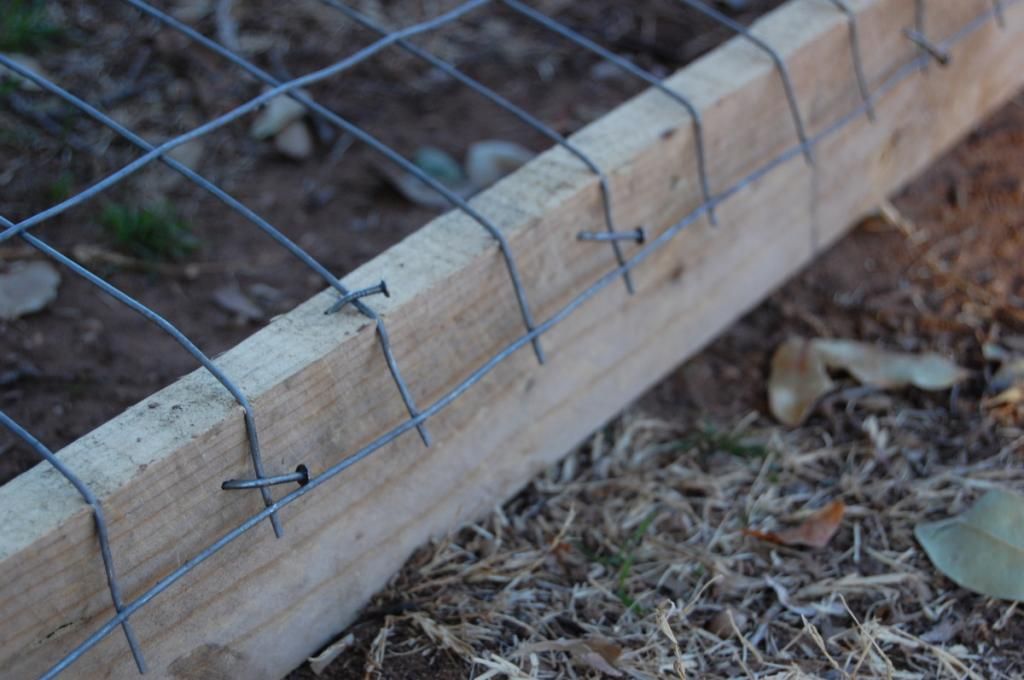
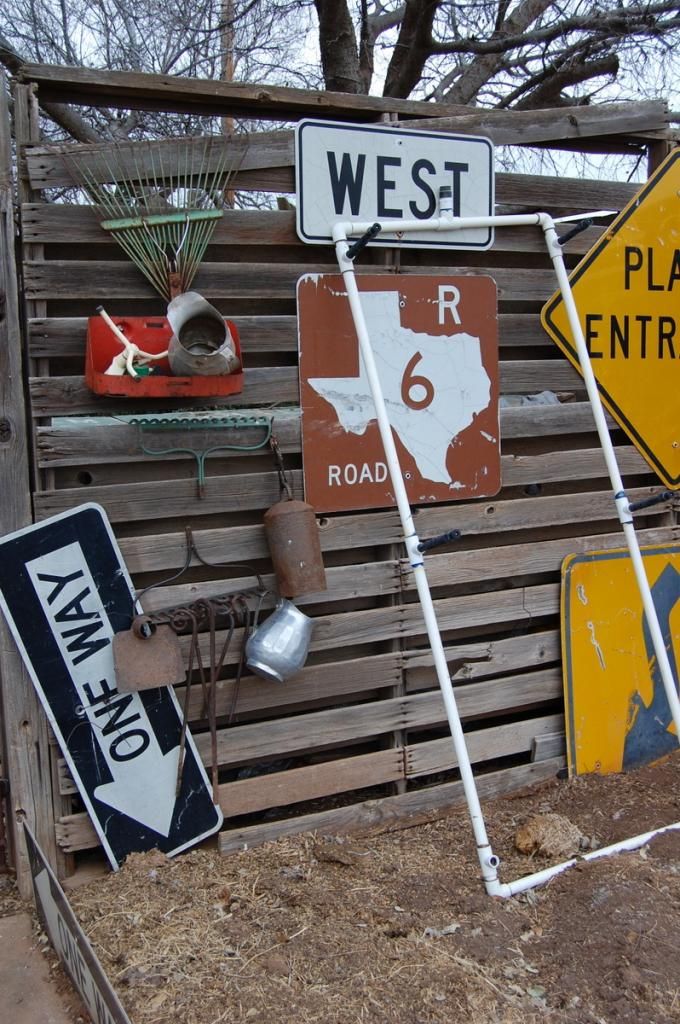
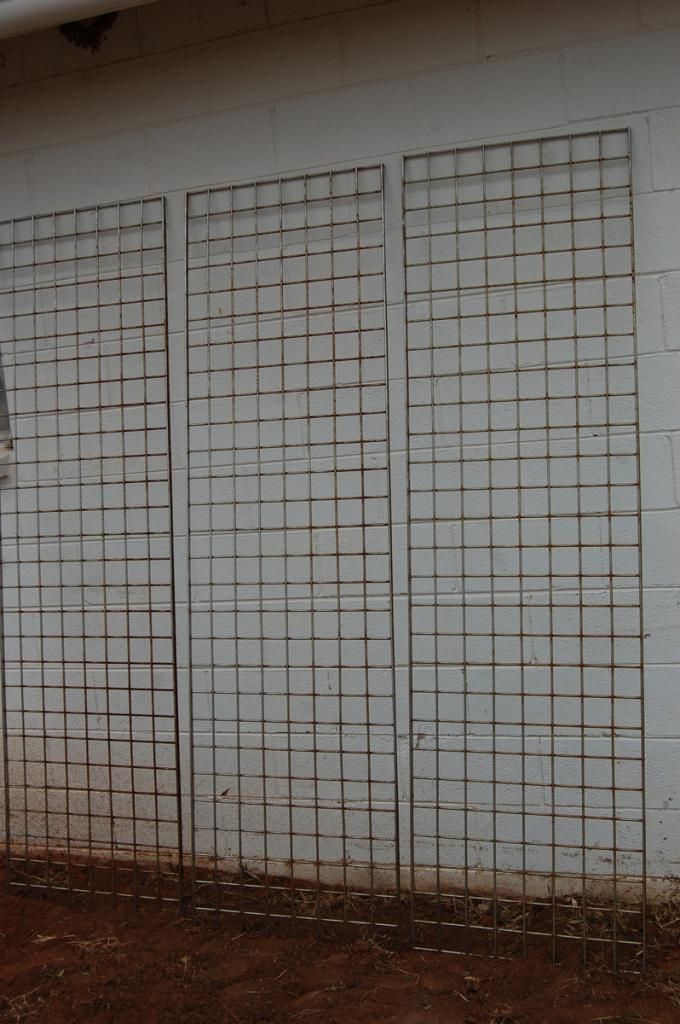
Amongst my various cleaning projects, I came across these three metal-knitted frames. I was pondering what they could be used for, and then it came to me...they would be perfect for trellises!
After cleaning out the greenhouse the other day, I found four more small shipping crates. Not sure where they will end up. I had planned on building my rabbit and quail hutches along the fence-line where they currently are.
Bad picture, but can you see the two small treelings? Good. Those are a couple of our almond trees! Although, I think it'll be awhile before they produce nuts.
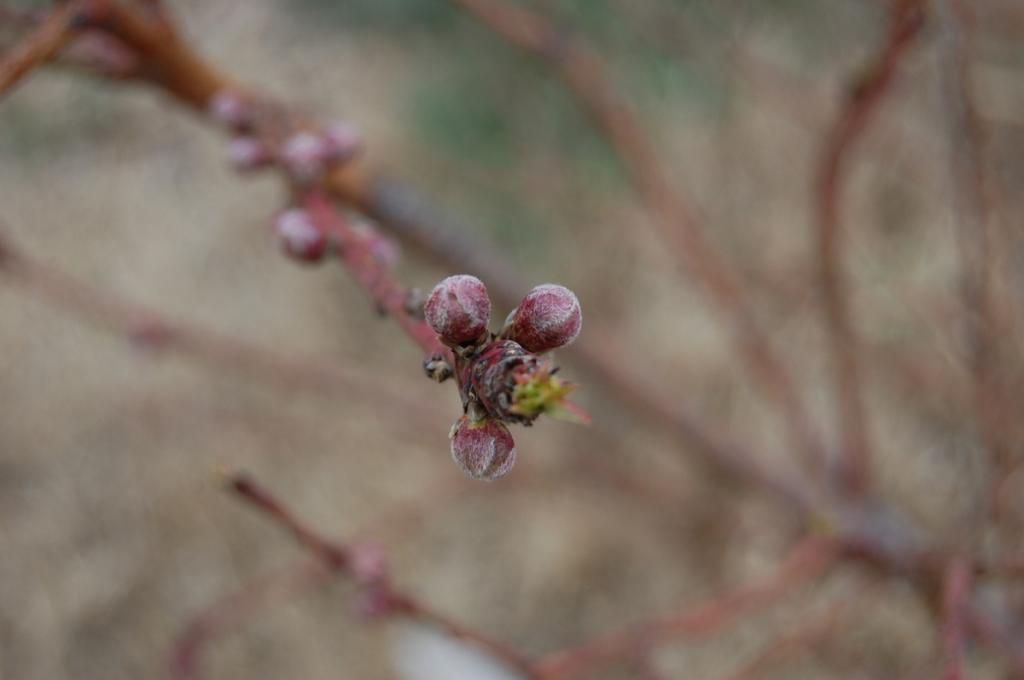
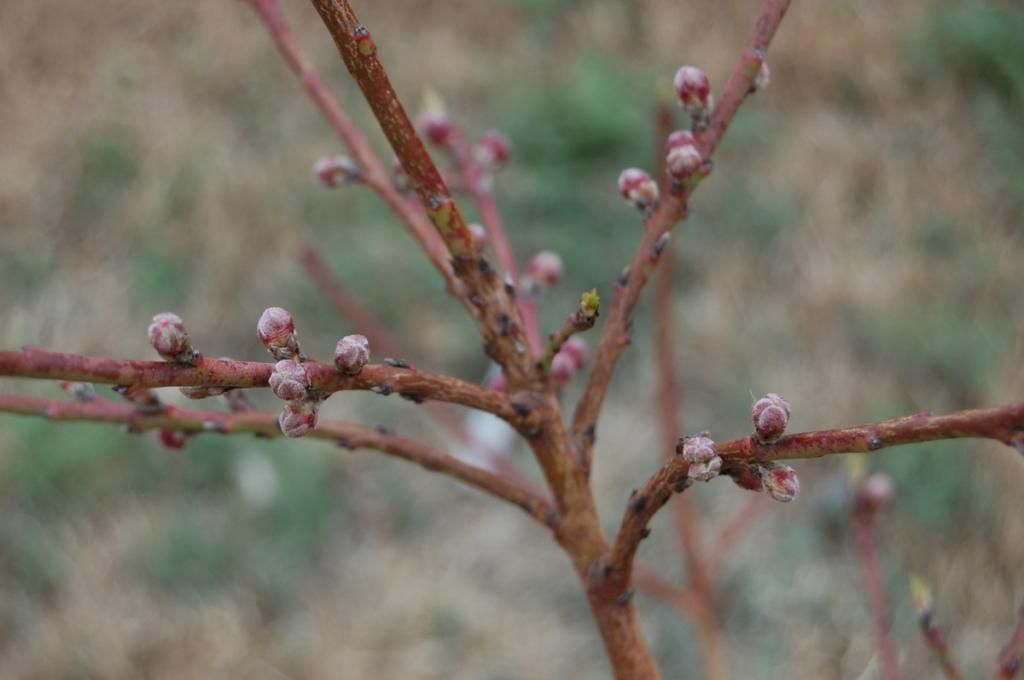
Our apricot trees are blooming!
I've found myself without any fresh compost, so I've been actively cleaning out all the feathered dinosaur (a.k.a poultry) pens, trying to build up my compost pile.
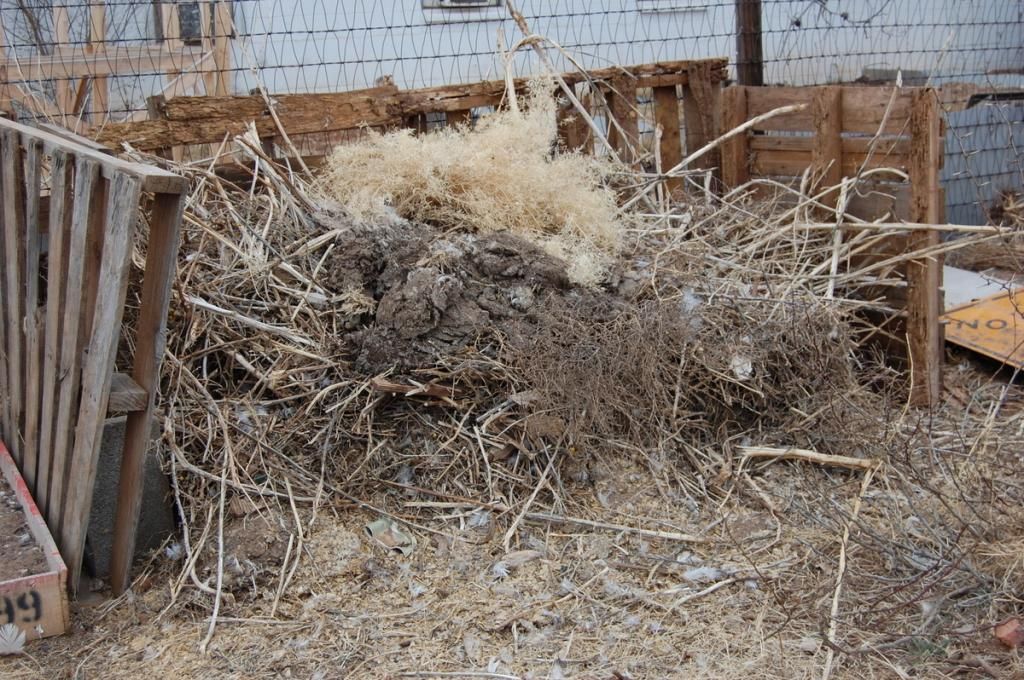
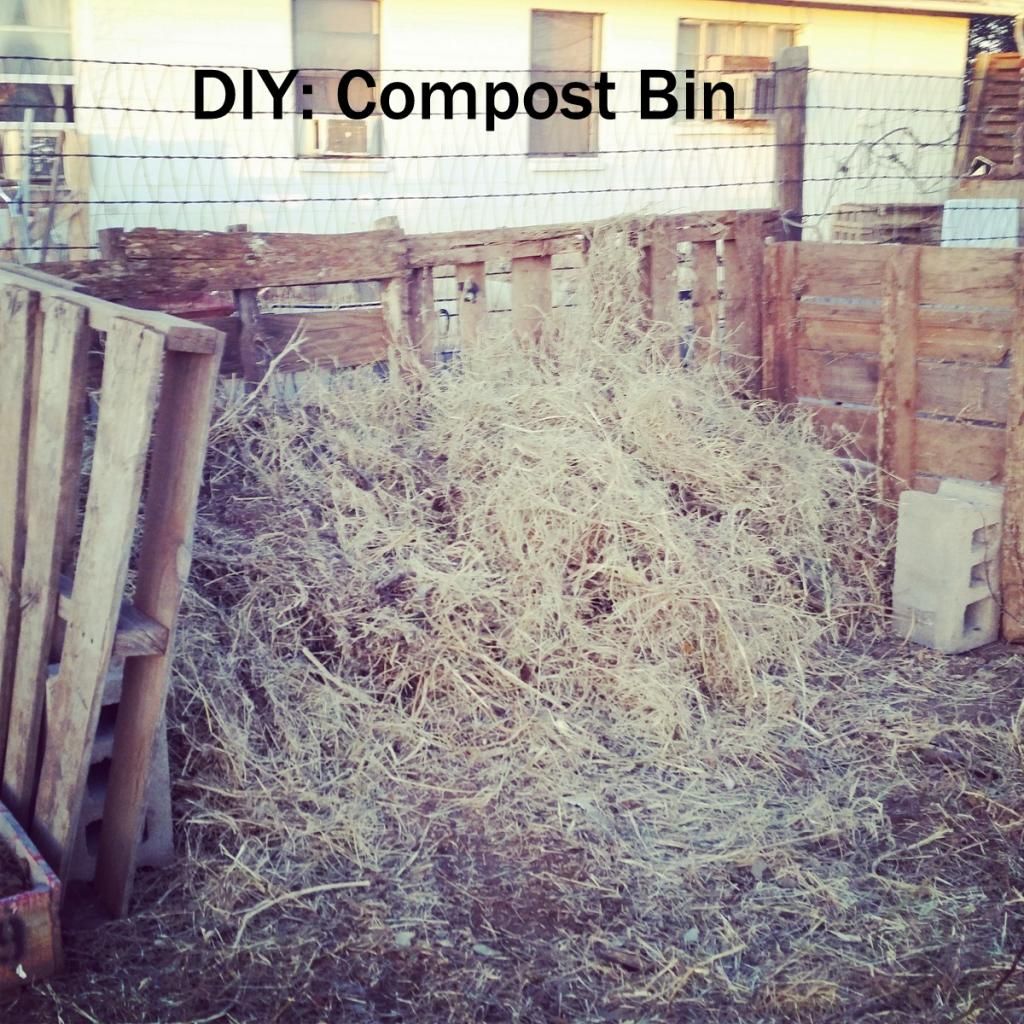
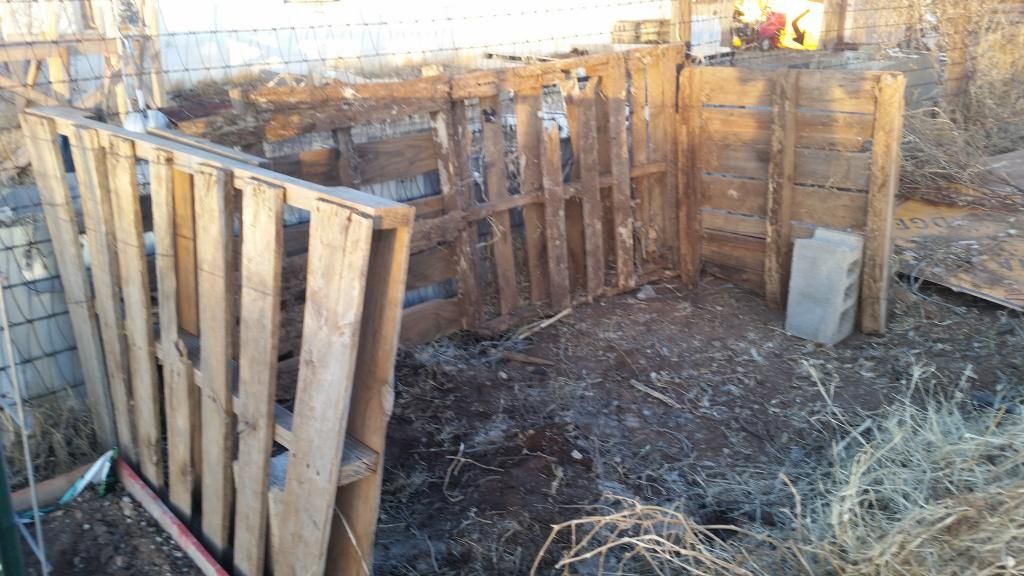
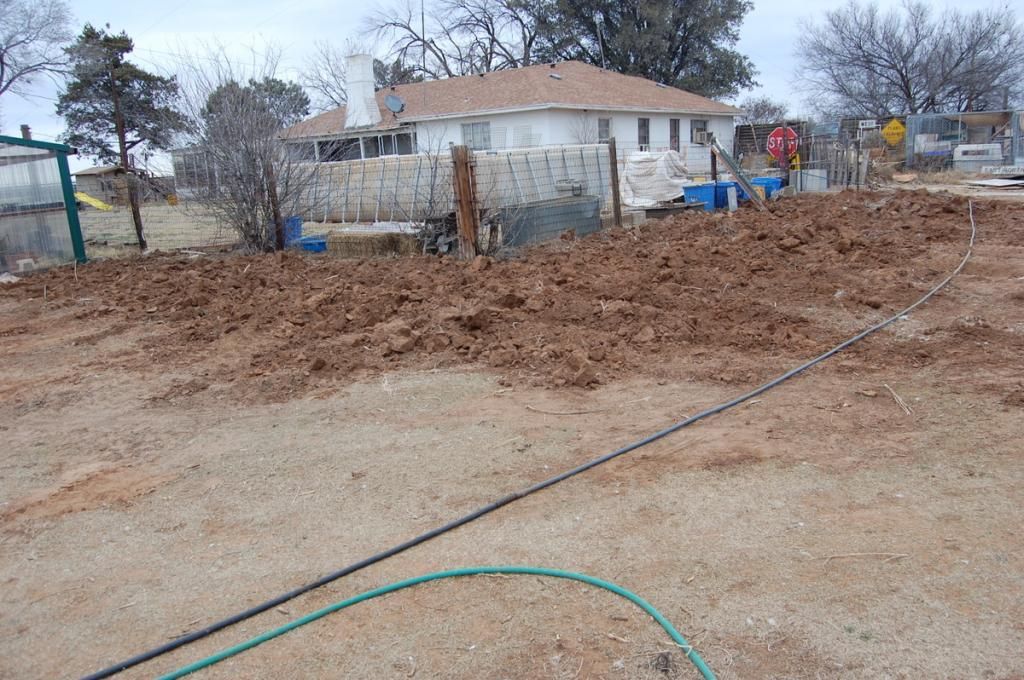
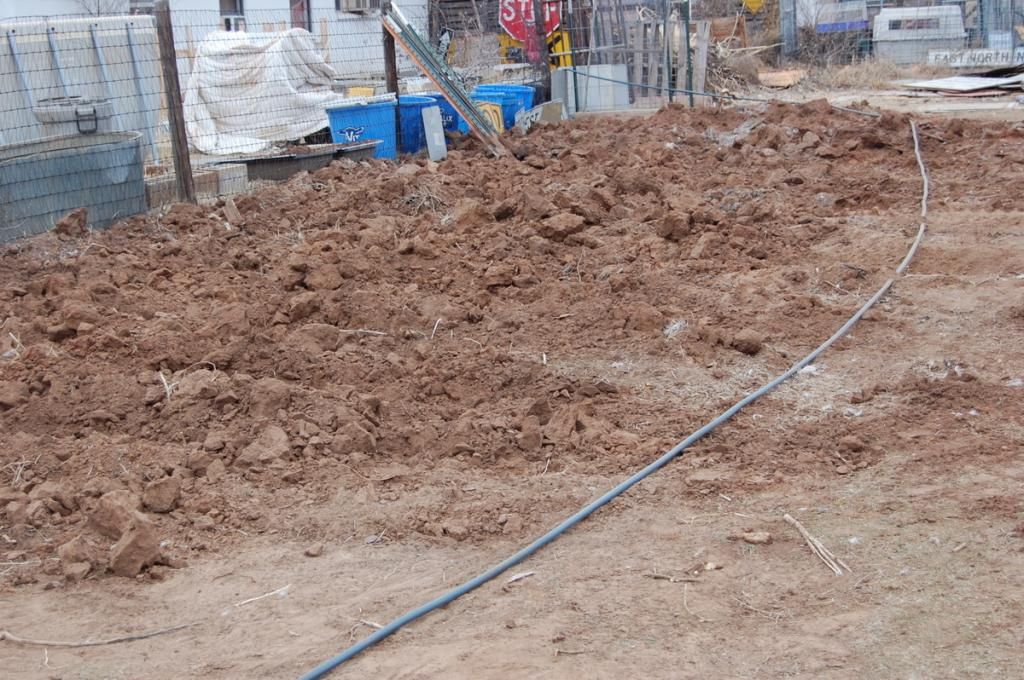
This plot here is what will be the corn/squash/pumpkin patch. I just finished tearing down the old compost fence, and cleaning it up. Then dad cleared some bothersome mesquite trees, that long since needed to go. Then he broke up the ground using the bobcat, to make the tilling job easier for the tiller.
So the next step is to build a bigger and better fence around the plot, and till'er up.
These are our last three beds in the backyard, they border the back porch.
Here, are two rose bushes are planted, and our mint patch. The original plan was to plant Echinacea here, but my brother's fiancee asked me to grow bluebonnets for their wedding in May, so I may have to use all this space for those, OR plot out and fence in another area just for a flower patch.
I'm still figuring out where all the different plants will grow best, and how much to grow of each plant, but this post will give you a glimpse into my gardening master plan.
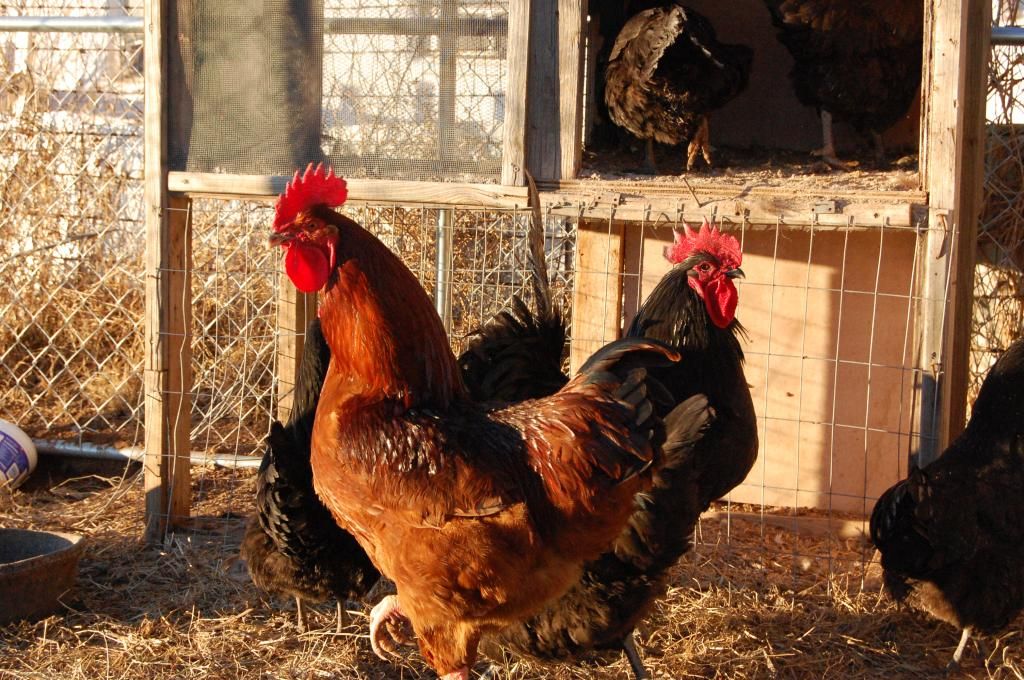
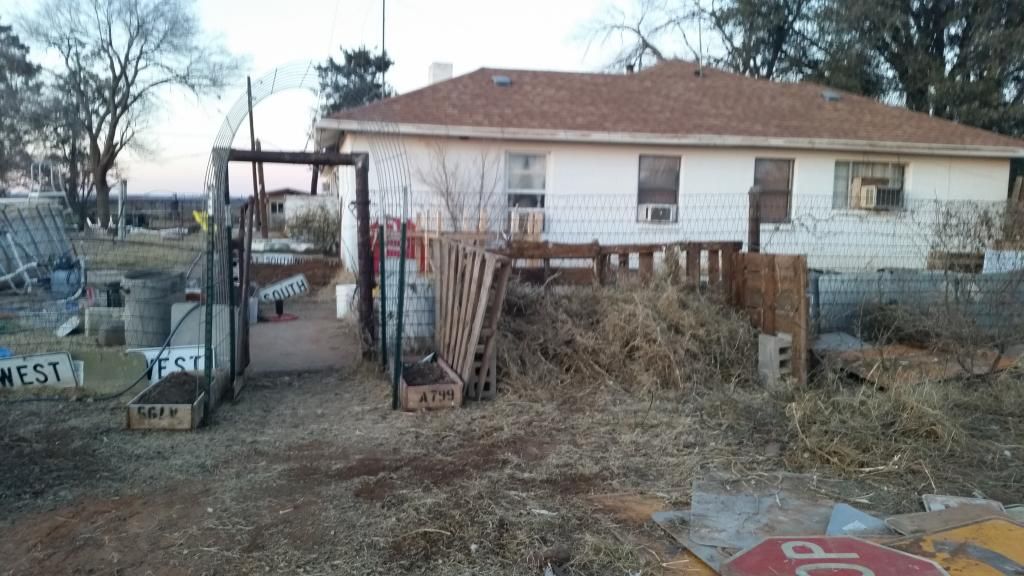
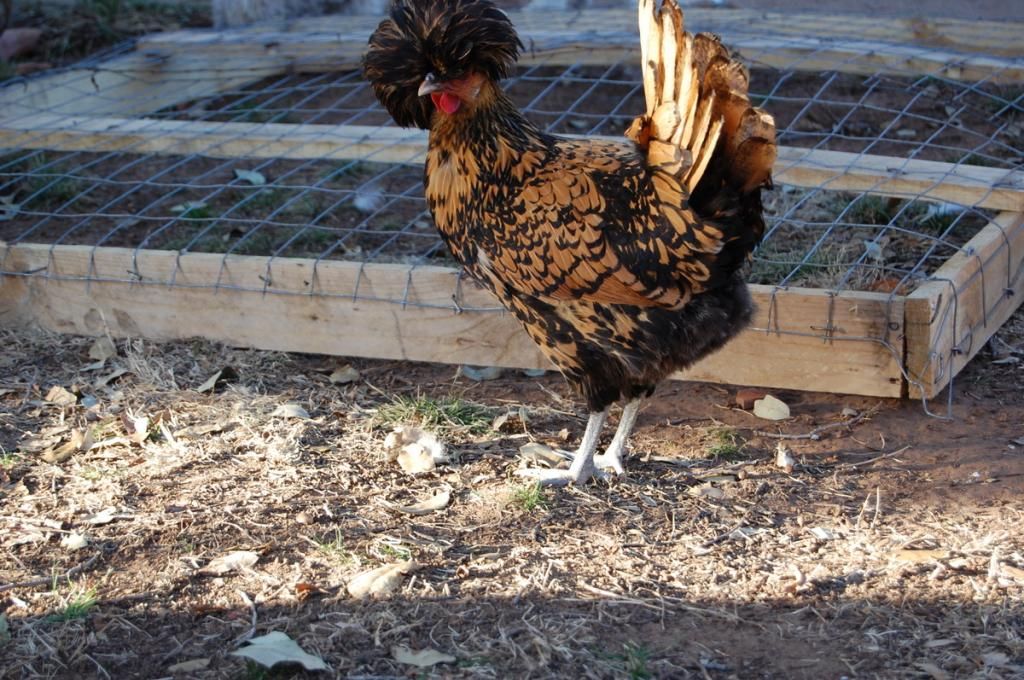
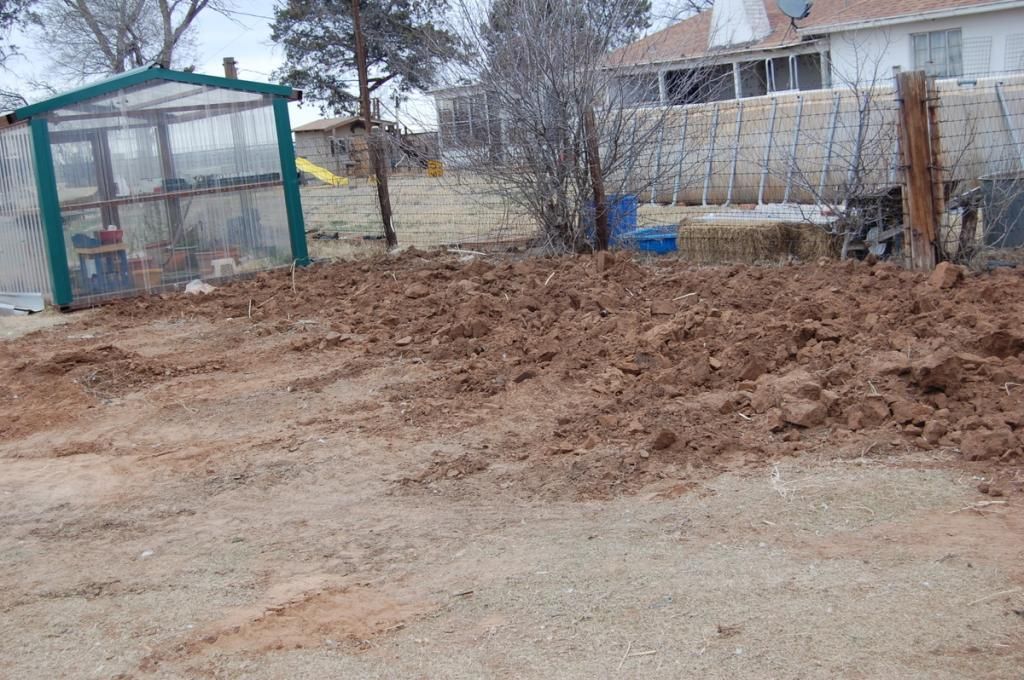
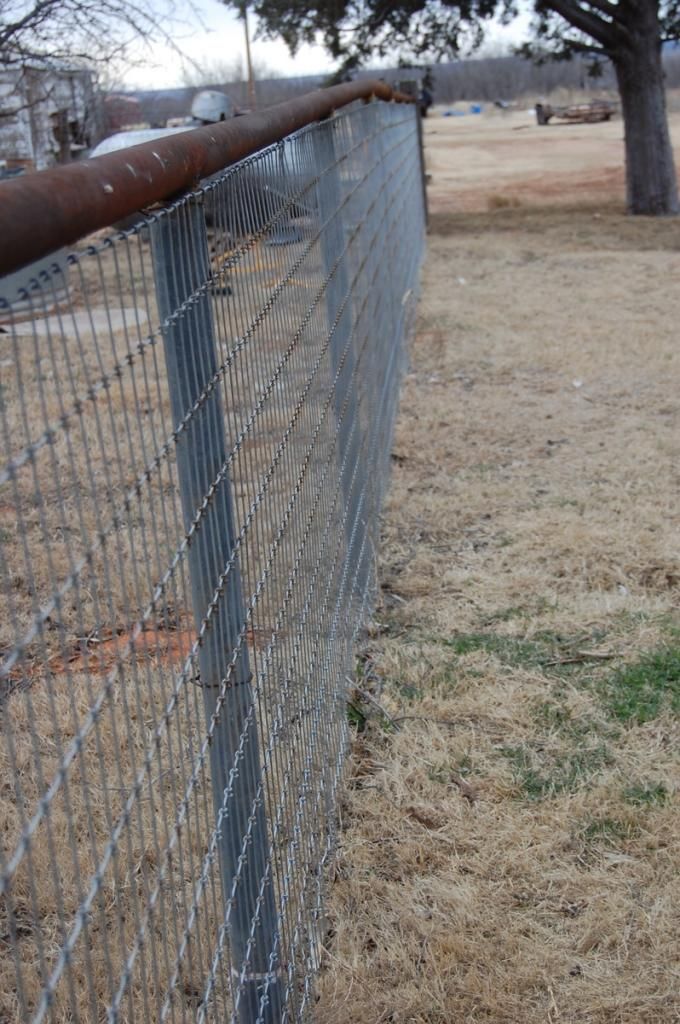
And last, but certainly not least, is our project "Fortify The Backyard". I happen to own a handful of critters who would love to get their hands (or beaks...) on my garden produce (insert turkeys, ducks, chickens, geese, and peafowl...), so we are going to extra efforts this year to keep them out, and keep our garden harvest safe from said critters. This lovely new fence that dad built will certainly help in that department, but we still have several gates and holes to fix before it's critter proof.
I've given you a small peak into my garden plans, so now let's hear yours!
I've just about garden-talked my family to death, so I am in desperate need to talk garden with somebody! That's where you come in..leave me a comment and tell me your garden plans for this year.
Blessings -
~ Aspen
In case you missed my last post on what all I will be planting in the garden this year: 2015 Seed List
See also my Gardening Board on Pinterest.