
It's
the dead of winter, your chickens haven't had fresh greens in weeks!
How do you supplement fresh greens during the winter months, when all
other vegetation is dormant? Easy! Build a grazing frame and grow your
own wheat grass (or foliage of your choosing) all winter long (unless of
course you live in Alaska or something..then never mind.) and keep your
chickens occupied at the same time! Here's how...
You will need:
- Wire cutters
- Pliers
- A roll of welded wire
- 6 pieces of re-purposed wood
- Nails
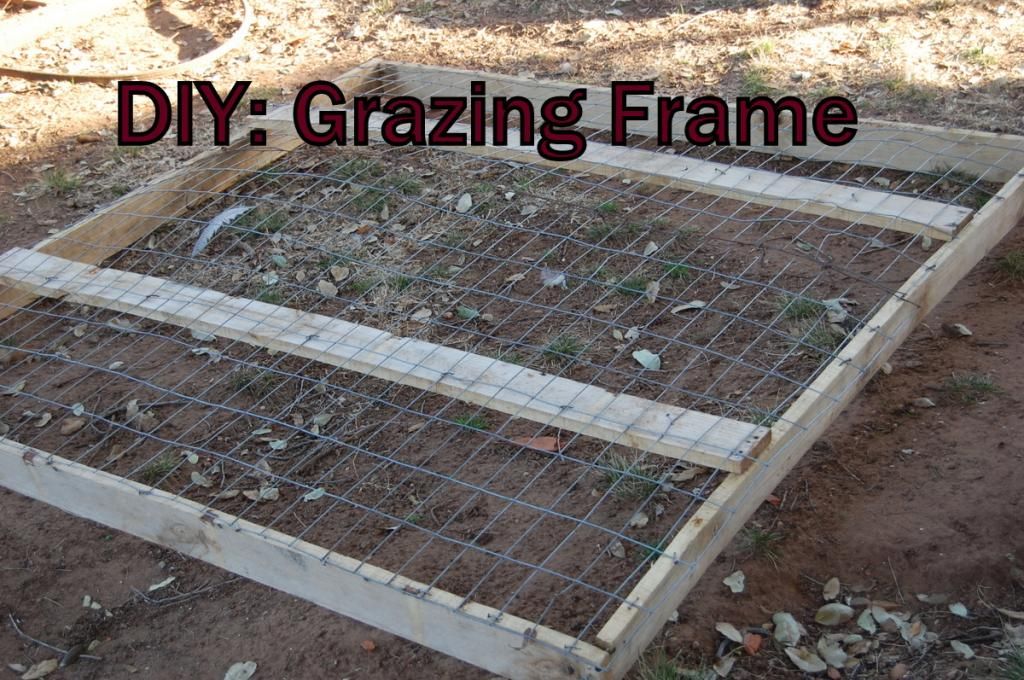
First off, figure out what shape your frame is going to be. Mine was a square, so start screwing them together.
Rabbit Trail: Never again will I try and use a cheapy drill that is a piece of junk. Oh yes, I drilled them all together, because I wouldn't let it lick me, but boy howdy! I think I'll just be old-fashioned and stick with hammer'n nails! End of rabbit trail.
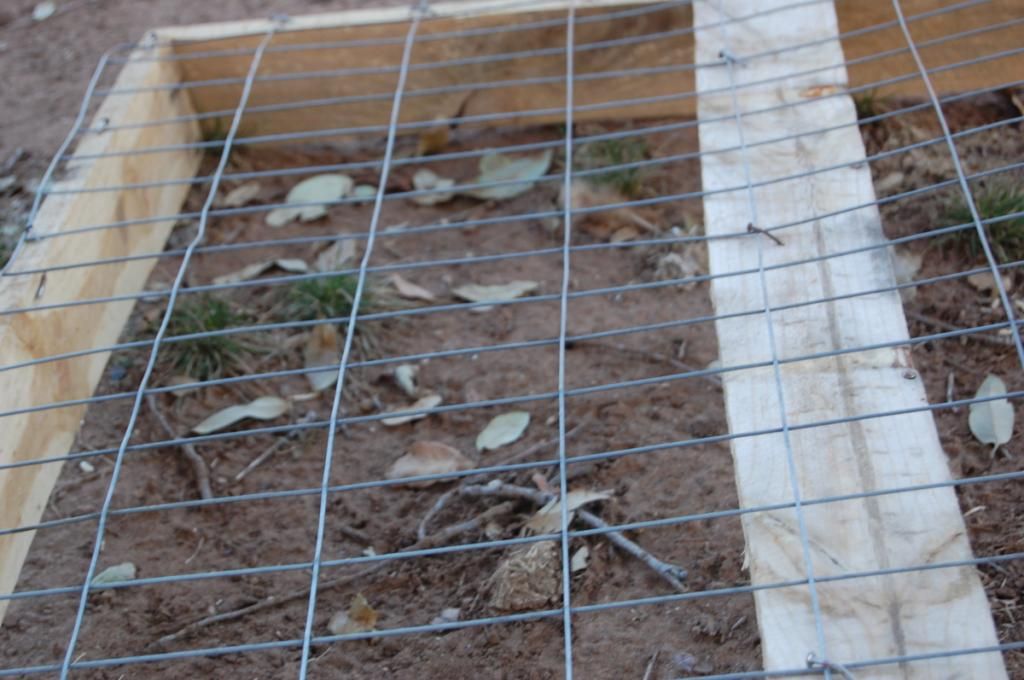
Once your frame is nailed together (or you could knock yourself out and screw them together...like..*ahem* I did), lay your last two boards on top of your frame and nail them down on either side.
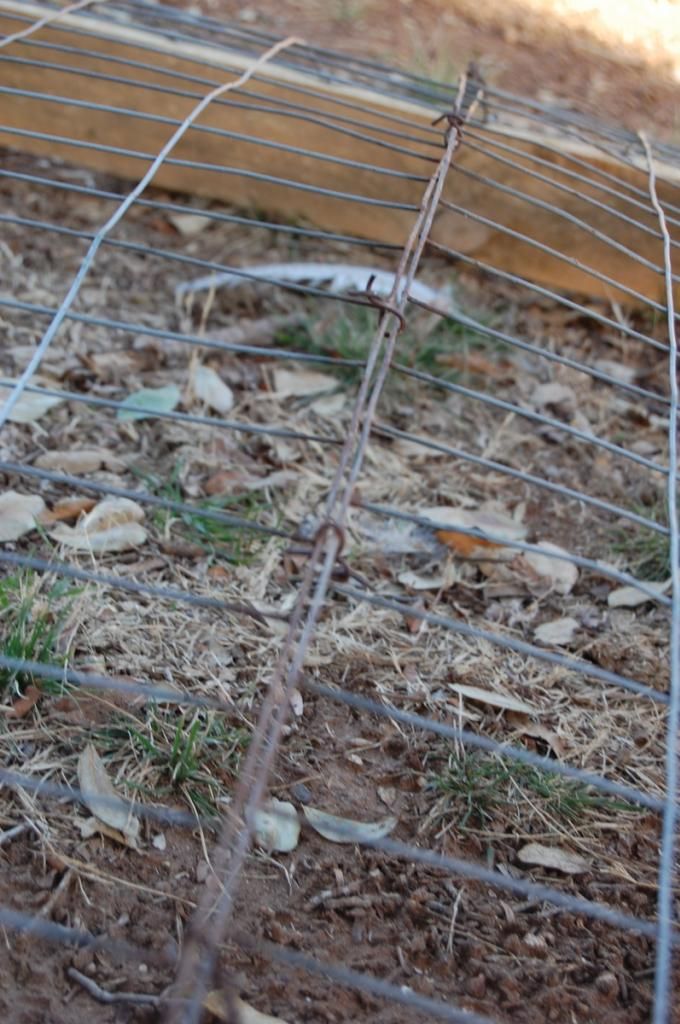
Begin cutting your wire
to fit your frame, leaving a few inches extra on each side that you can
nail down later for extra secure-ness.
Then overlap your wire on top of your frame.
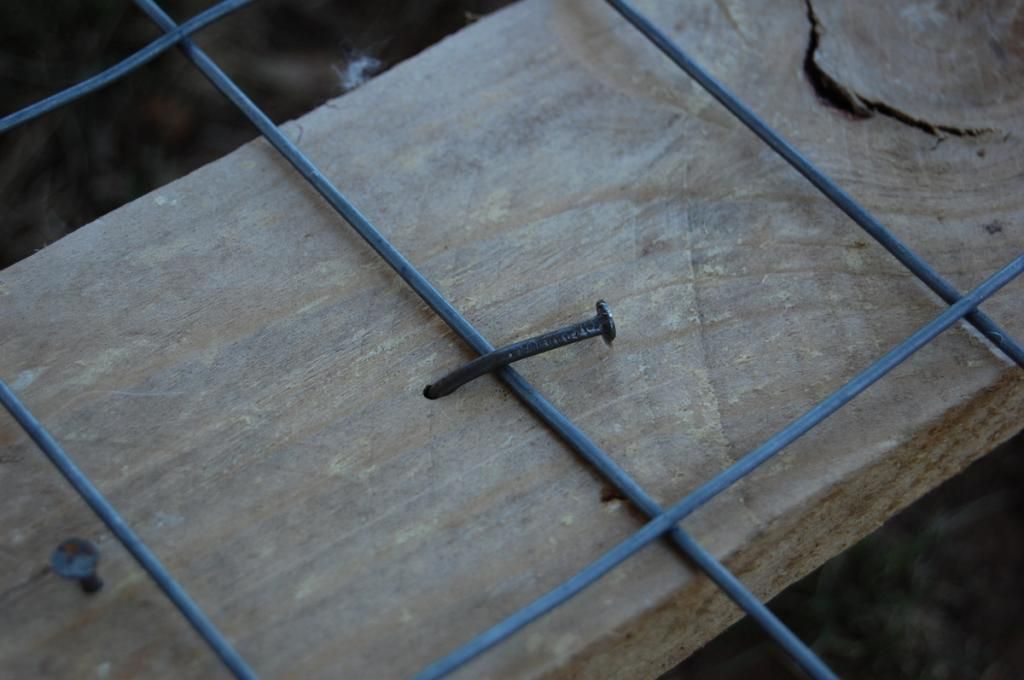
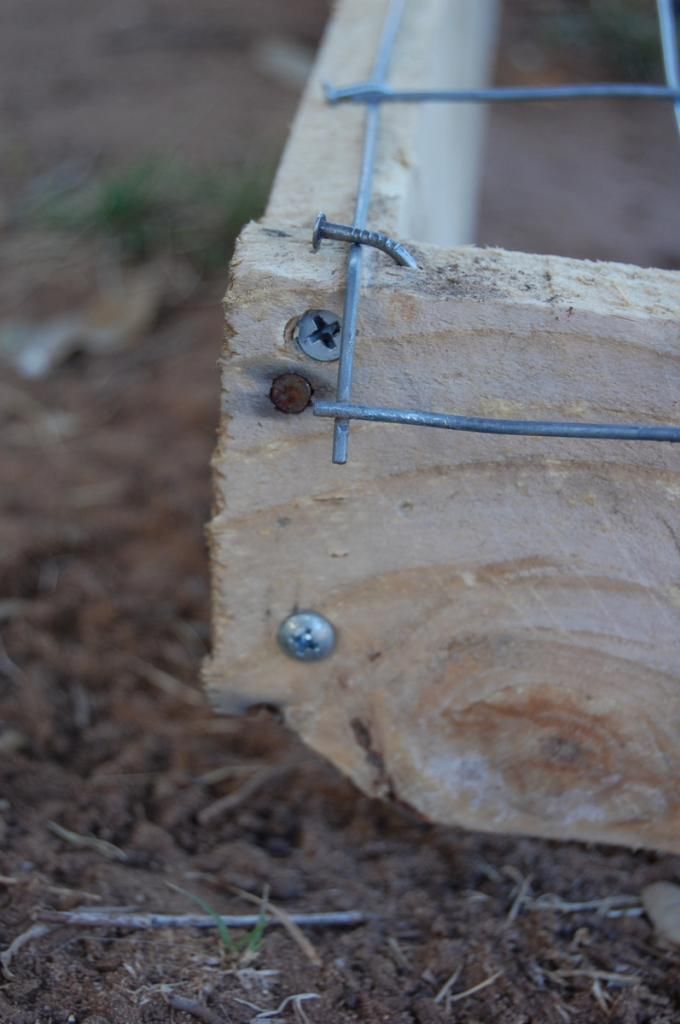
Now, go about nailing down all 'round the perimeter of your frame, securing the wire. Don't forget to nail the wire to your two supporting boards to keep your wire from bulging up.

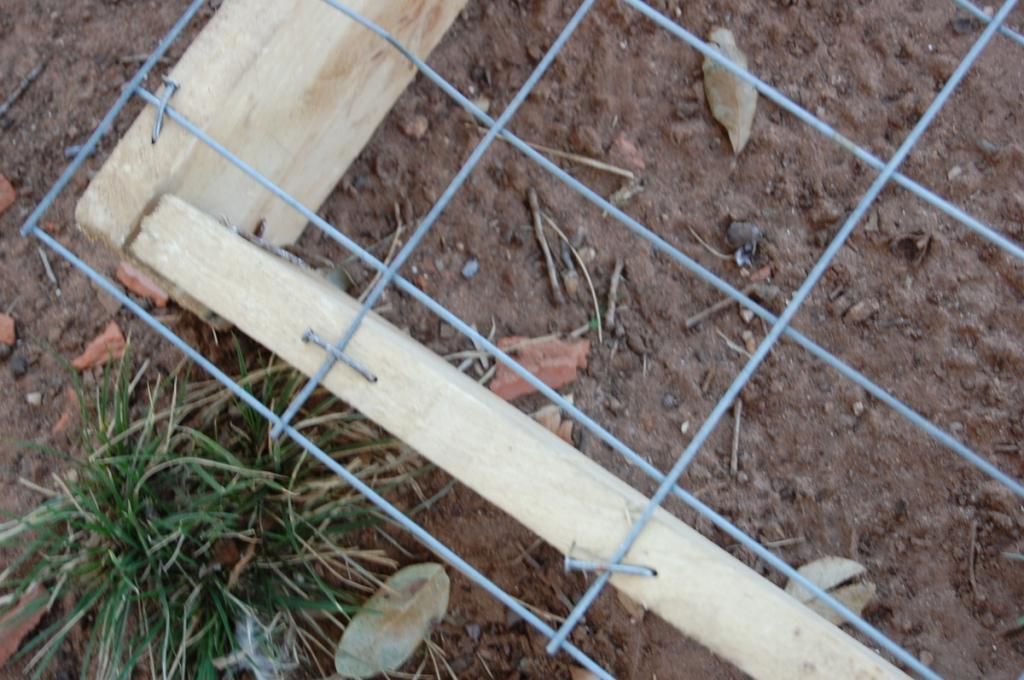
If your fortunate enough to have a new roll of wire to use, then you can skip this step.
Once I was ready to attach my wire I found the piece I had selected was two feet lacking being long enough. So I scrounged up
another piece and cut it to fit the gap. Then I wired the two pieces
together. So, mine isn't as 'flat' on top as I would have liked, but oh
well.
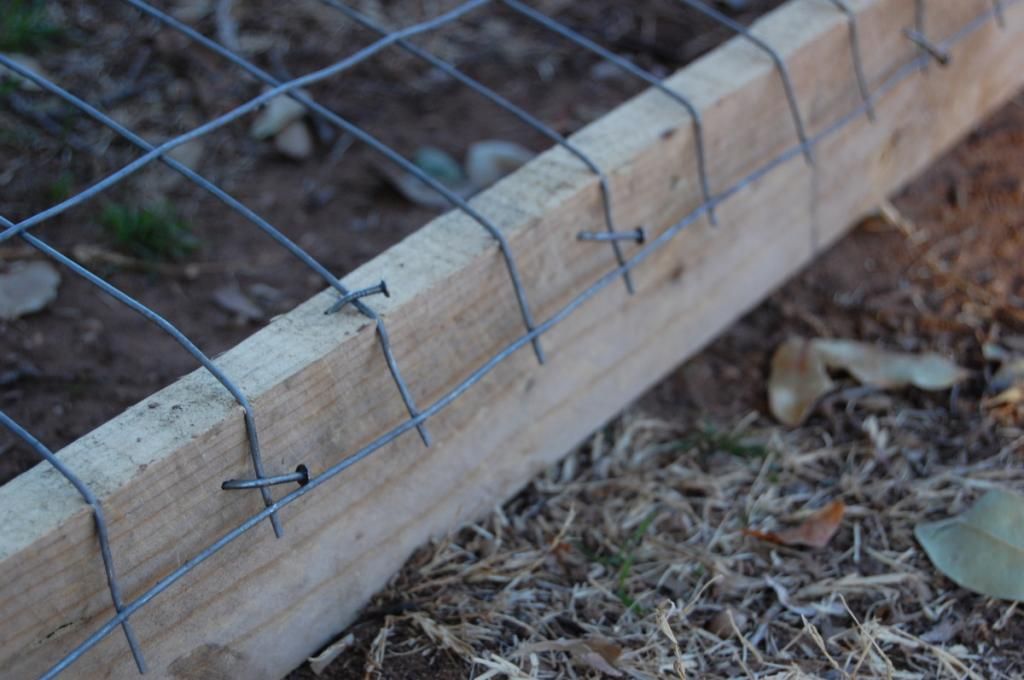
Done securing the wire to the top of the frame? Great!
Now, fold down the extra inches of wire, and nail it down. We don't want to be jabbed by wire, now do we! Of course not! ;)
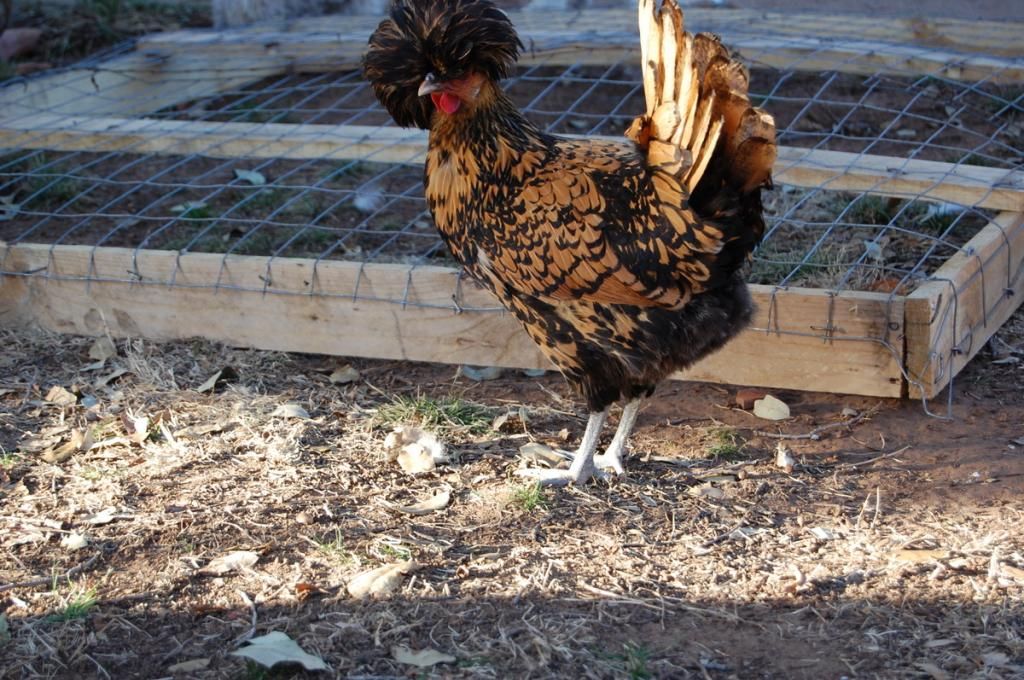
And bingo! Your finished. Wasn't that easy (minus the back-pain, raw fingers and bloodied fingers)!
This project has been officially Izzie approved.
BlOoPeRs
I should get the "Most Talented Photography Award". This (below) is what I had to deal with while attempting to snap shots. And yes, I took this picture upside down while Rusty was trying to knock me over and lick my face. *ahem*
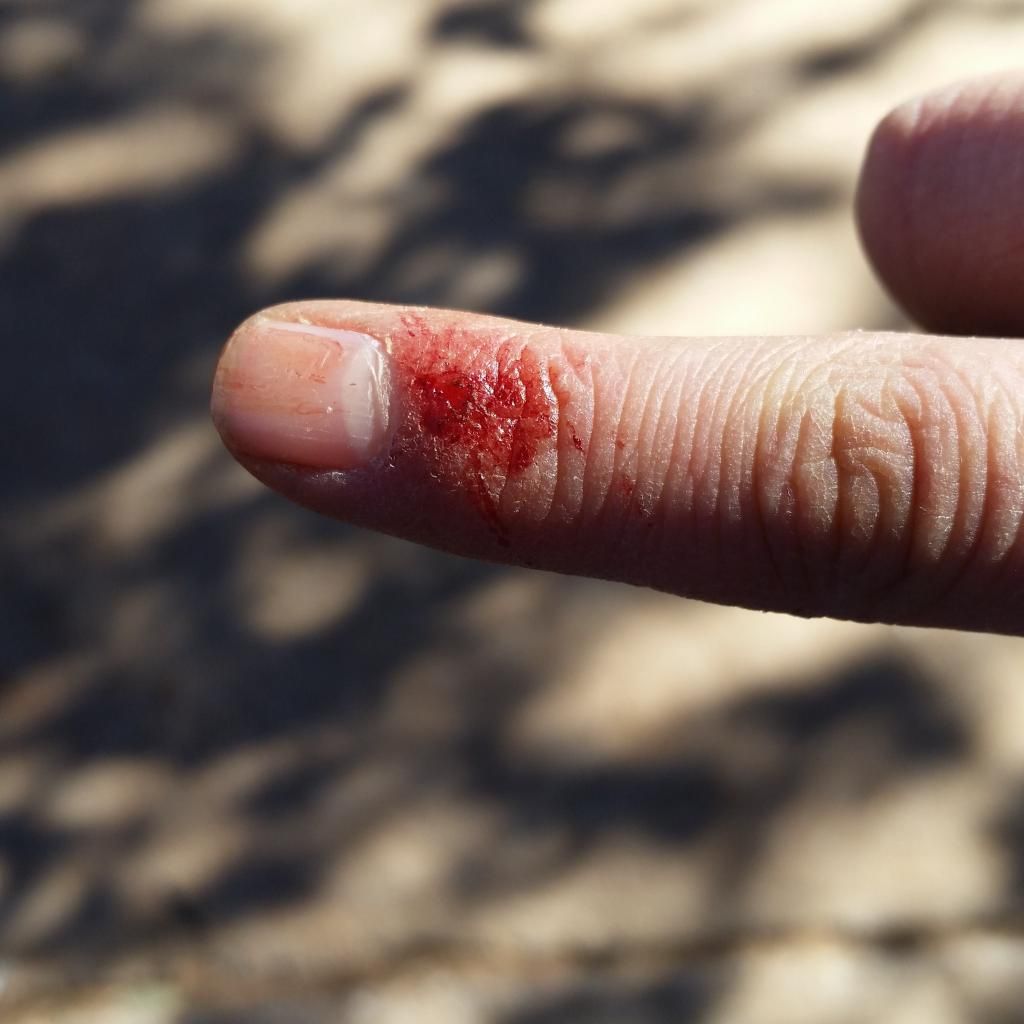
And do try not to put a hole through your finger, neither nails or screws. It hurts...muchly!
I hope you enjoyed this simple Do It Yourself project, as much as I did!
Blessings -
~ Aspen
My mom has made a few of these in the past and they seem to work really well! Oh, and I love that you've put up your archives in the sidebar. Now I can find older posts to read again!
ReplyDeleteI haven't started anything in mine just yet, due to lack of seed. But I've done the same thing with growing fodder as well as growing patches of wheatgrass, so I'm sure it'll work, and the wire will keep the chickens from scratching up the whole plant, that way it will keep reproducing.
DeleteThanks, yes, I'm fixing to do some major blog changes. Those are just the first little tidbits, the rest have yet to come..
Blessings -
~ Aspen