
A Birthday To Remember....III - The Last and Final Chapter
Before I dive into the juicy, sweet details of this scrumptious post, I would like to post a few of the many pictures that inspired my recreations of hobbity food.

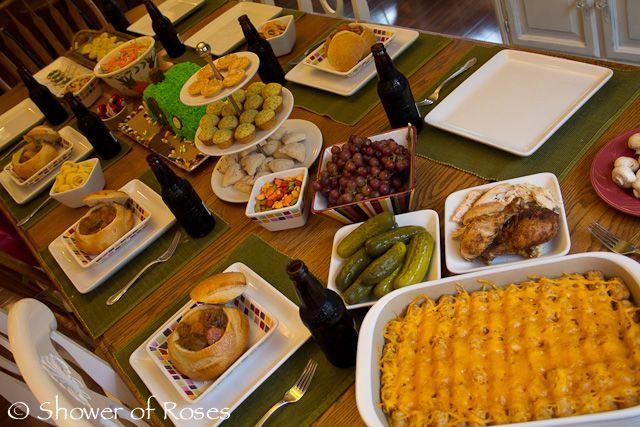
I couldn't decided between a meat pastry or bread bowls..so I combined the two. ;)
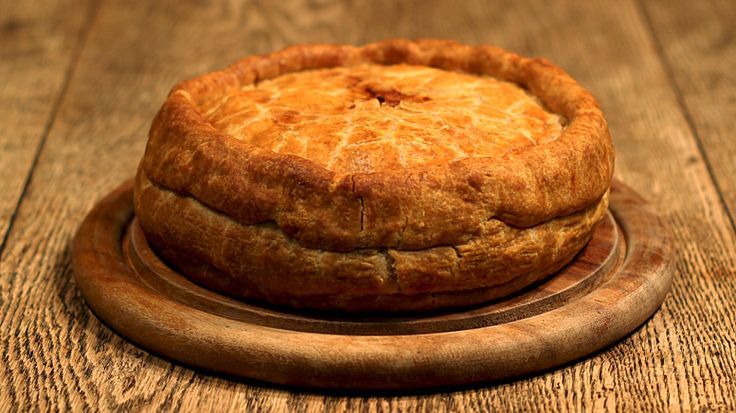
This is the picture I based "Sam's Stew" off of.
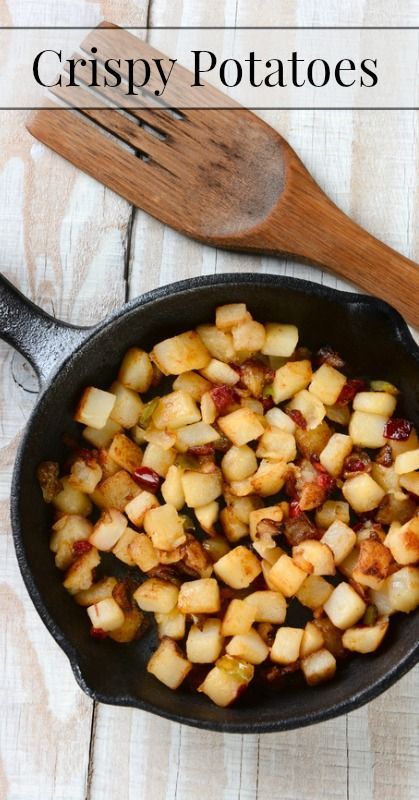
And let's not forget po-tay-toes! Mustn't forget them, precious! No we mustn't!
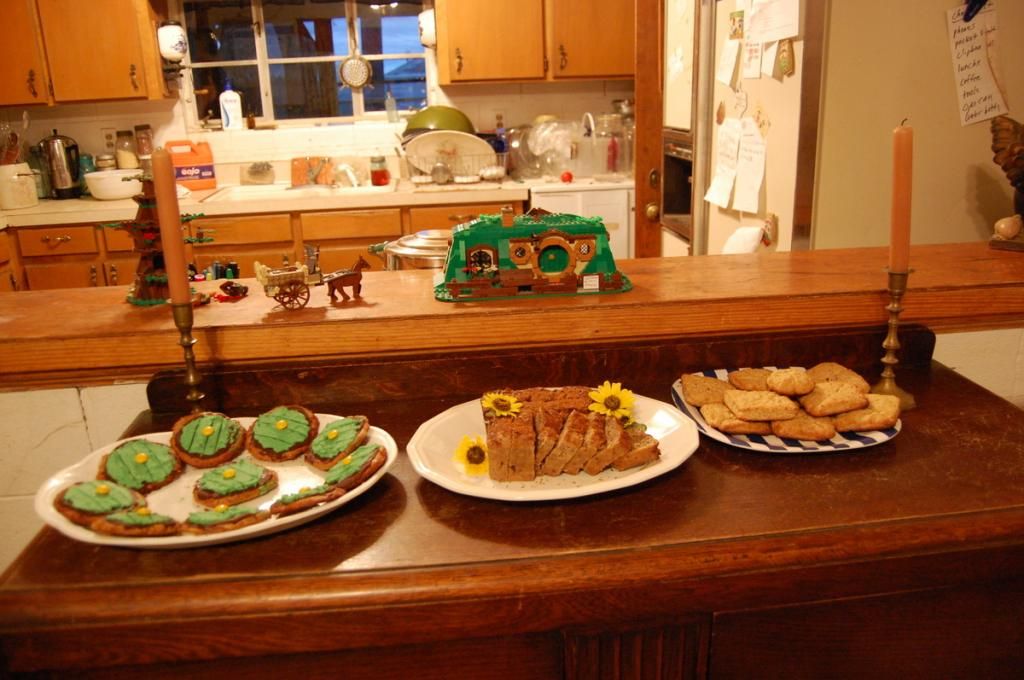
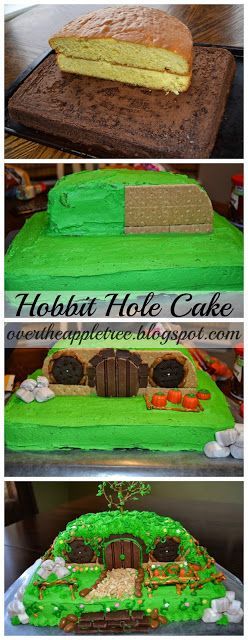
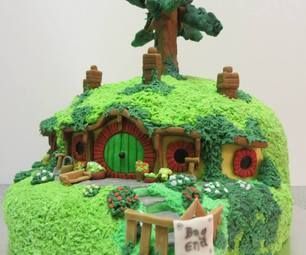
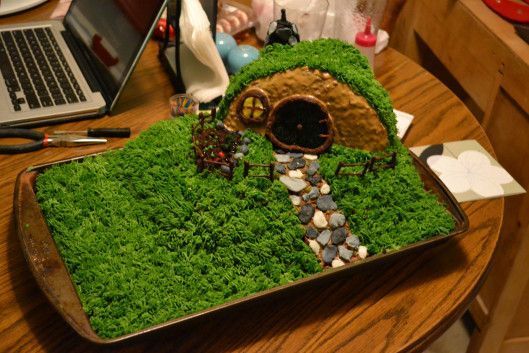
Cake inspirations:

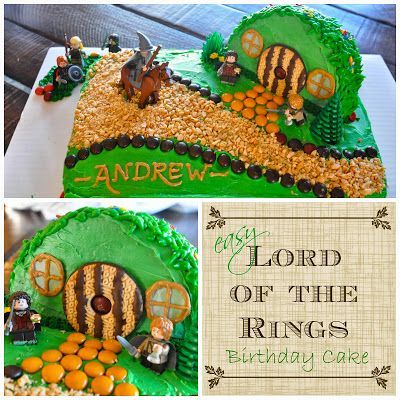
This is the one I tried to recreate as best I could, however the lady used lots of candy to decorate hers, which looked really cute, but you know me, I'm a health foodie nut, so there was no way I was going to use that stuff.
But, other than that I tried to copy-cat it as much as possible.
Because I'm an organizationalest (and YES, I just made up that word. Deal with it!), I tried to put these recipes in the order I made them.
Let's start out with our bread, shall we? Of course we shall!
I believe I doubled this recipe, and had plenty of bread dough to go around, so if you have a smaller group, then one recipe would be sufficient, methinks. ;)
Easy Bread Bowls
6 C. flour
2 TB. Yeast
2 1/2 C. warm water
2 TB. honey
2 t. salt
3 TB. oil
Dissolve yeast in water. Add all ingredients except flour. Beat 2 minutes. Add flour - blend till smooth. Cover and let rise. Stir 25 strokes - put into small buttered metal bowls. Let rise - bake at 375 till brown.
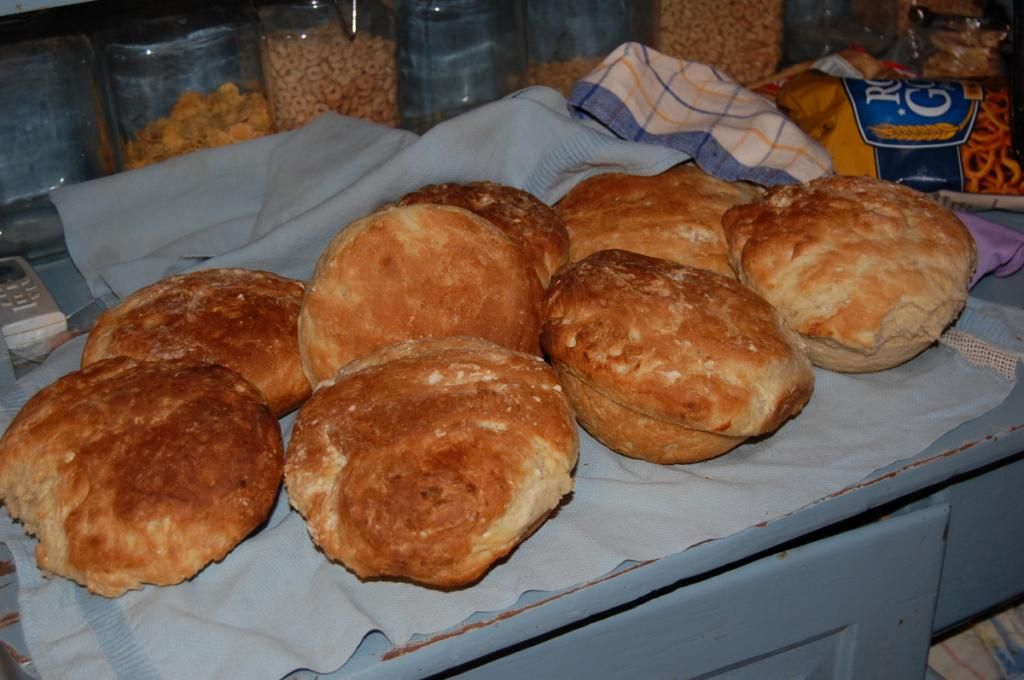
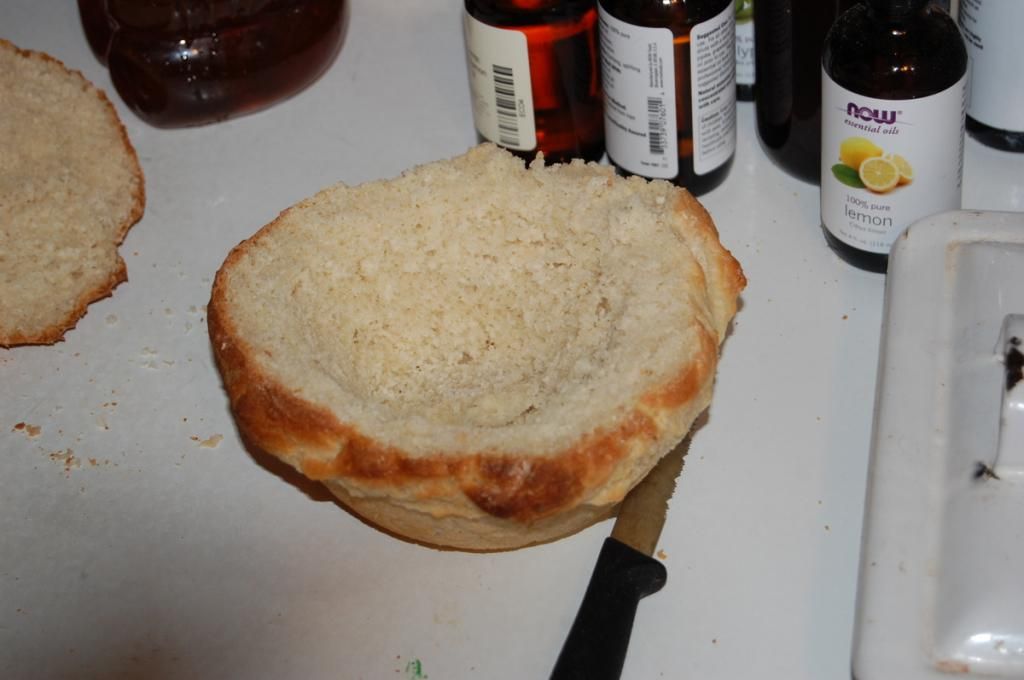
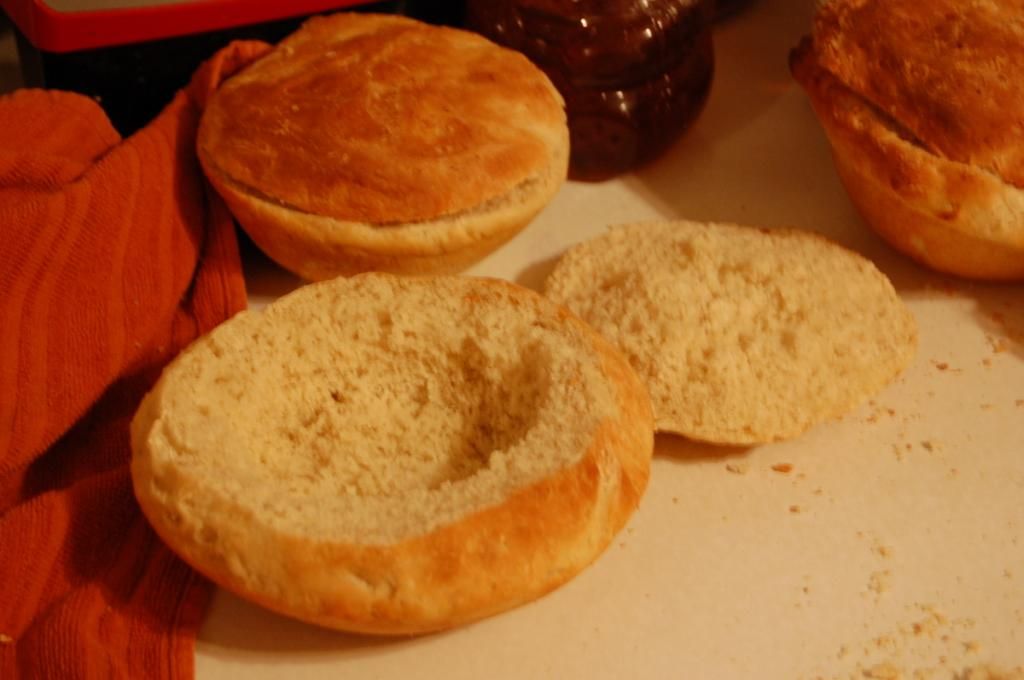
I didn't actually carve/hollow out my bread bowls until later that evening, right before we feasted, but for convenience's sake I'm posting them here. Savvy? ;)

Find yourself a serrated knife, cut the top off your 'bowl', then depending on how thick you want the sides of your bowl to be, start cutting around the edges, then once you have it marked, use a spoon and hollow out the rest.
Don't forget to save your bread scraps! They are delicious paired with butter and honey.
While the bread was baking (boy, did the house smell wonderful!), I threw together our lovely stew.
Sam's Po-tay-toe & Mushroom Stew
Potatoes
Garlic
Ground beef - browned
1 Can of Cream of Mushroom Soup
Small carton of fresh mushrooms
Water
Salt to taste
Barley
The amount of ingredients depends on you, I made enough to serve about 12 people, so just eye-ball it.
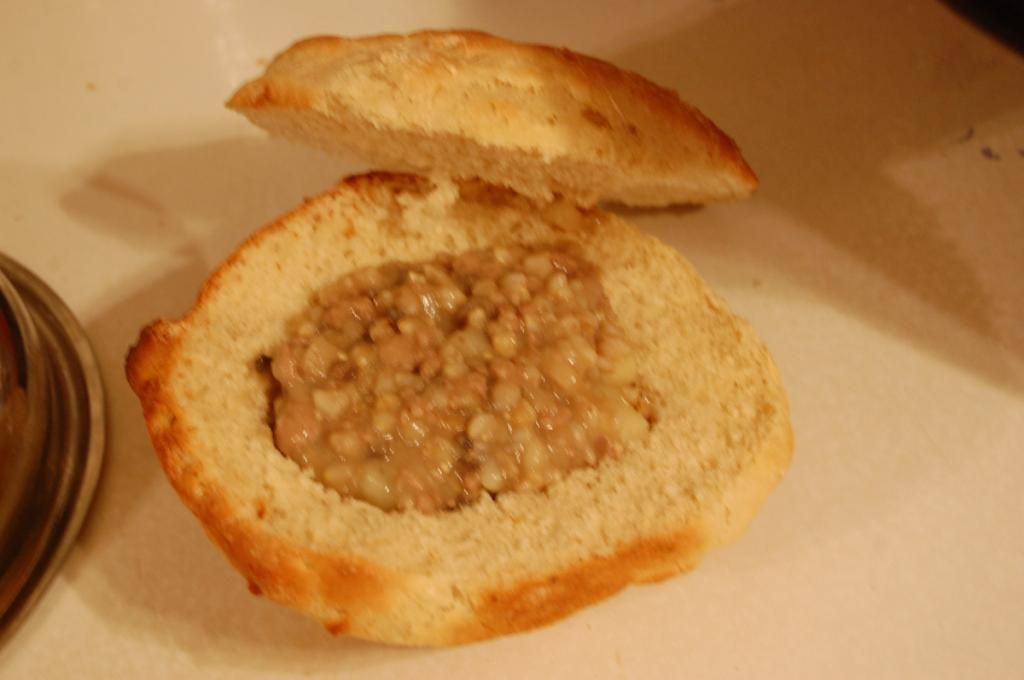
Finely chop all your potatoes, mushrooms and garlic, add them into your pot with the water and barley. Once everything is done (i.e the potatoes, mushrooms and barley) add in your cream of mushroom soup.
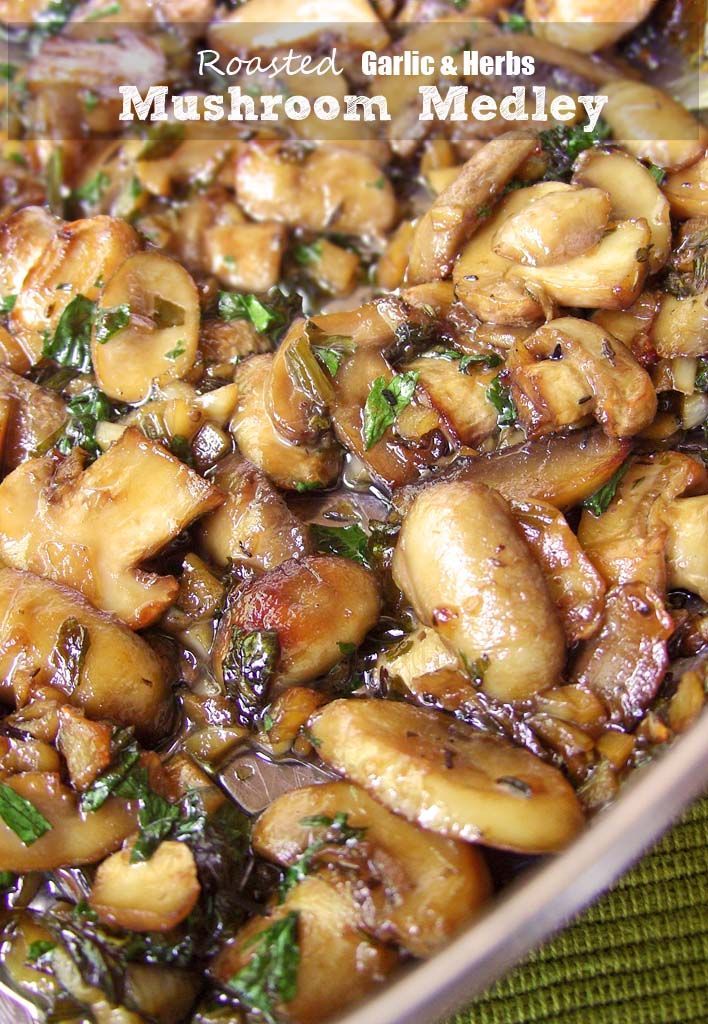
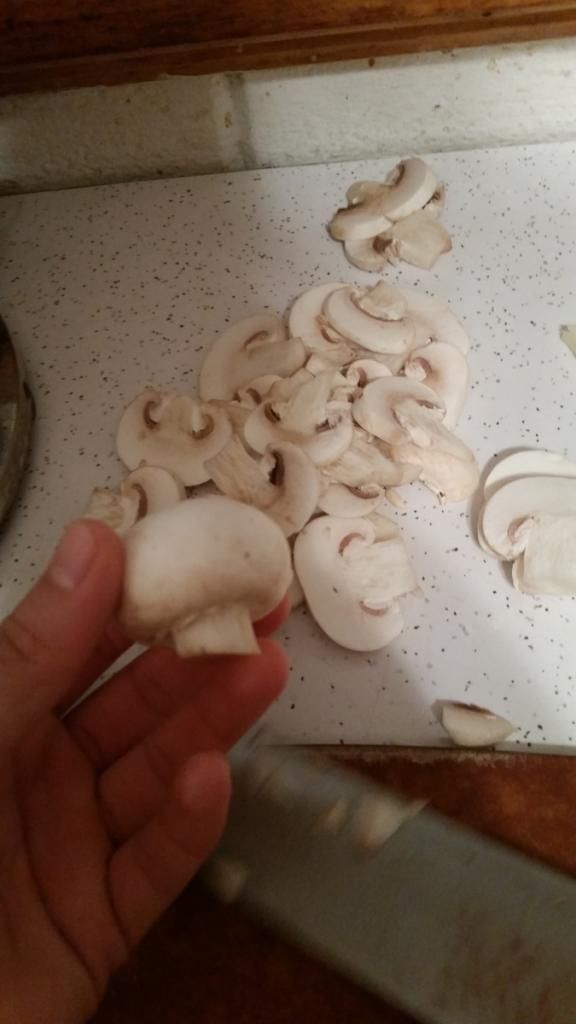
When I saw this:
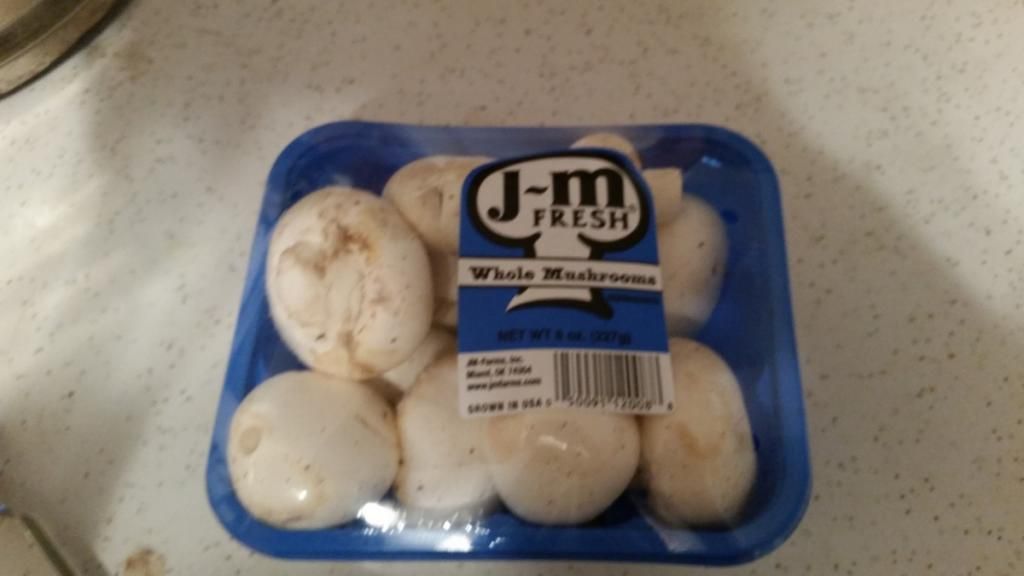
I just couldn't help but think of this:

Your welcome. ;)
"A short cut to what?" - Sam
"MUSHROOMS!!! - Pippin
Even though it was pretty chilly that day, with the oven and stove tops running constantly the kitchen was pretty toasty, so I made my icing and refrigerated it until I needed it.
Buttercream Icing
1 C. butter
1 teaspoon vanilla
4 C. coconut sugar
2 tablespoons of milk
I had to make a quadruple recipe of icing to fit my needs.
Side Note: Set our your icing a good 40-60 minutes before you plan on using it, this stuff will harden up like a rock when it gets chilled. Go ahead, ask me how I know that....
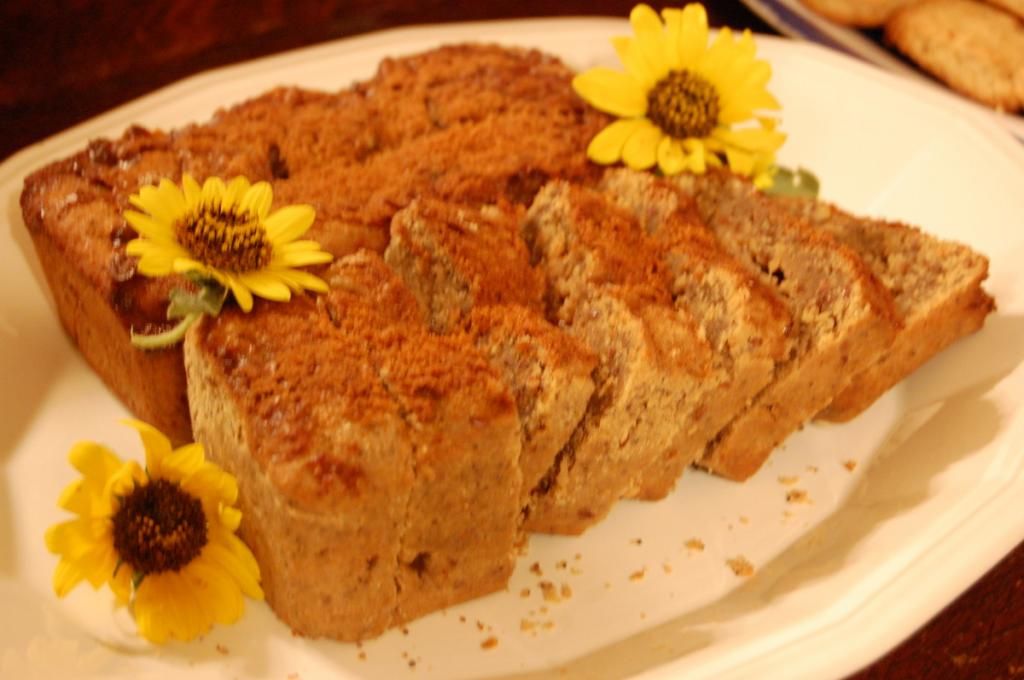
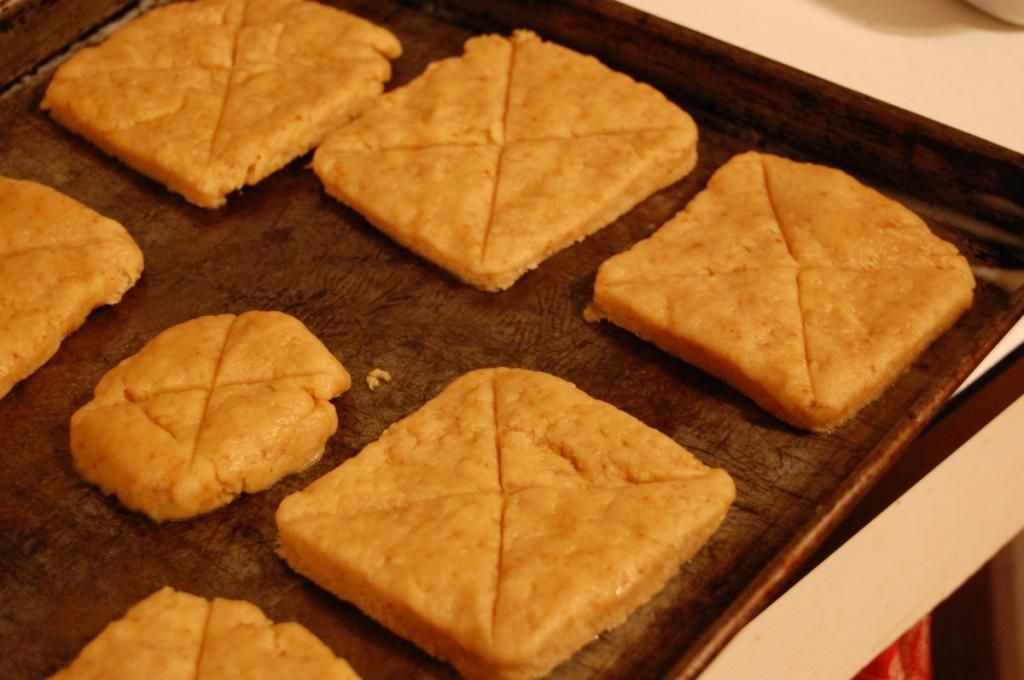
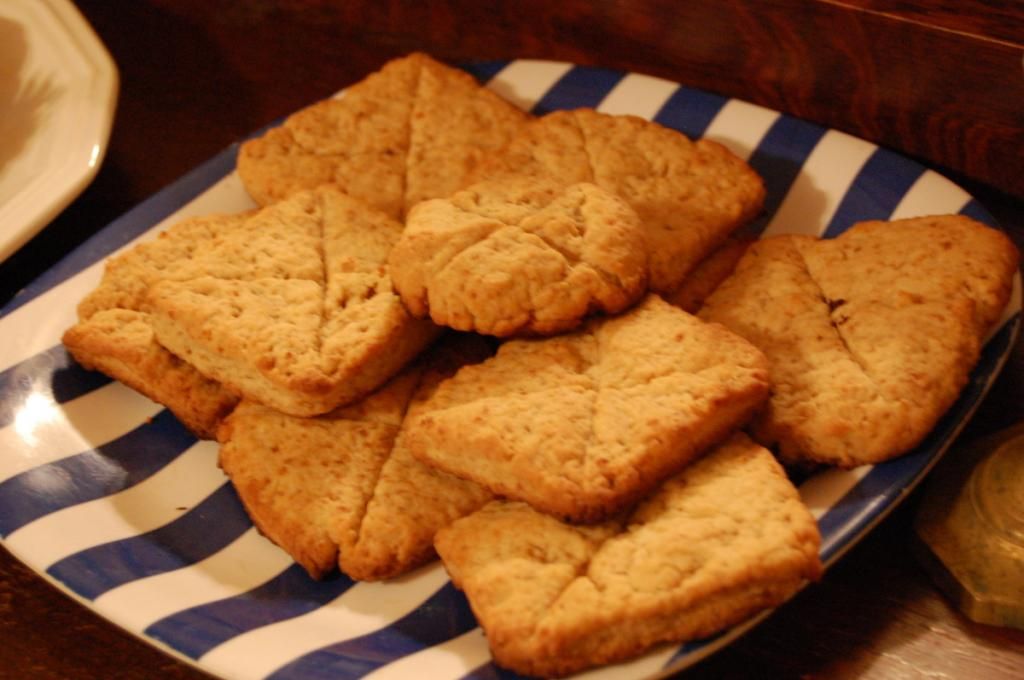
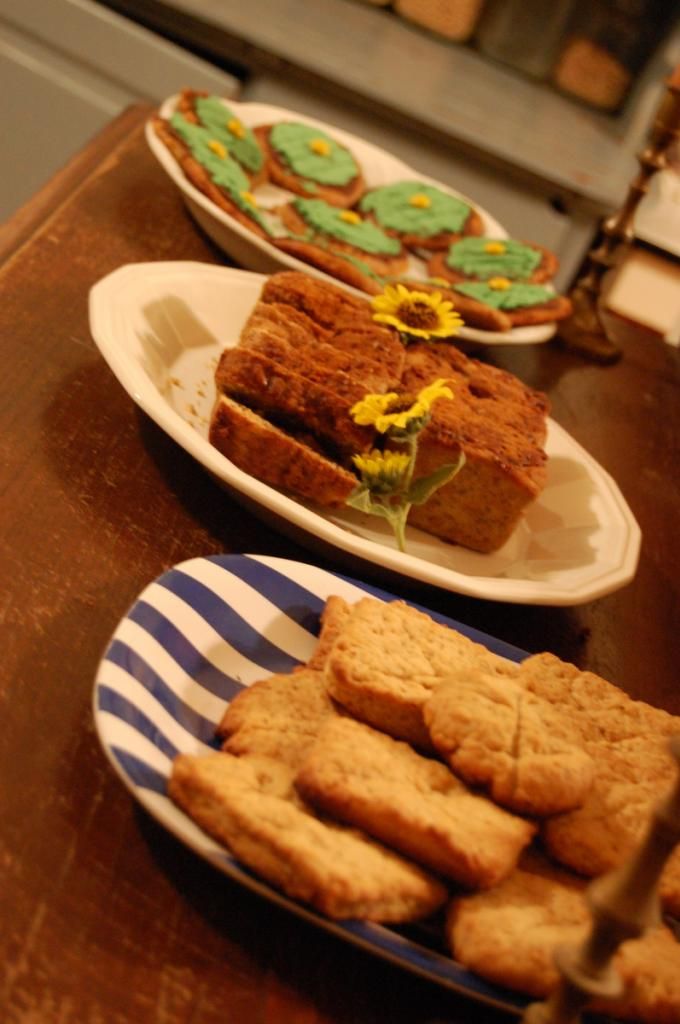
Fili & Kili would have been proud of my recreation of Mr. Boggin's famous seed cakes!
Recipe from my Middle Earth blog.
Mr. Boggin's Seed Cakes
- 2 sticks butter, softened
- 1 cup coconut sugar
- 3 eggs
- 2 cups flour (I used whole wheat)
- Half a cup of seeds (I used Flax and Poppy seeds)
- 1/4 teaspoon each nutmeg and cinnamon
- 1-2 teaspoons of Vanilla extract
- 4 teaspoons Coconut Sugar (for sprinkling on top of the loaves before baking)
Instructions
- Preheat the oven to 300°. Grease four 4 1/2-inch springform pans (I used two small bread loaf pans).
- In a large mixing bowl cream together the butter and sugar until light and fluffy.
- Add the eggs, one at a time, scraping the bowl in between additions.
- In a second bowl, whisk together the flour, seeds, and spices.
- Add half the flour mixture to the butter mixture, stirring well.
- Add the vanilla, combine.
- Add the remaining flour mixture, being sure not to overmix.
- Spoon batter into prepared pans. Sprinkle 1 teaspoon sugar over the top of each cake.
I'm not gonna lie, I had way too much fun making this babies! My assistant, Carolina, was a great help. I iced them, while she did the majority of the decorating.
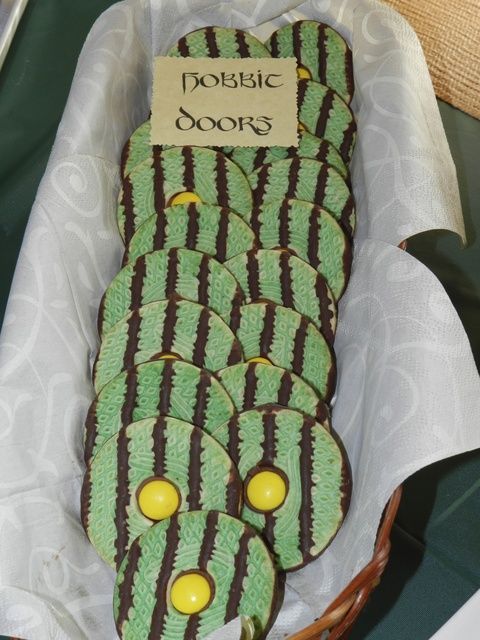
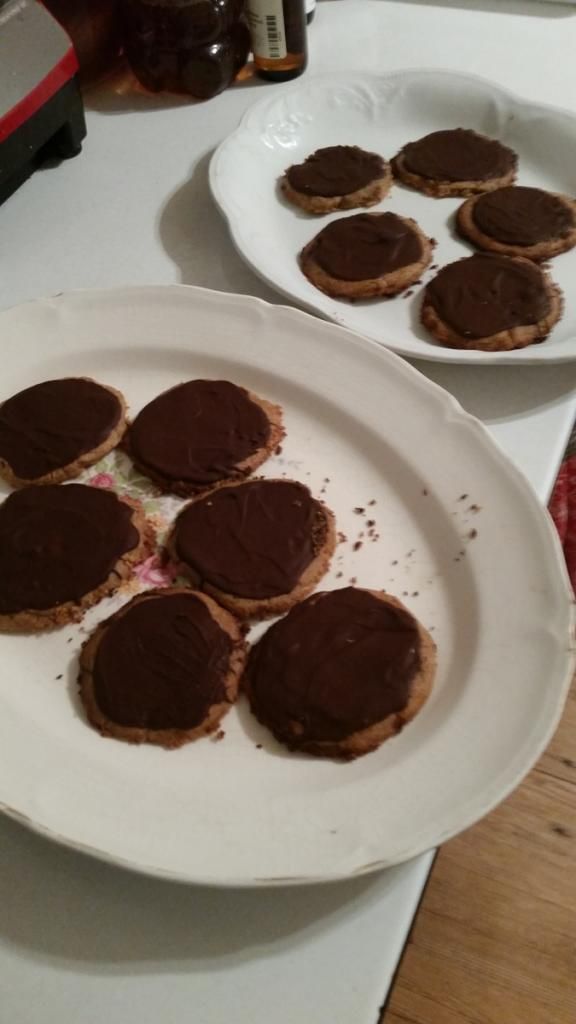
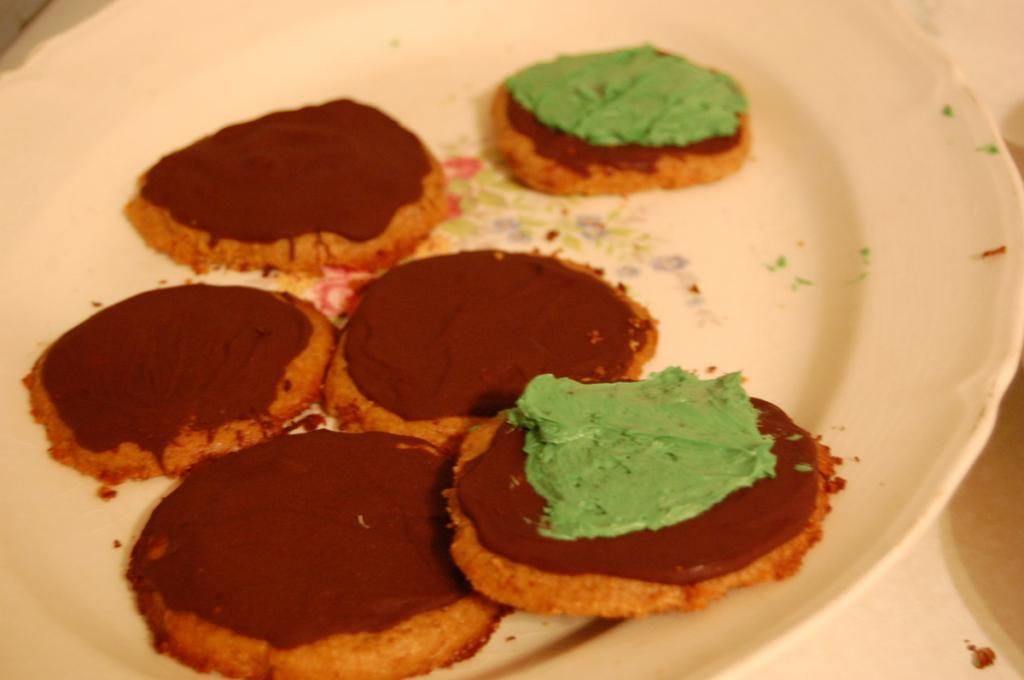
Hobbit Hole Door Cookies
First, I made a simply recipe of Peanut Butter Cookies:
1 C. Nut Butter (I used peanut butter..for obvious reasons, one of those being I adore peanuts..)
1/2. C of Coconut Sugar
1/2 tsp. Salt
1 Large egg
Bake at 350F until done.
Meanwhile, while those are baking, grab yourself a double broiler and melt some chocolate chips (I used organic dark chocolate chips) to spread on top of your PB cookies.
Once your cookies have cooled off, spread chocolate on top of each one, then set them in the freezer to harden.
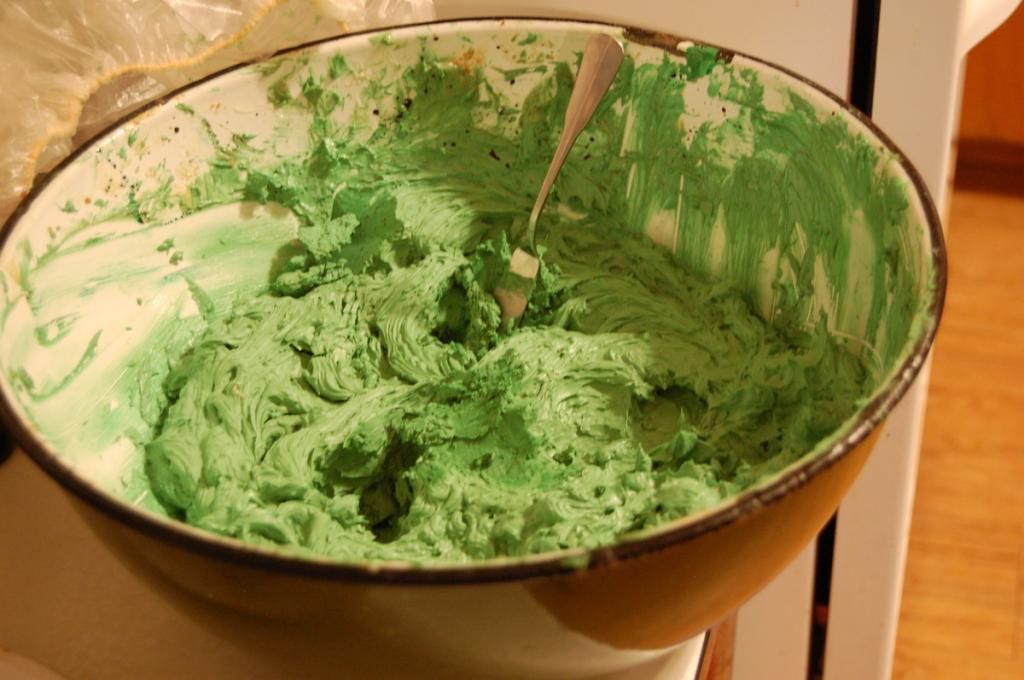
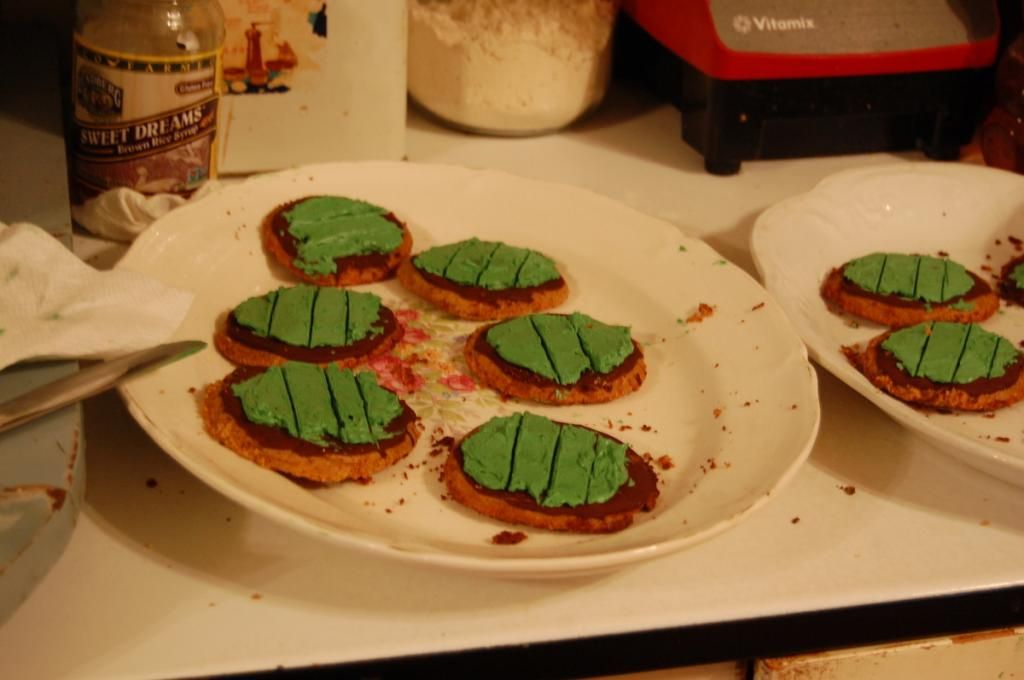
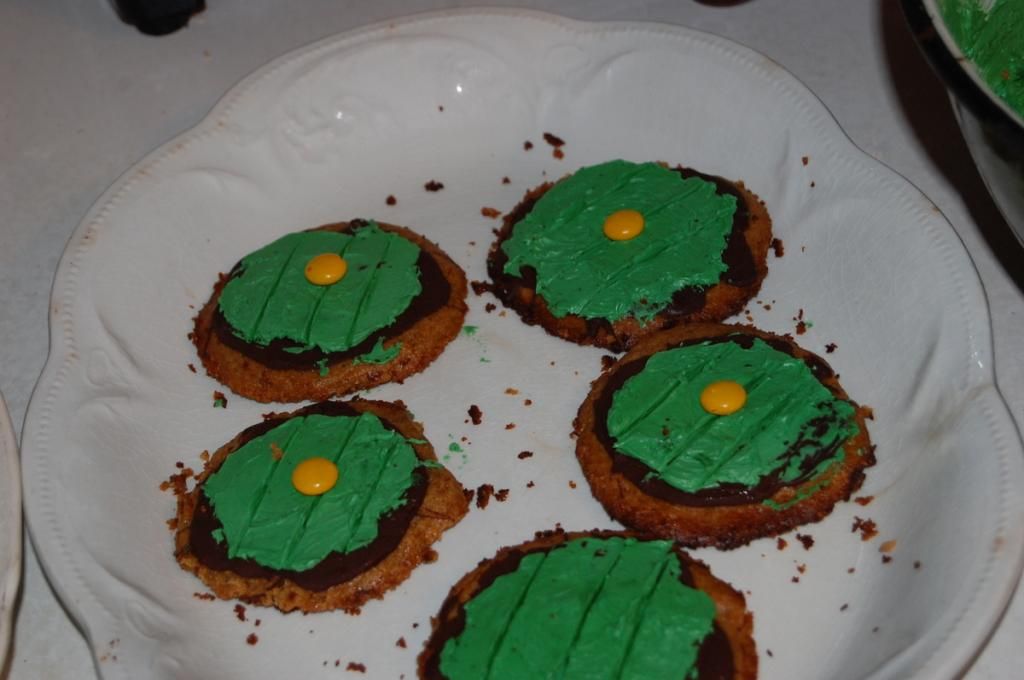
Next ice them with your fabulous green icing:
Using a butter knife, make slits in the cookie like so:

Yes, I get carried away with my picture taking...and no I'm not going to apologize for that. No sir!
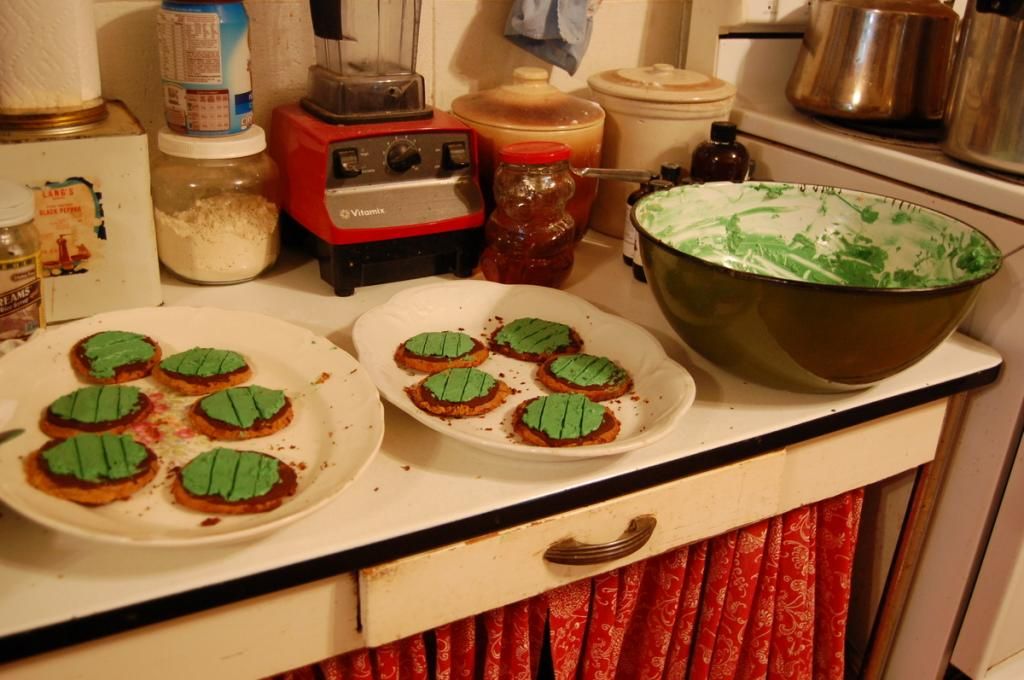

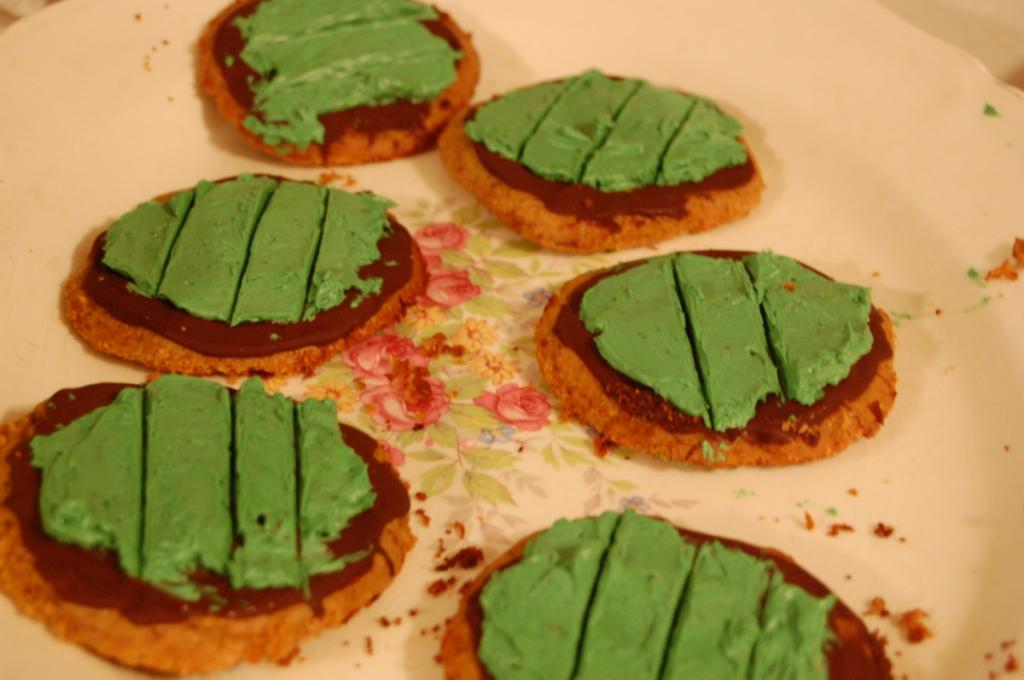
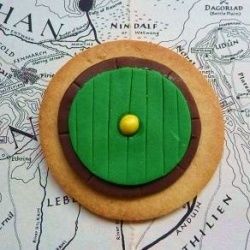
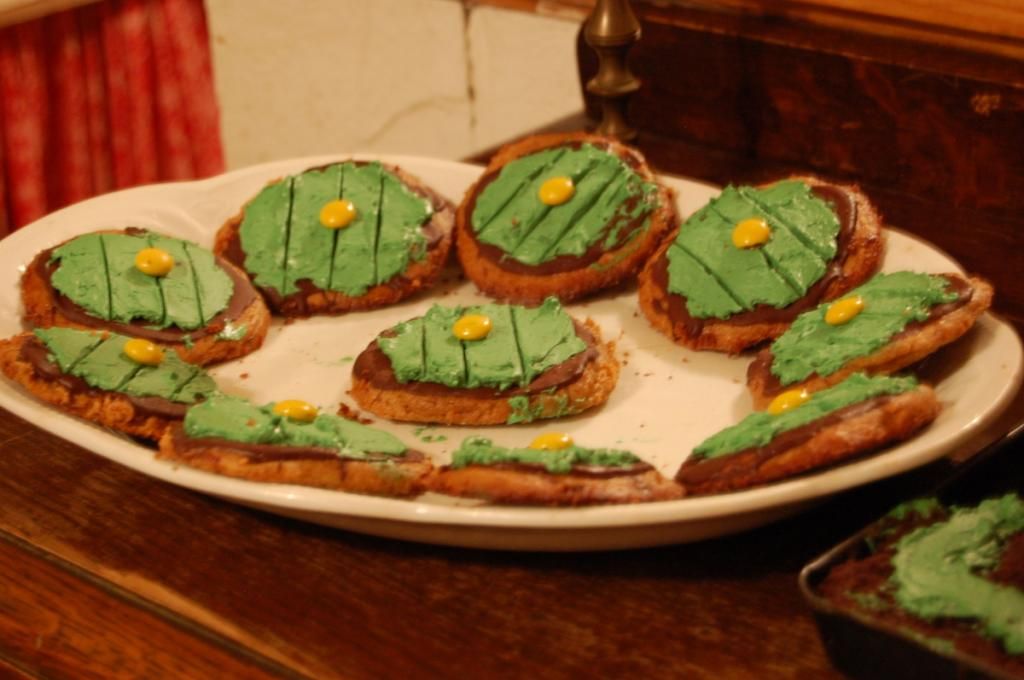
Once you're done with that, place a yellow M & M (or an organic yellow Sun Drop like I did) in the center for the door "knob".
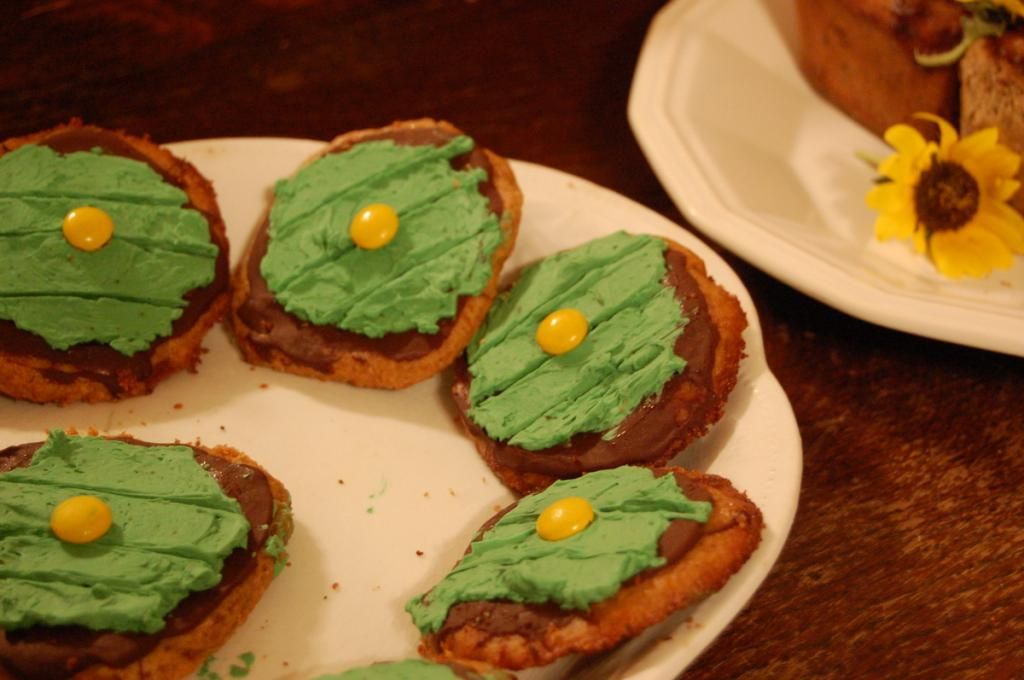
All done! Aren't they adorable!!?? Of course they are! How could you possibly think otherwise? ;)
Lembas Bread
"One small bite is enough to fill the stomach of a grown man." Legolas
2 1/2 cups Flour
1 tablespoon Baking Powder
1/4 teaspoon Salt
8 tablespoons Cold Butter (1 Stick)
1/3 cup Brown Sugar
1 teaspoon Cinnamon
1/2 teaspoon Honey or Maple Syrup
2/3 cup Heavy Cream or Milk
1/2 teaspoon Vanilla
I used a square tin lid to cut out my bread, then using a knife I made the cross.
Bake at 350F until golden brown.
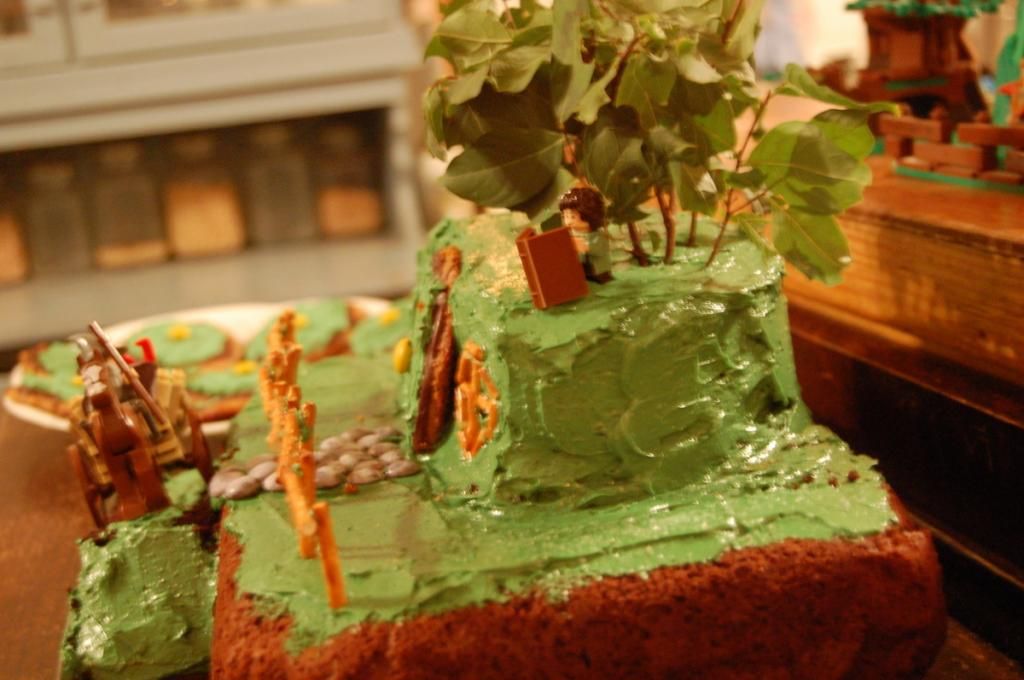
This is the post you've all been waiting for!
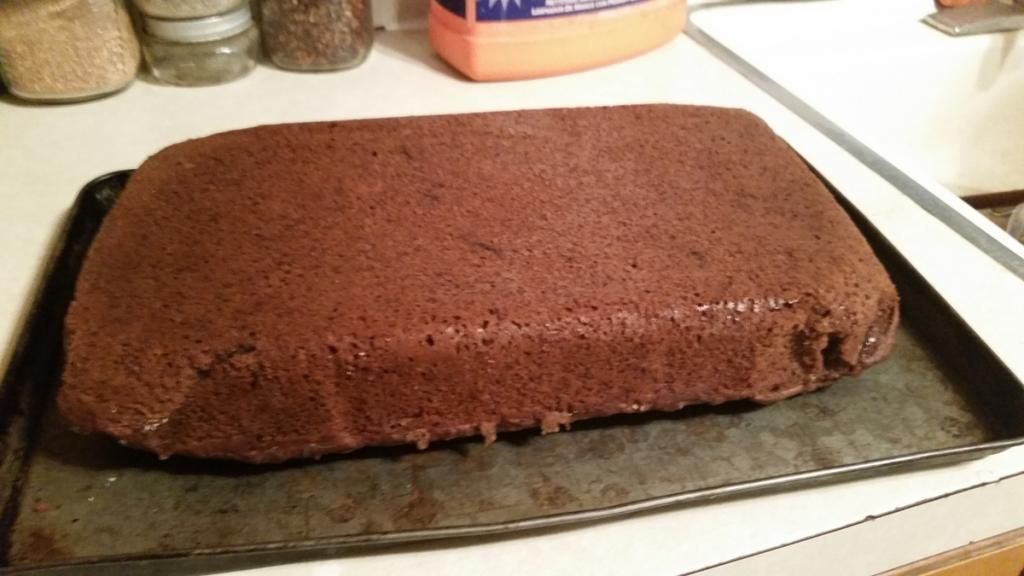
This is the base for the Bag-End Cake.
Wacky Chocolate Cake
3 C. flour
2. C. coconut sugar
3/4 C. oil
6 TB. cocoa
1 t. vanilla
2 t. soda
1 t. salt
2 TB. vinegar
2 C. water
Mix and bake at 350 for 30-40 minutes.

For the tiny Hobbit Hole:
Quinoa Chocolate Cake
2/3 cup white or golden quinoa
1 1/3 cup water
1/3 cup milk
4 large eggs
1 tsp. pure vanilla extract
3/4 cup butter, melted and cooled
1 1/2 cups sugar
1 cup cocoa powder
1 1/2 tsp. baking powder
1/2 tsp. baking soda
1/2 tsp. salt
1 1/3 cup water
1/3 cup milk
4 large eggs
1 tsp. pure vanilla extract
3/4 cup butter, melted and cooled
1 1/2 cups sugar
1 cup cocoa powder
1 1/2 tsp. baking powder
1/2 tsp. baking soda
1/2 tsp. salt
Bring the quinoa and water to a boil in a medium saucepan. Cover,
reduce to a simmer and cook for 10 minutes. Turn off the heat and leave
the covered saucepan on the burner for another 10 minutes. Fluff with a
fork and allow the quinoa to cool.
Preheat the oven to 350°F. Lightly grease two 8-inch round or square
cake pans. Line the bottoms of the pans with parchment paper.
Combine the milk, eggs and vanilla in a blender or food processor.
Add 2 cups cooked quinoa and the butter and continue to blend until
smooth.
Whisk together the sugar, cocoa, baking powder, baking soda and salt
in a medium bowl. Add the contents of the blender and mix well. Divide
the batter evenly between the 2 pans and bake on the center oven rack
for 40 to 45 minutes or until a knife inserted in the center comes out
clean.
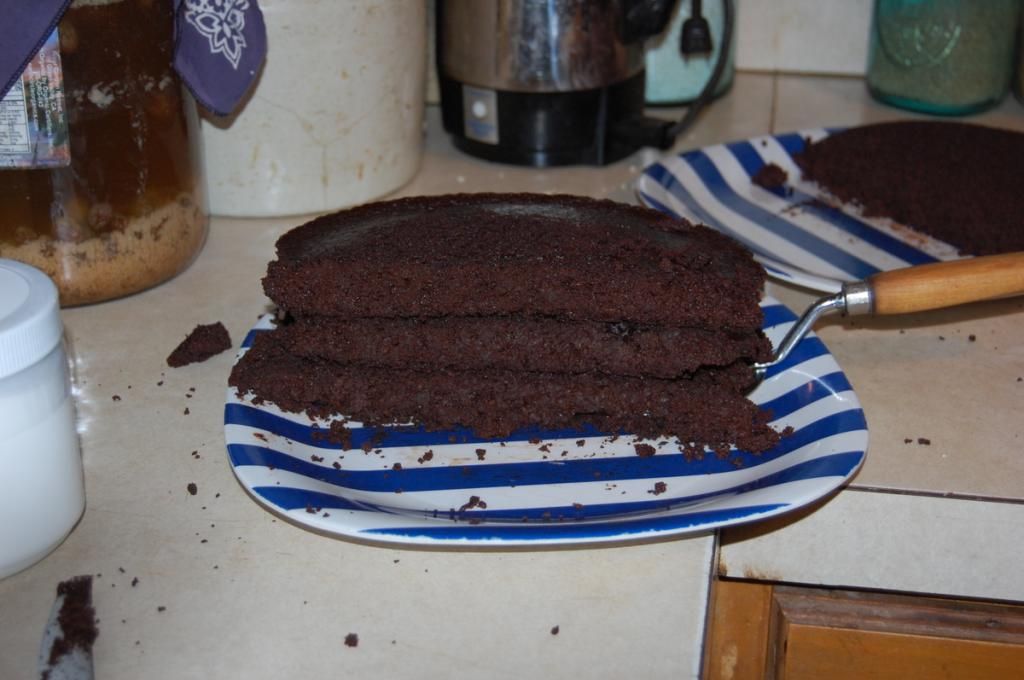
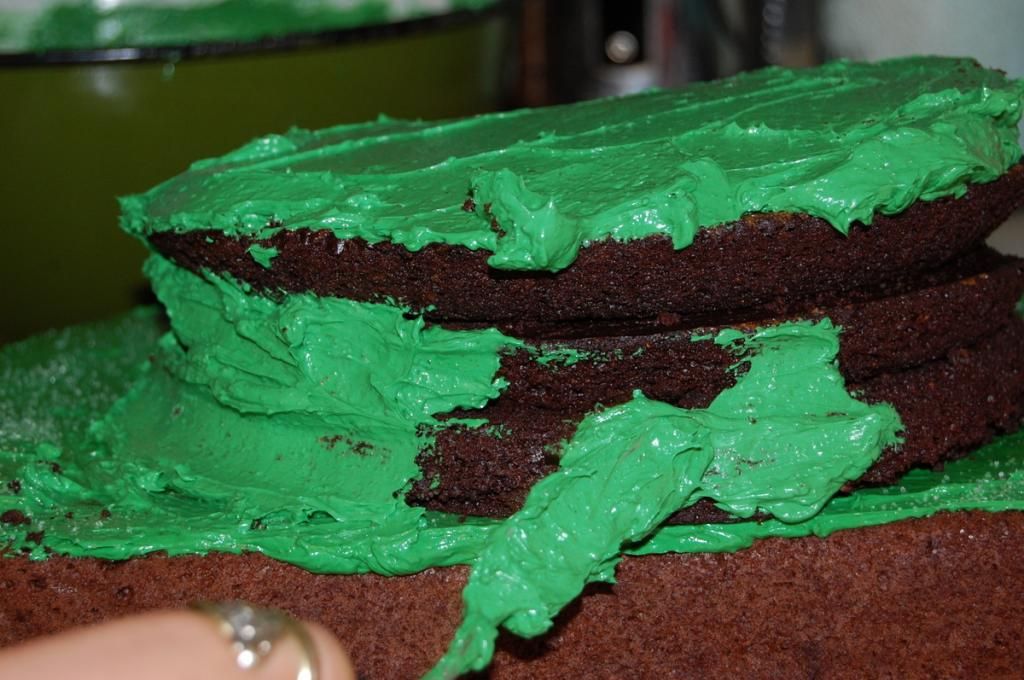
Once both of your cakes have baked and cooled, frost the top of your 'bottom' cake.
Next, cut your other cake in half and arrange like so:
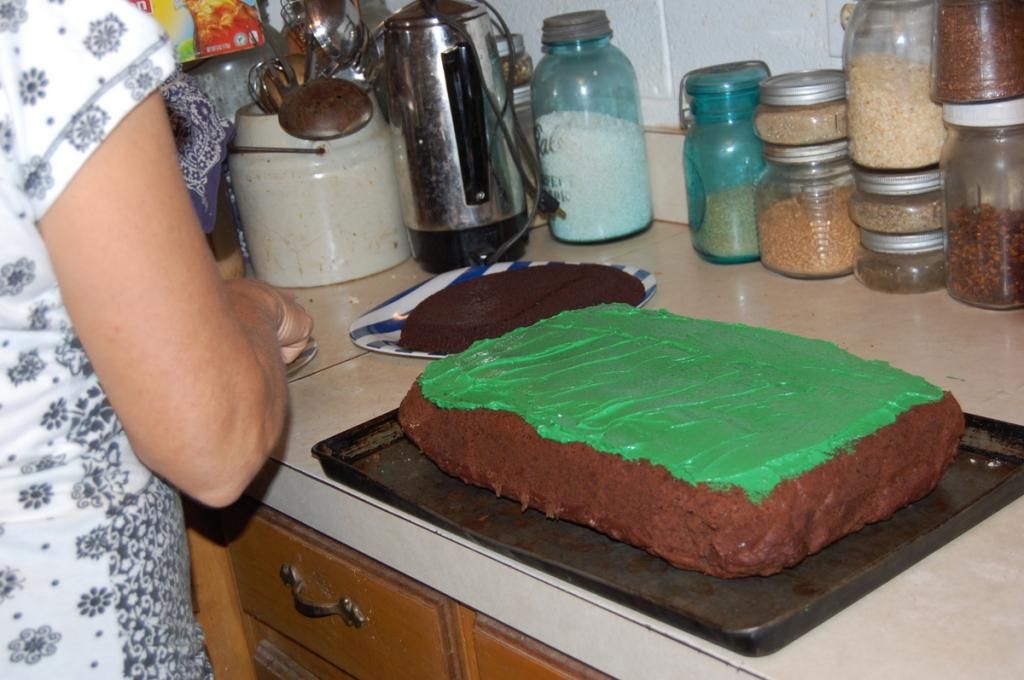
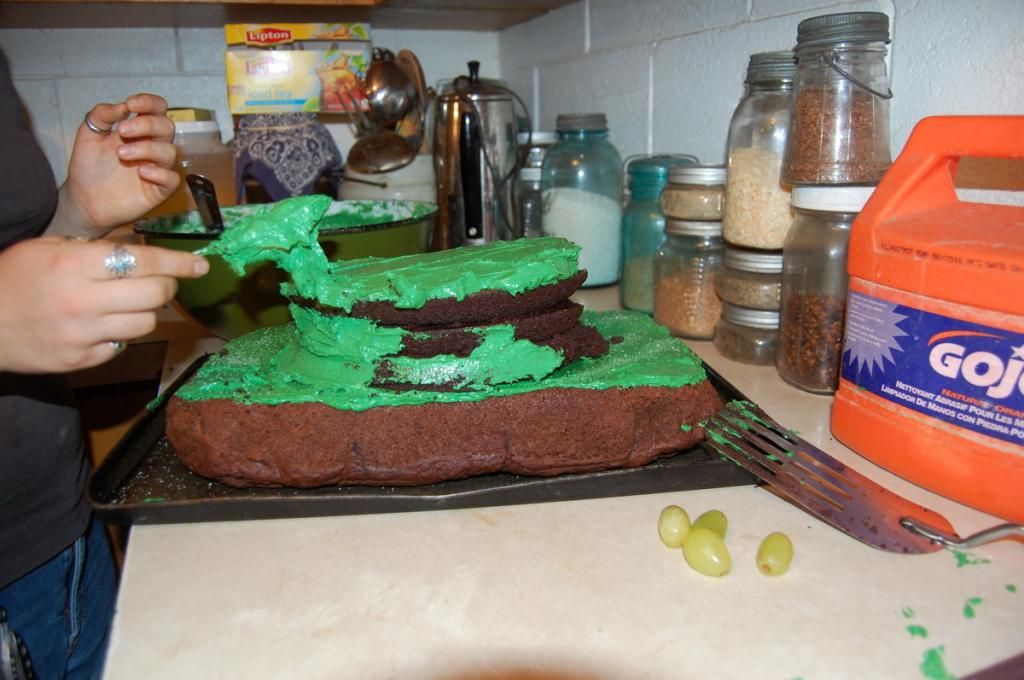
Then continue to glob icing over every square inch until the cake has disappeared, like so:
It may seem like a simple task to evenly spread icing over a cake, but it's a filthy lie!
Who ever told you that should be slapped!
If I was ever to decorate cakes for a living, you would have to pay me $1,000.00 an hour to ice cakes.

I was a natural at decorating cakes, as you can clearly see. *ahem*
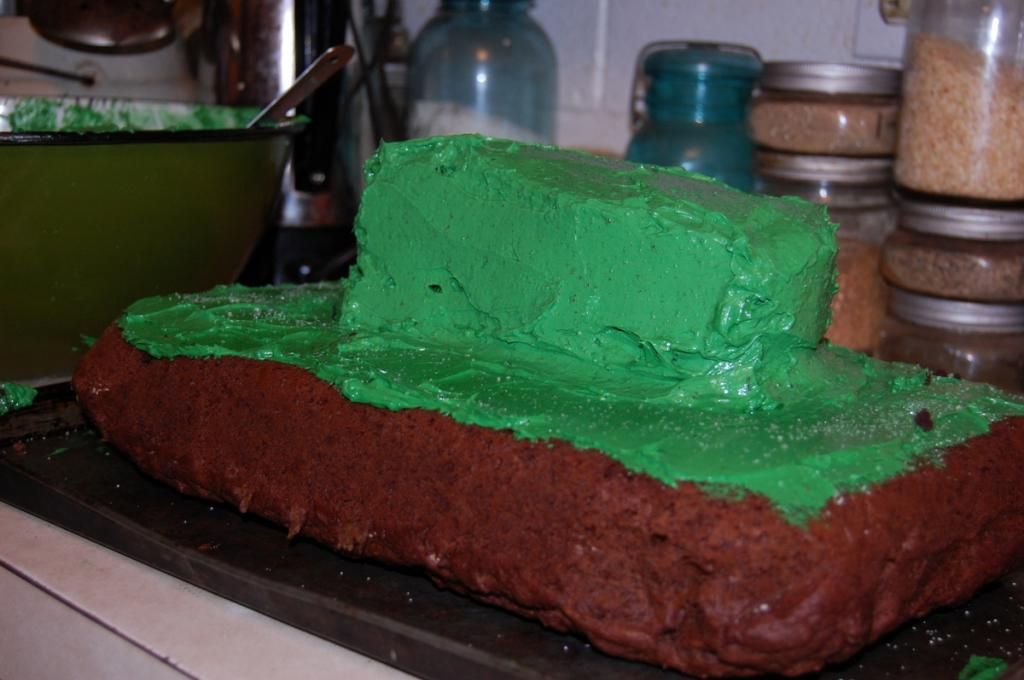
Iced:

Just look at all that yummy, green icing butter...
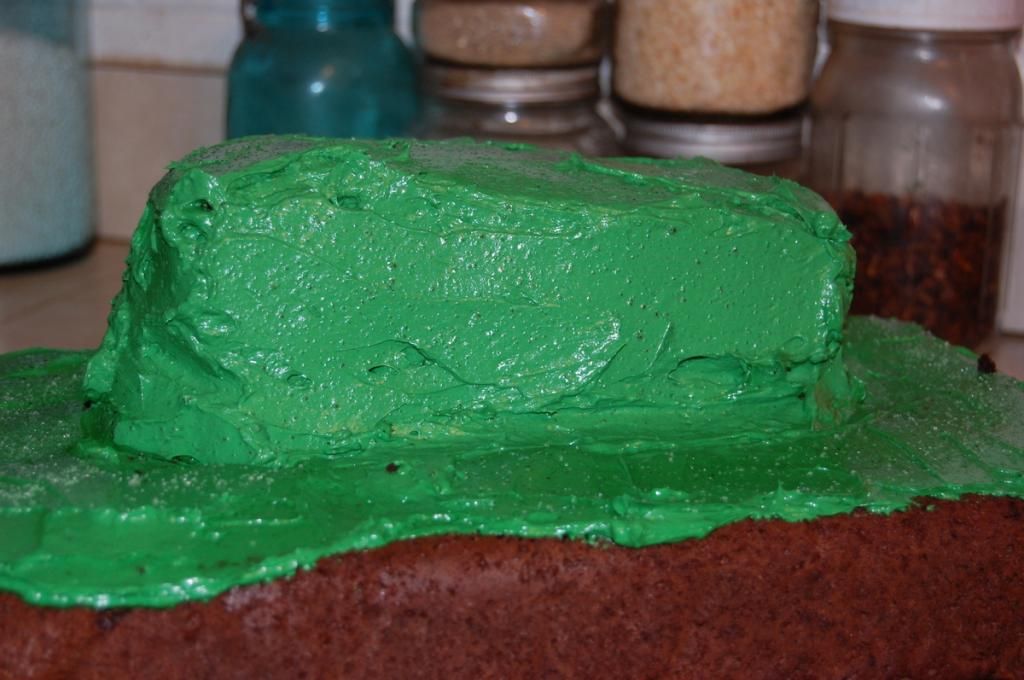
I decided to leave the sides of the cake un-iced, as it gave it a 'dirt' look/feel. Which I liked muchly!
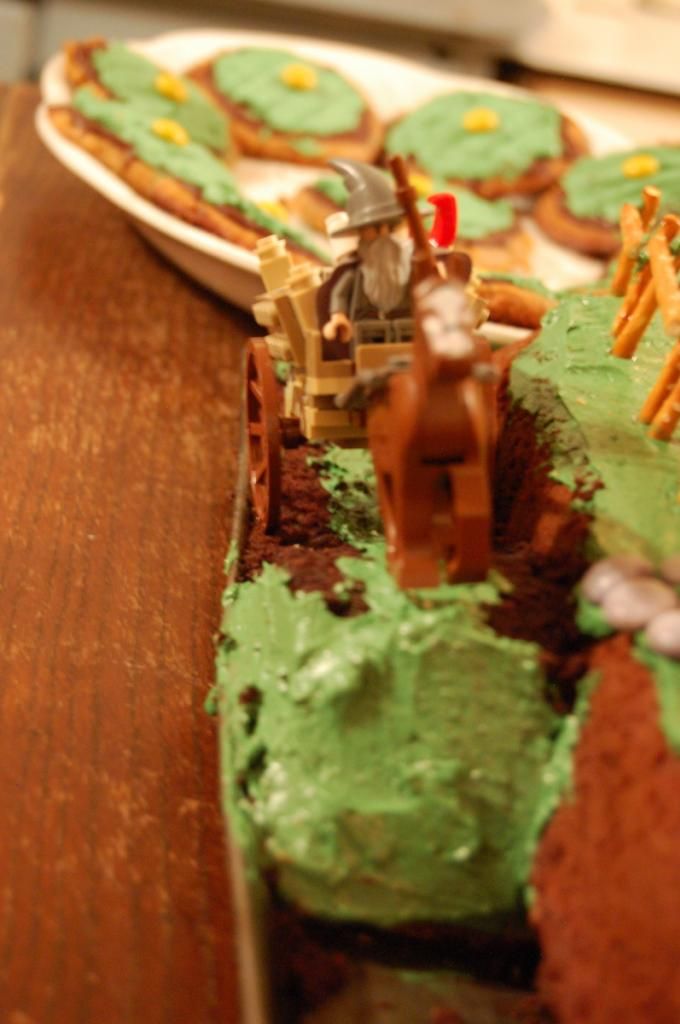
In the process of getting the Chocolate Quinoa Cake out of it's respectable pan, part of it decided to fall apart. Not being one to cry over spilt milk, or in this case: crumbled cake, I used the crumbled cake bits to make a road leading up to Bag-End. I had to add height to my road by placing several graham crackers underneath.

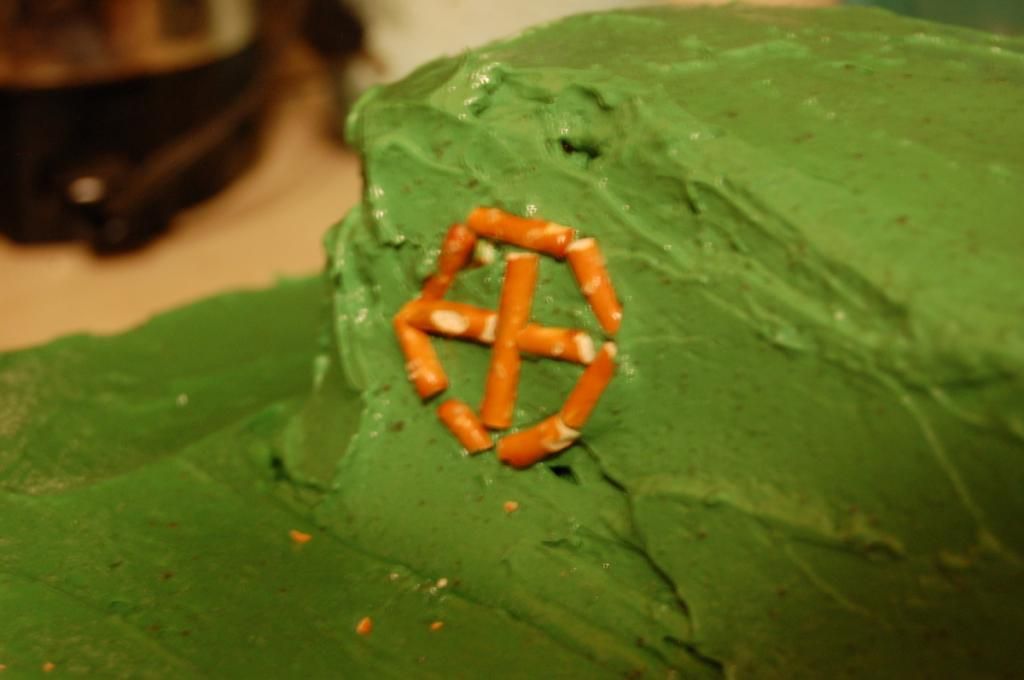
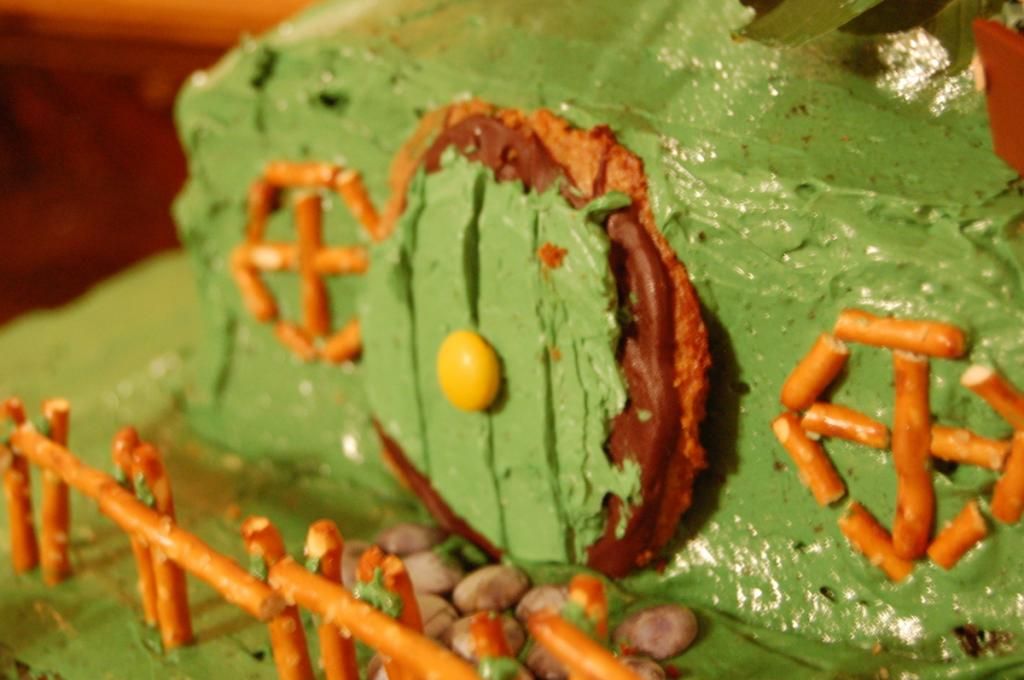
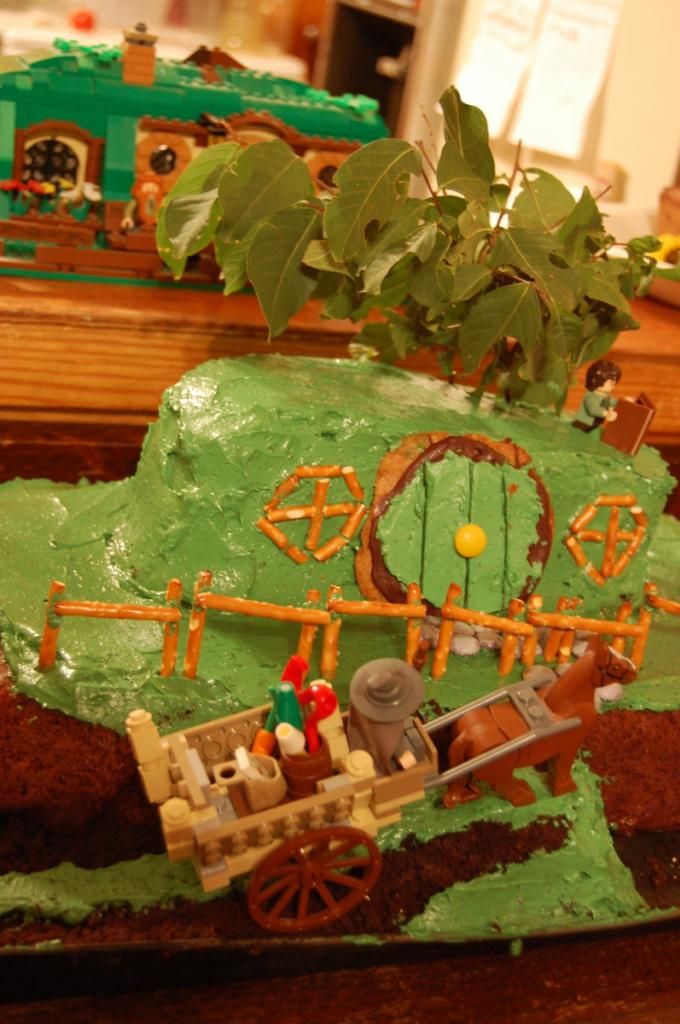
Using tiny pretzel pieces, we made two adorable round windows:
Umm...yes, this is what a sister who is tired of me taking pictures looks like:
Needless to say I dropped the camera and fled the premises...

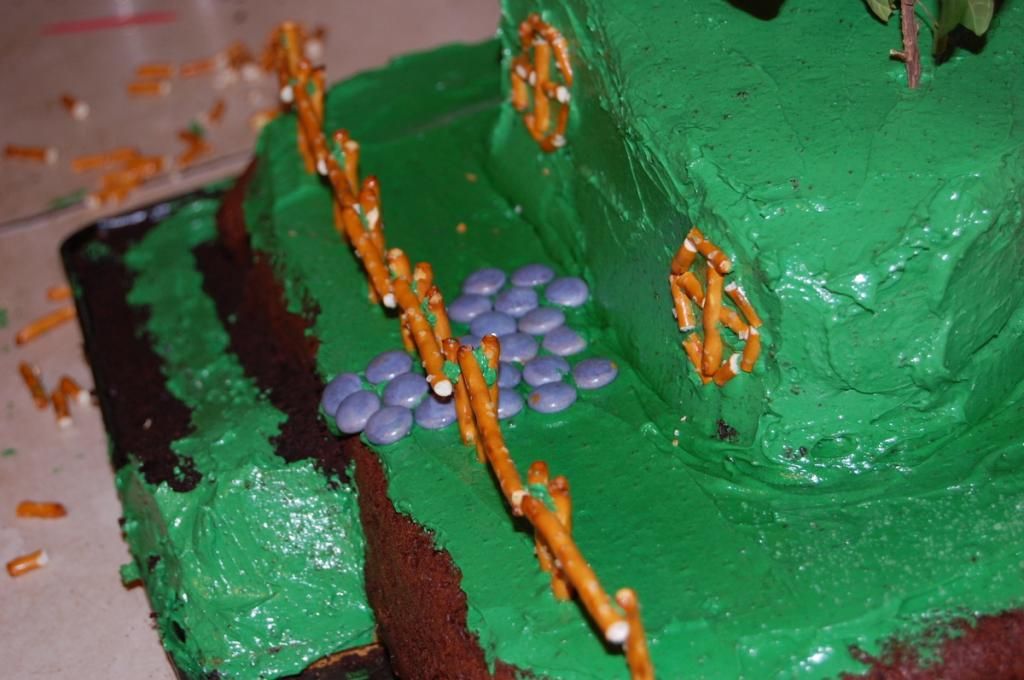
Dear little Sis' made a tiny fence using pretzels and icing:

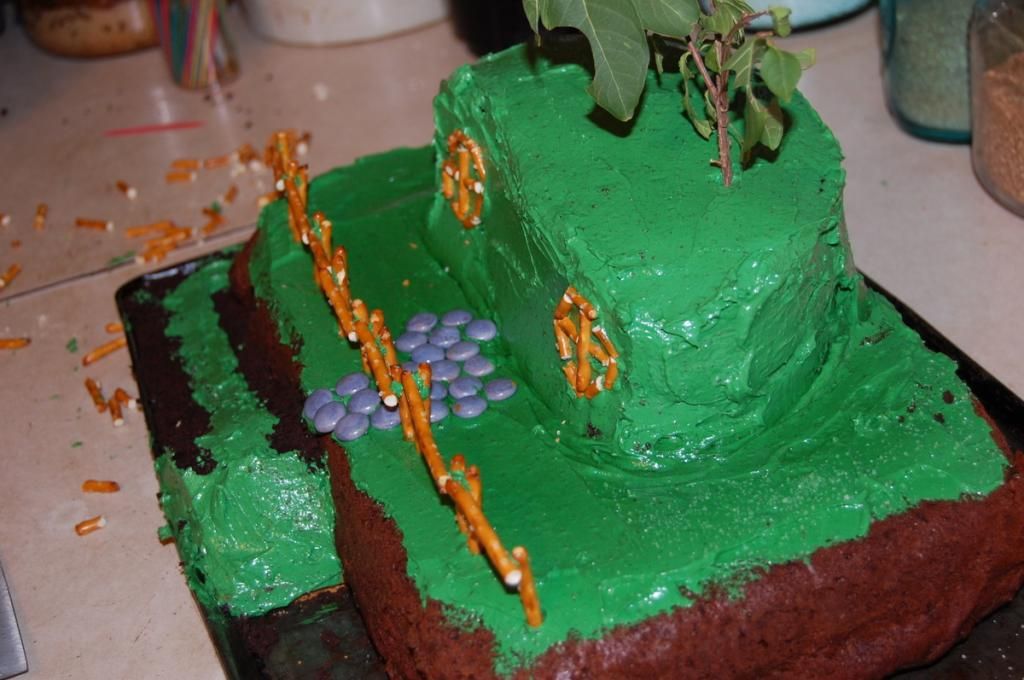
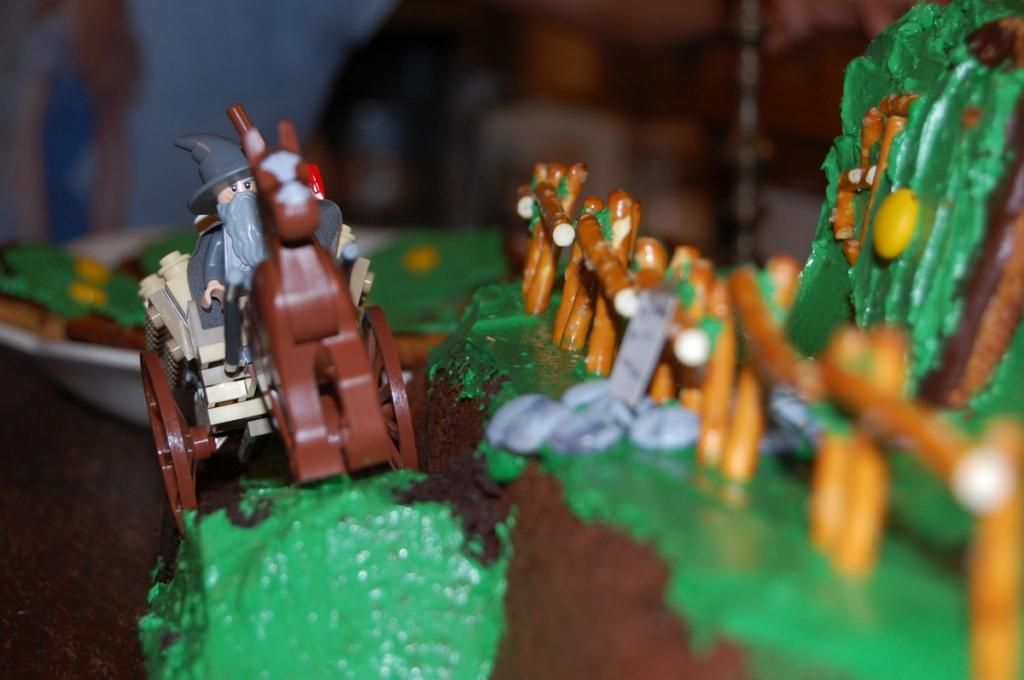
Then we iced our road, to make it look wagon-worn. And using some blue/grey Sun-drops (basically healthy M&Ms) we made a stone path:
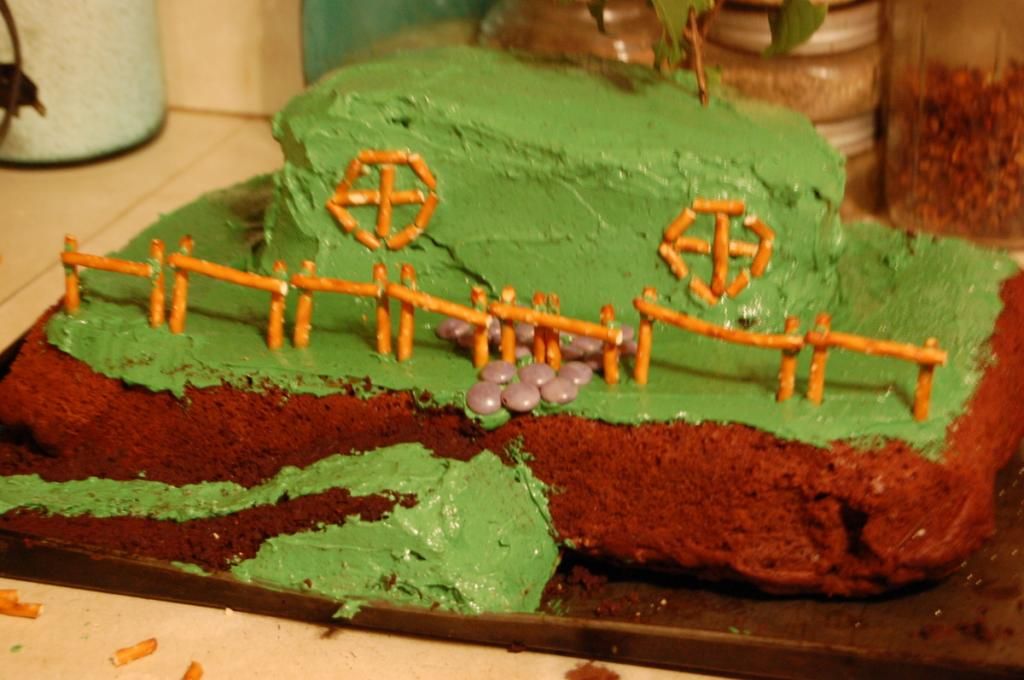
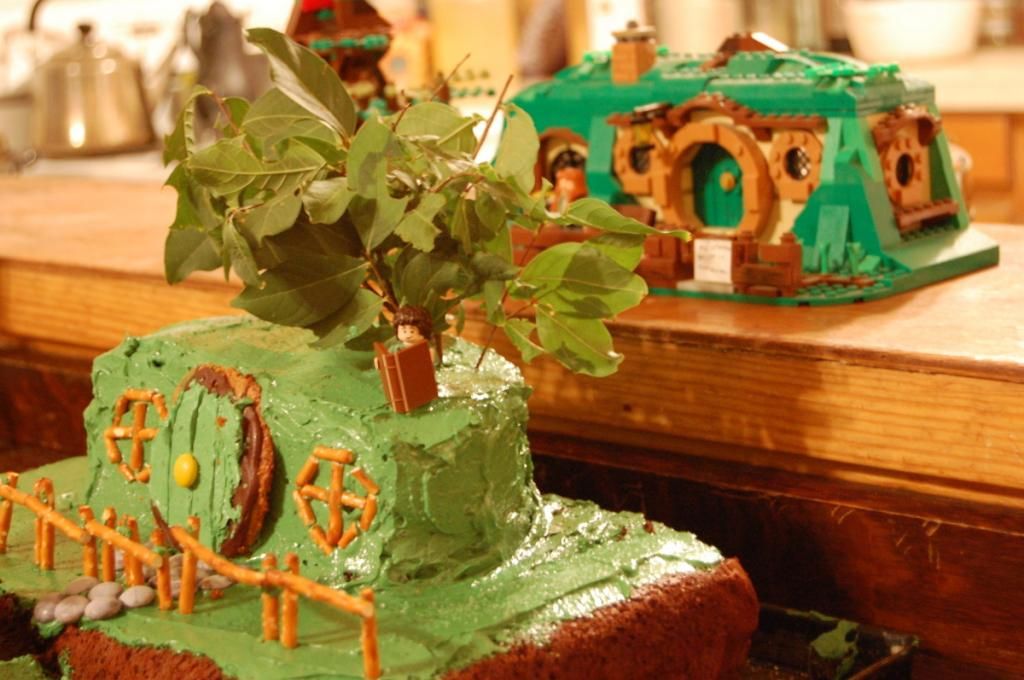
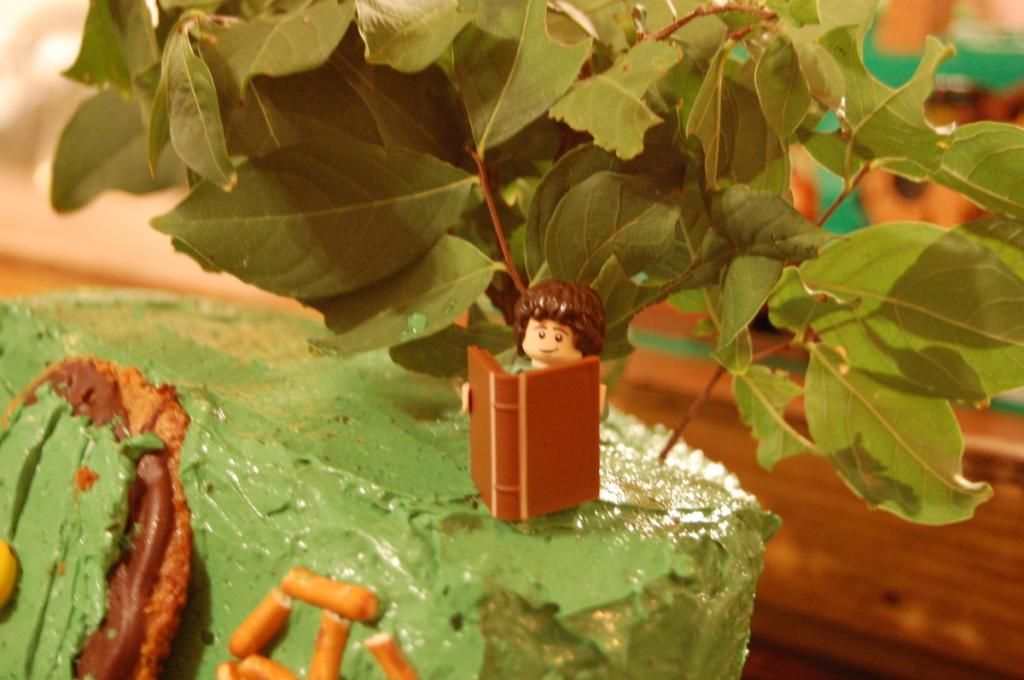
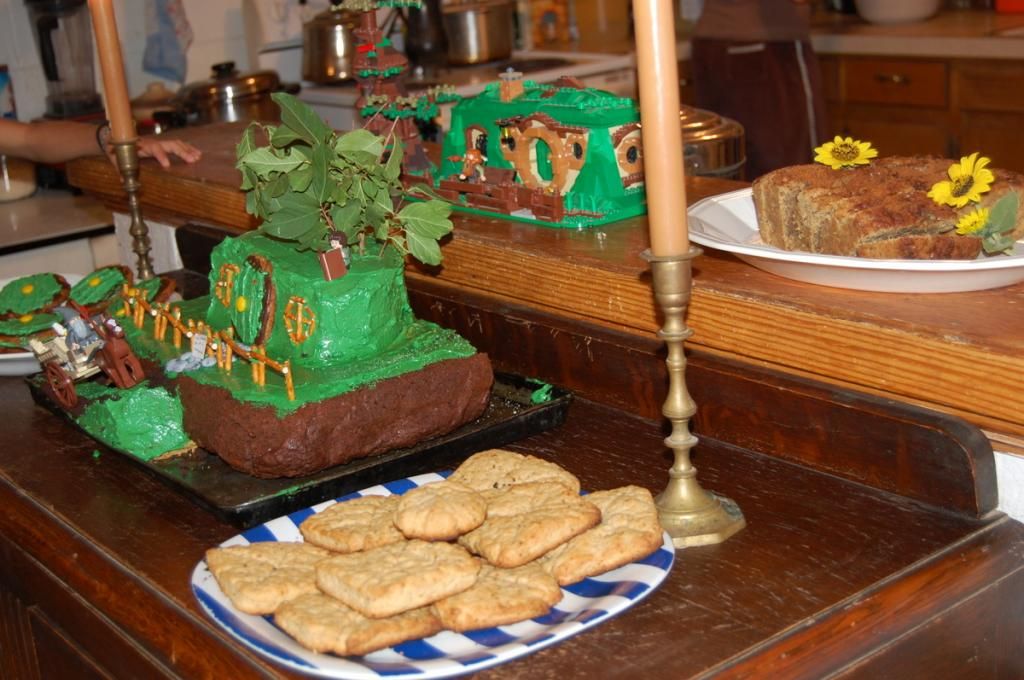
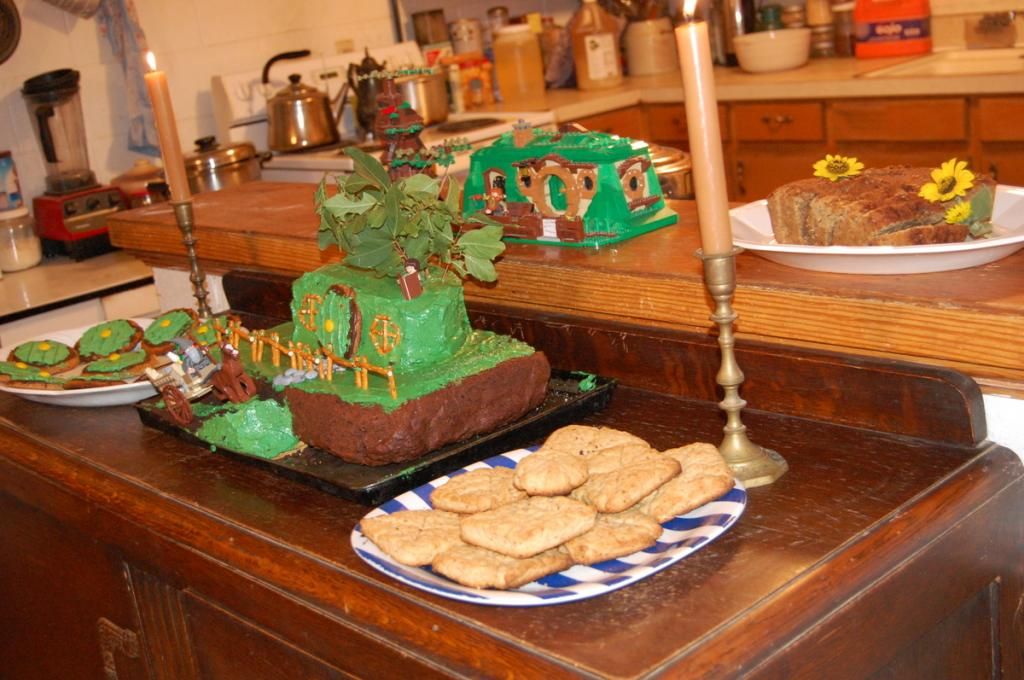
We stuck a leaf-laden branch into the roof of the cake to simulate the tree atop' Bag-End.
We used one of our Hobbit Hole Door cookies for the door:

Starting to look very hobbitish, yes?

I also used the Lego Bag-End as a model for my cake, so we displayed them side-by-side for comparison:
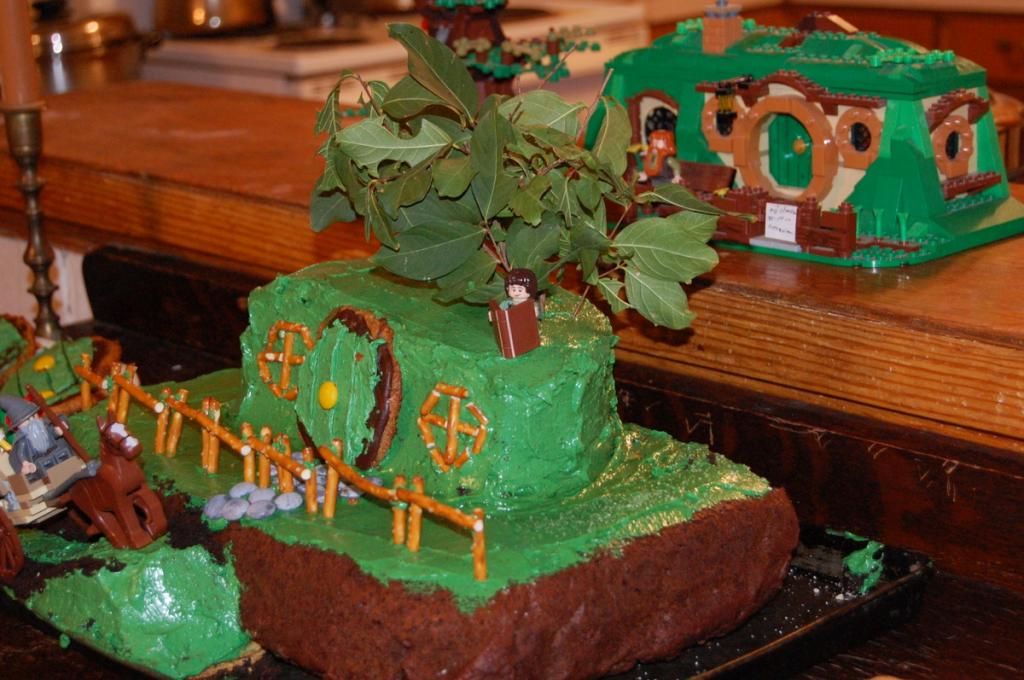
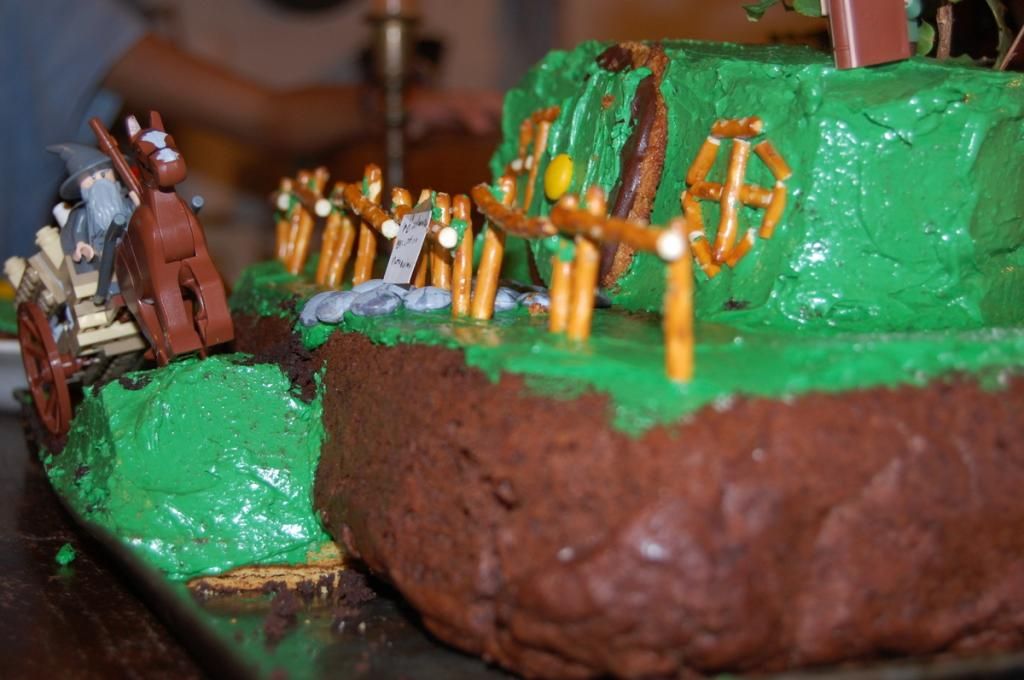
And of course we couldn't help but dress it up by adding the Lego Gandalf and his fireworks cart, and of course Frodo!

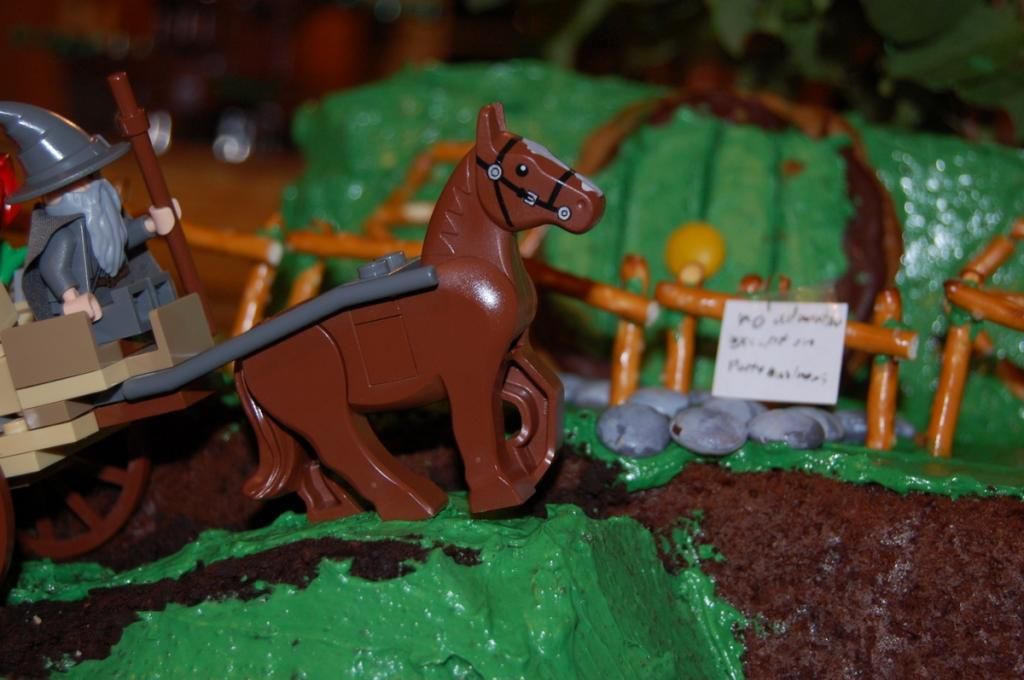
Take a wild guess what the sign says?
"No Admittance Except on Party Business"

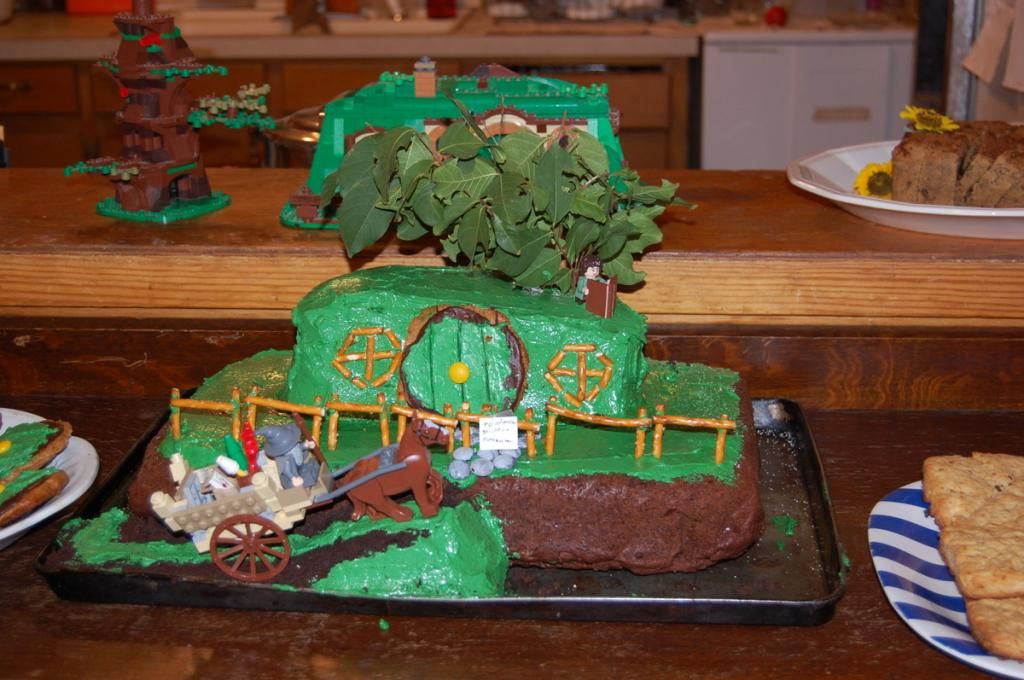

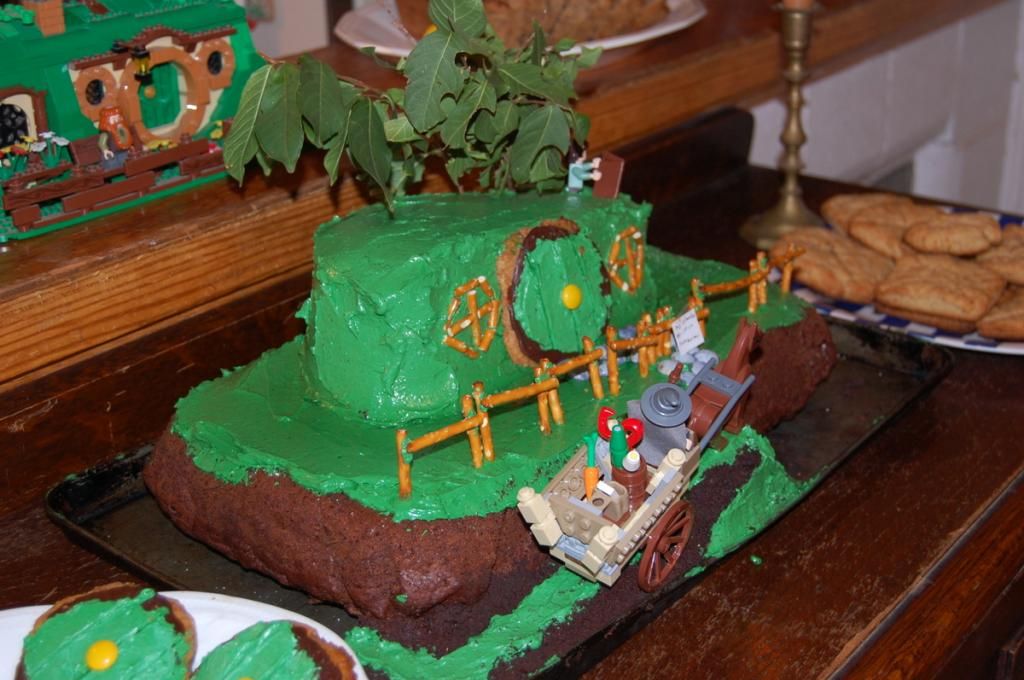


I told you I would bombard you with gloriously fabulous Bag-End Cake pictures!!
In closing, I would like to say a few words...
. . .
. . .
I don't know half of you half as well as I should like;
~~~~~~~~~~~~~~~~~~~~~~~~~~~~
and I like less than half of you half as well as you deserve.
Blessings -
~ Aspen
This looks like so much fun! Glad you had a lovely birthday best wishes! (thanks for sharing the recipes) ;)
ReplyDeleteAAAAand I finally went and found this because I am so far behind on blog reading but I absolutely HAD to see the cake you so teased us about!
ReplyDeleteIt.
Is.
The.
Most.
Beautiful.
Confection thing.
Evar.
You are stupendously fabulous and awesome and so is your Bag End cake.
I LOVE IT SO MUUUCH!
<3333
That is all.
Thank you for your lovely comment, m'dear!!
ReplyDeleteBlessings -
~ Aspen